16
Calibration
Rugby 100-1.5.0en
3 The Rugby is now in calibration
mode. The low battery indicator will
blink at 5 Hz and the out of level
indicator will blink at 1 Hz
alternately to confirm that the unit is
in calibration mode for Axis One.
Rugby100-9 Cal Mode 5 to 1.tif
)
Do not push the arrow
buttons unless you plan to change
calibration! To exit this mode, press
the power button once. The unit will
power off without making any changes.
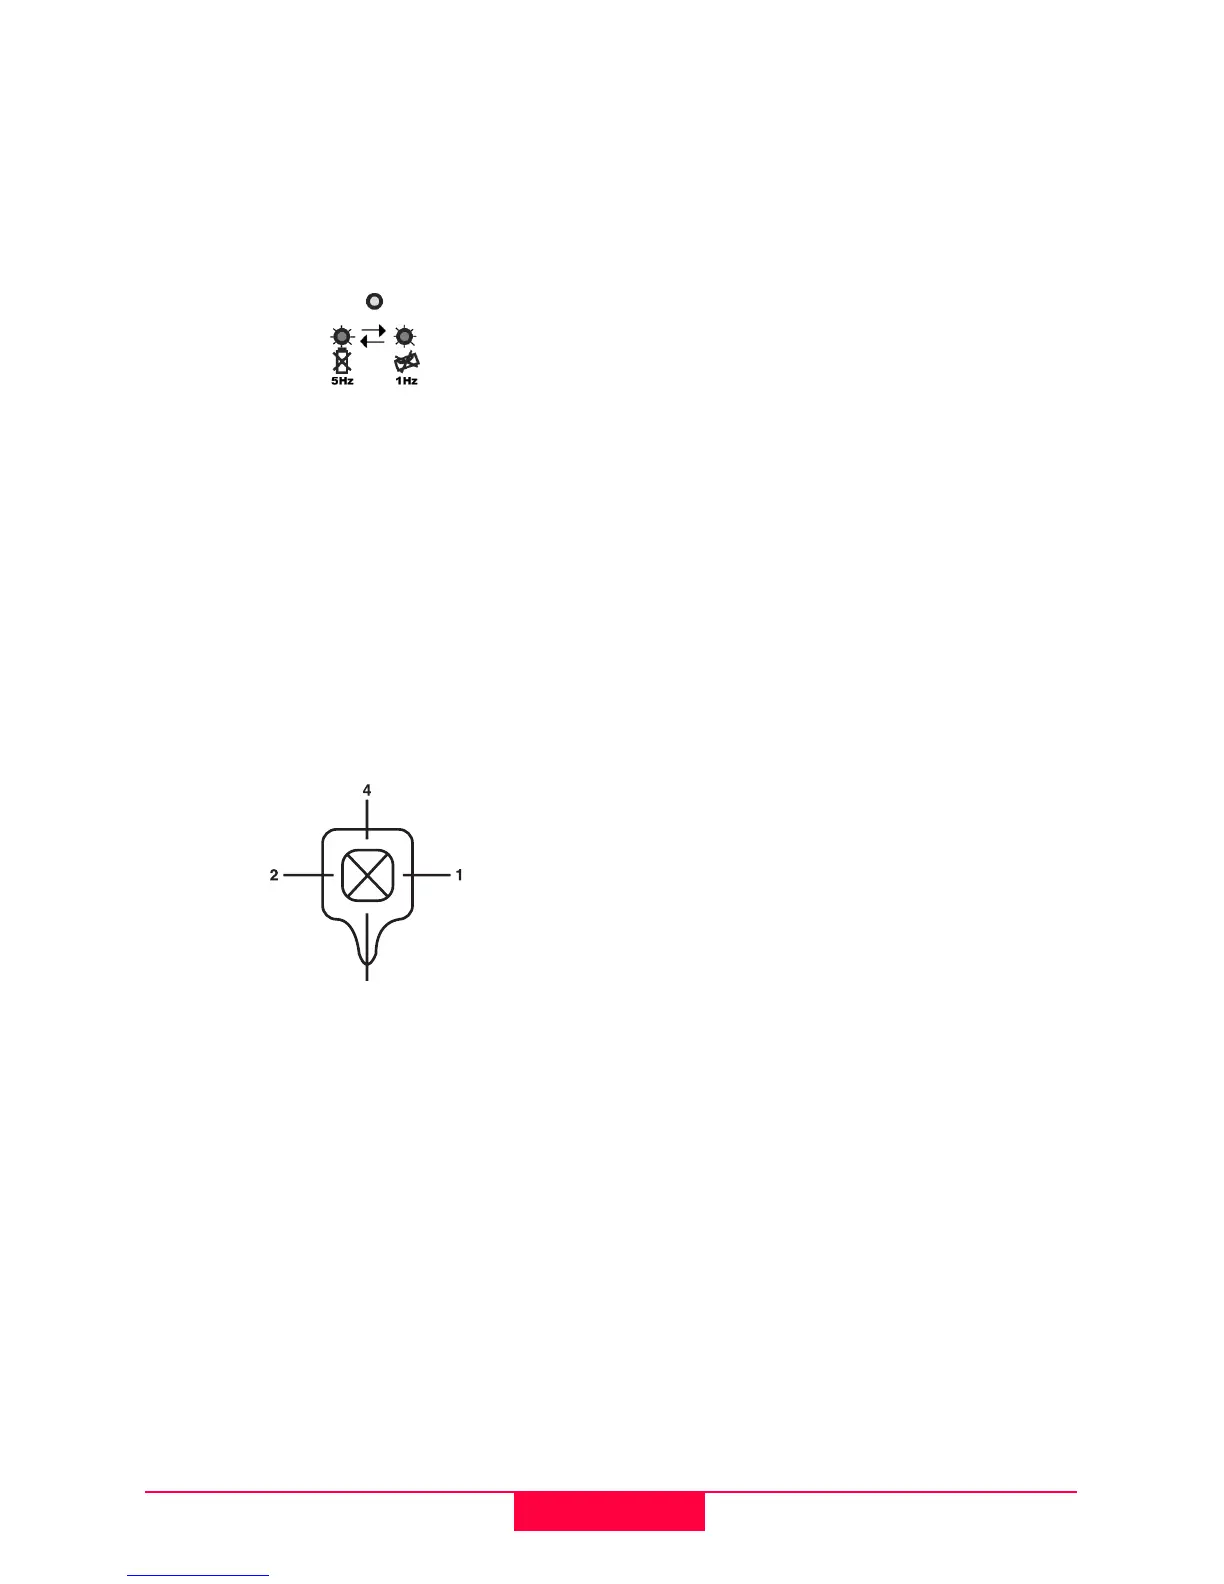
4 Align the unit so that you are facing
the control panel and looking over
the top of the unit to the calibration
marks on the wall. This is Axis One
(position 1).
Rugby100-10 Rugby top view1.eps
Axis One (1-2)
Axis Two (3-4)
5 Use the Up or Down Arrow Buttons
to raise or lower the beam to the
desired elevation for level
calibration in position 1. When the
arrow button is pressed, the top
laser emission indicator LED will
turn off for one half second to
indicate that a key has been
pressed.
6 Rotate the laser 180° and check the
opposite side of Axis One
(position 2).
7 Reposition the Rugby so that the
handle is now pointing at the
calibration marks on the wall. This
is Axis Two (position 3).
8 Press the Auto/Manual Button to
enter the calibration mode for the
second axis. The low battery and
out of level indicators will now
reverse their blink modes to confirm
the Rugby is now in calibration
mode for Axis Two.
9 Use the Up or Down Arrow Buttons
to raise or lower the beam to the
desired elevation for level
calibration in Axis Two (position 3).
When the arrow button is pressed,
the top, laser emission indicator
LED will turn off for one half second
to indicate that a key has been
pressed.
10 Rotate the laser 180° and check the
opposite side of Axis Two
(position 4).
11 Once the desired calibration has
been set for both axes, press the
Power Button once to store the
information and turn the power off.
The Rugby will be set to the new
calibration when power is re-
applied.
3
 Loading...