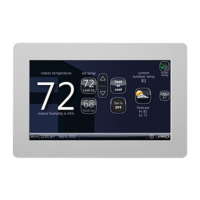
iComfort Wi-Fi
®
7-Day Programmable Communicating Thermostat
Page 25
Registering the Thermostat
REGISTRATION FOR ONLINE ACCESS
1. From the WI-FI SETTINGS screen, press either the thermostat not
registered icon or the connection status icon and select the server
icon.
WI-FI SETTINGS
connectio
n status
thermostat
not
registered
AP3
connected
press to change
network settings
press to enable /
disable Wi-Fi
press to change
thermostat
registration
press to toggle
off / auto
Wi-Fi
enabled
2. Enter homeowner email address and press the register button.
register
enter your email
Register with iComfort Wi-Fi thermostat to enable remote access
and online weather information
System Desc
3. A pop-up screen will appear asking if the email address below is
correct? Verify the email address is correct and press yes.
4. Another pop-up screen will appear notifying the user to check their
email.
An email has been sent to
xxxxxxxxxx@lennoxind.com
with instructions on how to register your thermostat. If you haven't
received the email, please check your spam folder and make sure
that your email address is correct.
NOTE - If the email address originally entered is incorrect, return to the
thermostat registered screen and reenter the correct information and
press register.
5. After the server sends the email with the network link, registration and
account creation must be completed from the homeowners personal
computer.
NOTE - Time from pushing the registration button on the thermostat and
receiving the consumer portal register link from your email on your computer
is normally from 5 to 15 minutes depending on Internet speed and traffic.
NOTE - Registration cannot be completed from any mobile device.
6. After registration has been completed, press the connection status
icon to verify the connection was successful. If the connection is
successful the server icon background will be green.
7. After successful connection to the server is completed, the firmware
update button will appear. The default setting is set to auto. If any
firmware updates are available they will immediately start downloading
and update the thermostat. The thermostat will reboot itself after the
update is completed. Updates are done in the background and will not
impair normal thermostat operations.
This auto update feature can be disabled by pressing the firmware
update button to toggle to OFF however this is not recommended.
 Loading...
