66
14.2.1. Additional Refrigerant Charge
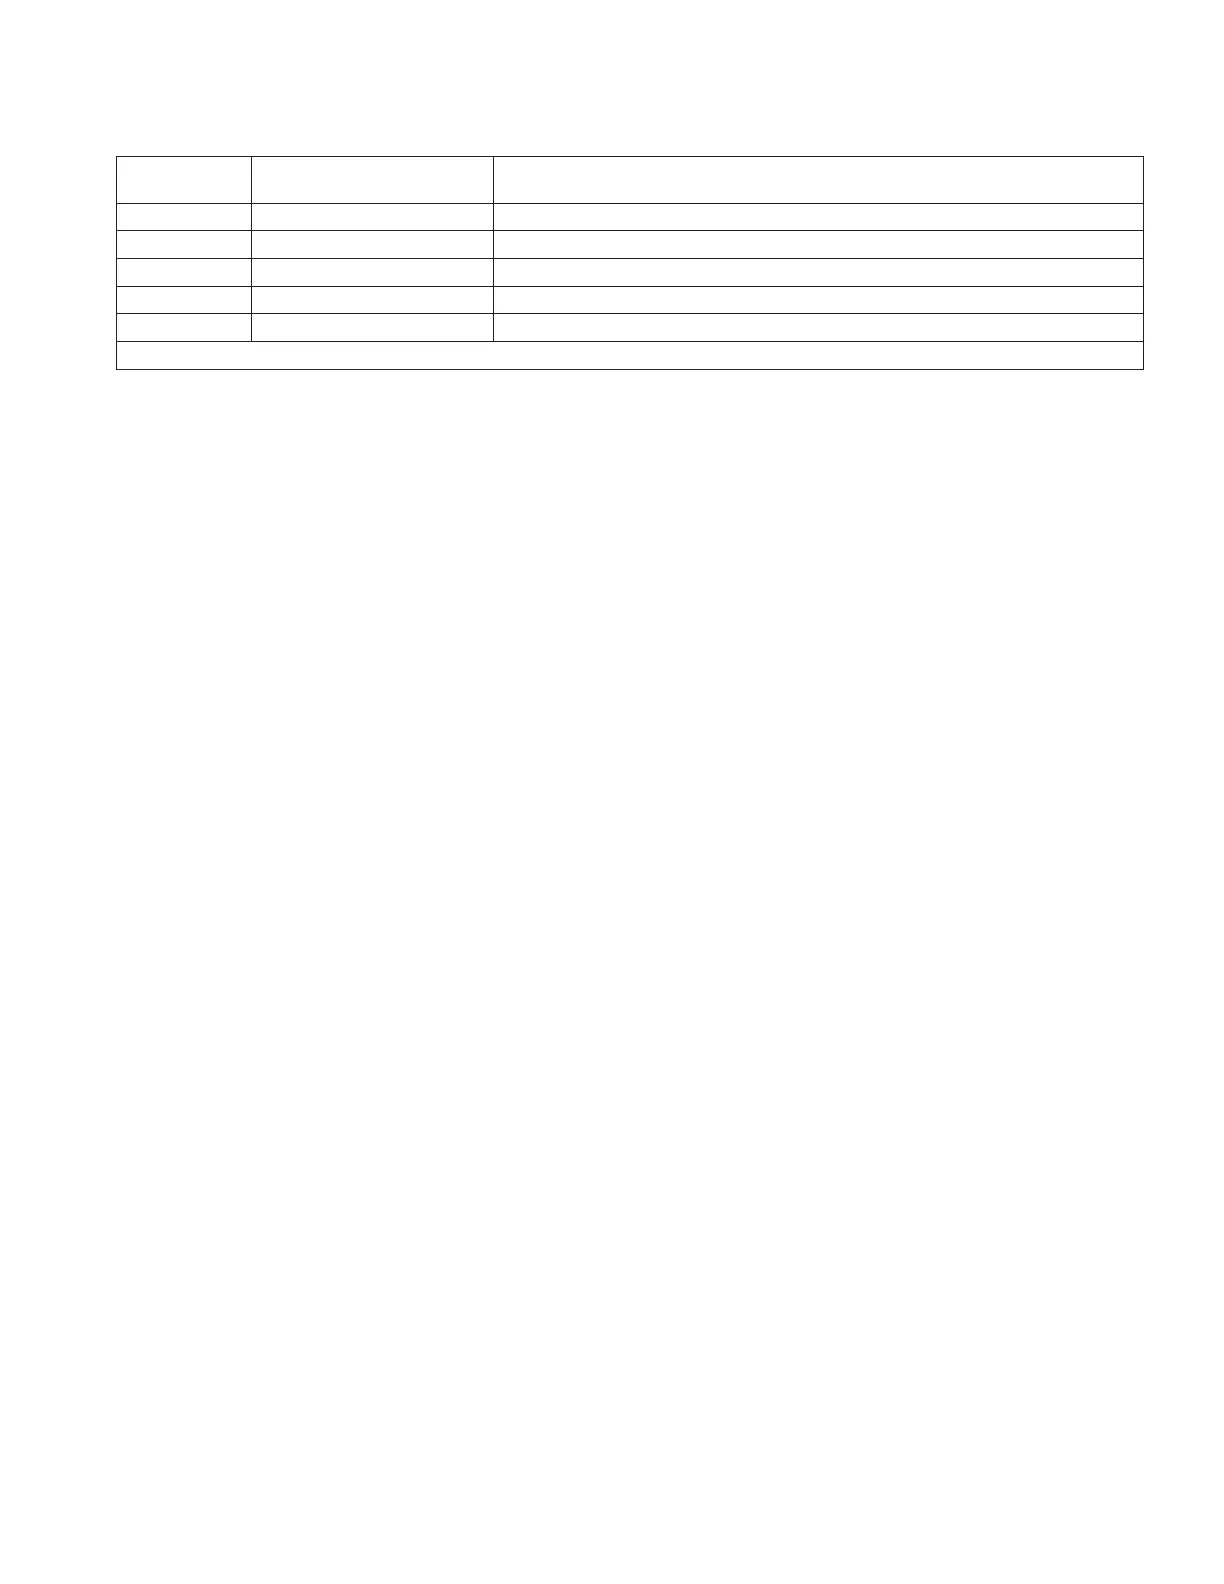
Table 9. Additional Refrigerant Charge
Outdoor Unit
Size (KBtu)
Pipe Length
(feet / meters)
Amount of Refrigerant to add
18 >25 (7.5) 0.16 oz/ft (15g/m)
24 >25 (7.5) 0.32 oz/ft (30g/m)
36 >25 (7.5) 0.32 oz/ft (30g/m)
48 >25 (7.5) 0.32 oz/ft (30g/m)
60 >25 (7.5) 0.32 oz/ft (30g/m)
Note: 1/4” = 0.16 oz/ft; 3/8” = 0.32 oz/ft
14.2.2. Gas Leak Check with Soap Water:
Apply soap water or a liquid neutral detergent on the connections with a soft brush to check for leakage in the pipe
connecting points. If bubbles emerge, the pipes are leaking.
14.2.3. Air and Moisture
Air and moisture in the refrigerant system cause the following problems:
• Increases in system pressure
• Increases in operating current
• Decreases in cooling and heating eciency
• Blocks in capillary tubing caused by moisture in the refrigerant circuit freezing
• Corrosion of parts in the refrigerant system caused by water
The indoor units and the pipes between indoor and outdoor units must be tested for leakages and evacuated to
remove gas and moisture from the system.
14.2.4. Air Purging using a Vacuum Pump
• Completely tighten the are nuts on the indoor and outdoor units. Conrm that both the 2-way (liquid side) and
3-way (suction side) valves are set to the closed position.
• Connect the suction side charge hose to the gas valve service port.
• Connect the high side charge hose to the vacuum pump.
• Fully open the suction side of the manifold valve.
• Turn on the vacuum pump to begin evacuation.
• Conduct a 30-minute evacuation. Check whether the compound meter indicates - 0.1Mpa(14.5Psi). If the meter
does not indicate -0.1Mpa (14.5Psi) after 30 minutes has elapsed, continue evacuation for 20 more minutes. If the
pressure does not reach - 0.1Mpa (14.5Psi) after 50 minutes has elapsed, check if there are any leaks.
• Fully close the suction side of the manifold valve and turn o the vacuum pump. After 5 minutes, conrm that the
gauge needle is not moving.
• Turn the are nut on the suction side valve 45° counterclockwise for 6-7 seconds. Once gas begins to come out,
tighten the are nut. Make sure the pressure display on the pressure indicator is higher than atmospheric pressure.
Then remove the charge hose from the suction side valve.
• Fully open the liquid side and suction side valves and securely tighten the cap on the suction side valve.
 Loading...