8
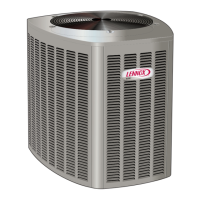
10. Rotate Coil 180° and re-insert into coil compartment
so that the bottom (underside) of coil faces blower.
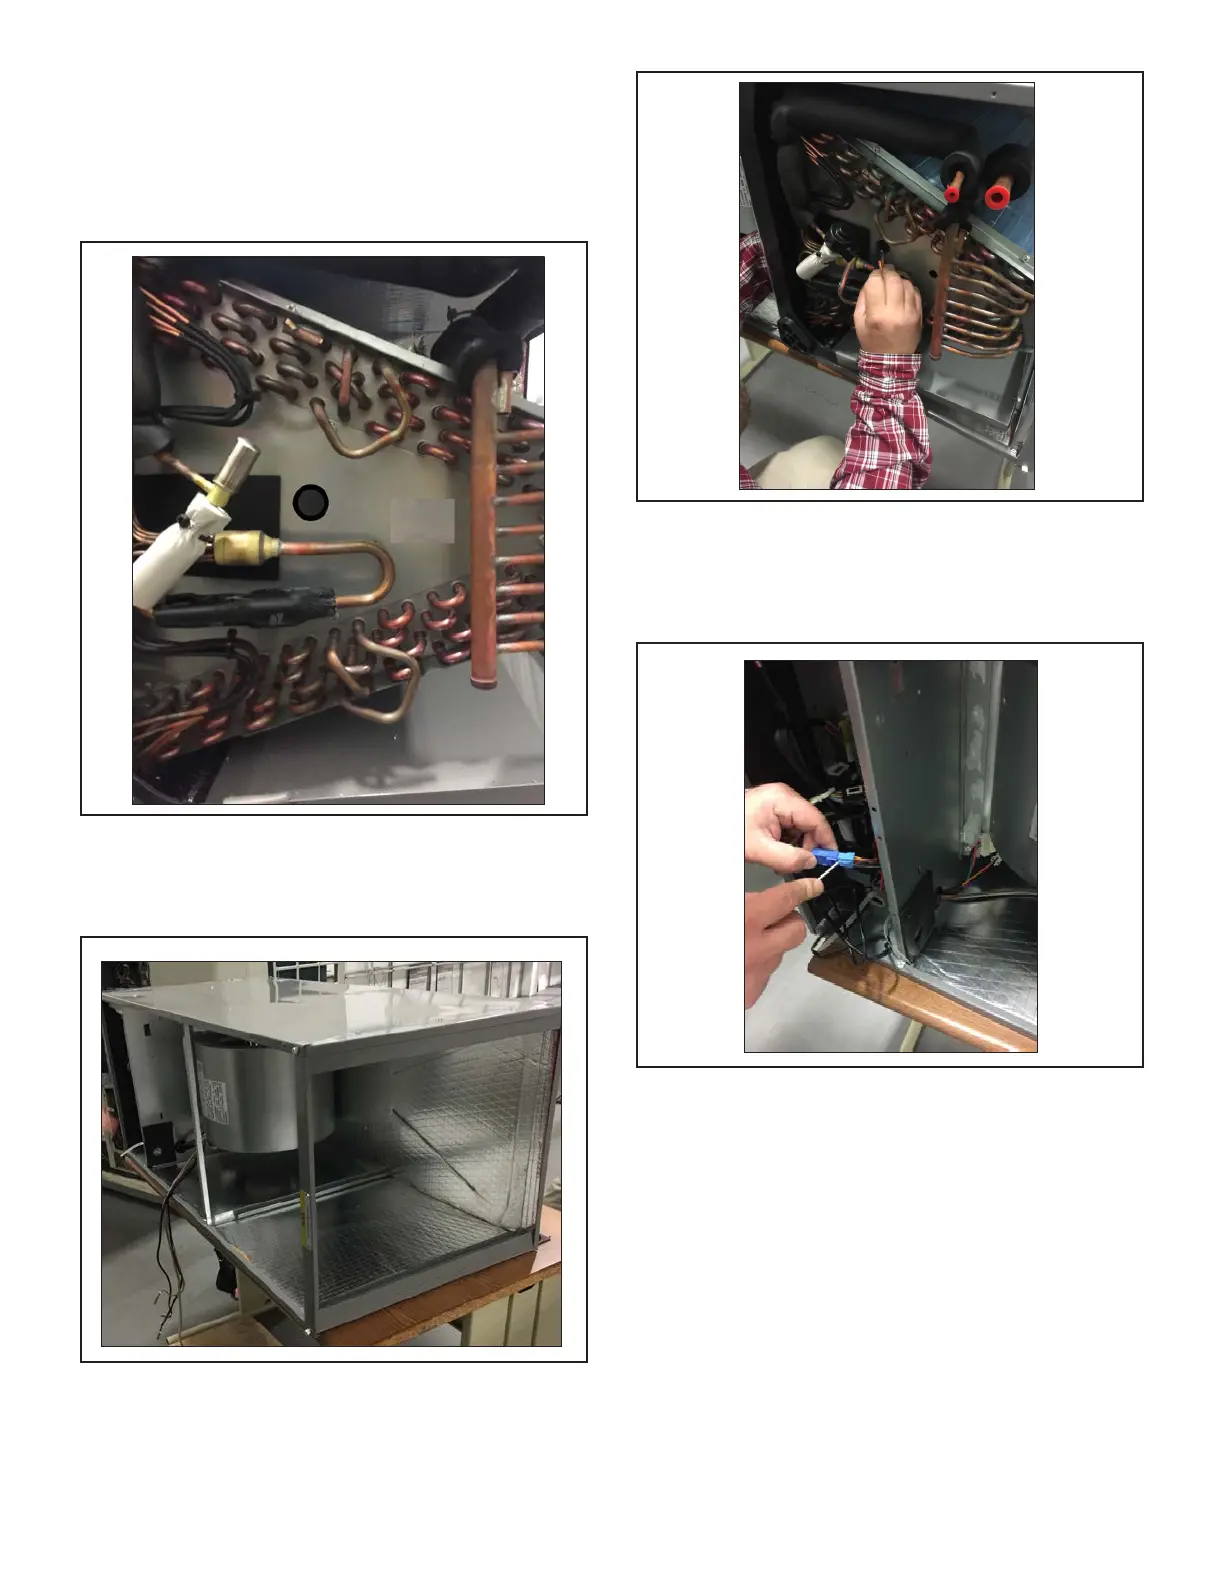
11. Disconnect the sensor wiring harness in the control
box (blue plug) and prepare to reroute it to allow for
connection to the sensors in their new locations.
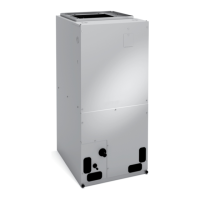
9. Position cabinet in the horizontal-left orientation on a
sturdy work surface.
Figure 6. Position Cabinet in Horizontal Left
Orientation
Figure 7. Coil Rotated 180°
Figure 8. Disconnect Wiring Harness
12. Release the wiring harness clips and ties. Carefully
remove the wiring harness.
13. Insert the wiring harness plug into the hole you cut
into the coil front plate.
14. Reinstall the EXV motor.
15. Route wiring harness through coil, past the blower
and into the electrical box. Do not pinch or bind wires.
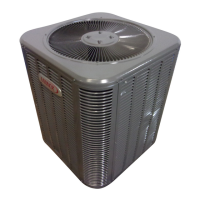
6. Use a 1” hole cutter bit to create a wiring passthrough
in the coil housing front panel.
7. Clean all of the burrs from the newly cut hole. Insert a
grommet into the hole.
8. Seal the factory-provided T-1 outlet hole with UL listed
foil tape.
Figure 5. Coil Assembly Field-Modied with Wiring
Cable Passthrough
 Loading...