Notes:
• The 1-to-3 power cable provides three SATA power connectors
1 , 2 , and 3 . You can connect any
one of the SATA connectors to the drive.
• If your server has a secondary optical drive installed, connect the signal cable from the secondary
optical drive to the SATA connector 4 on the system board. See “System board components” on
page 19.
Tape drive
Your server supports an RDX tape drive in drive bay 4. For information about drive bays and installation rules,
see “Internal drives” on page 44.
• “Removing a tape drive” on page 49
• “Installing a tape drive” on page 49
Removing a tape drive
To remove a tape drive, do the following:
1. Prepare your server. See “Preparing your server and removing the server cover” on page 41.
2. Remove the front bezel. See “Removing the front bezel” on page 42.
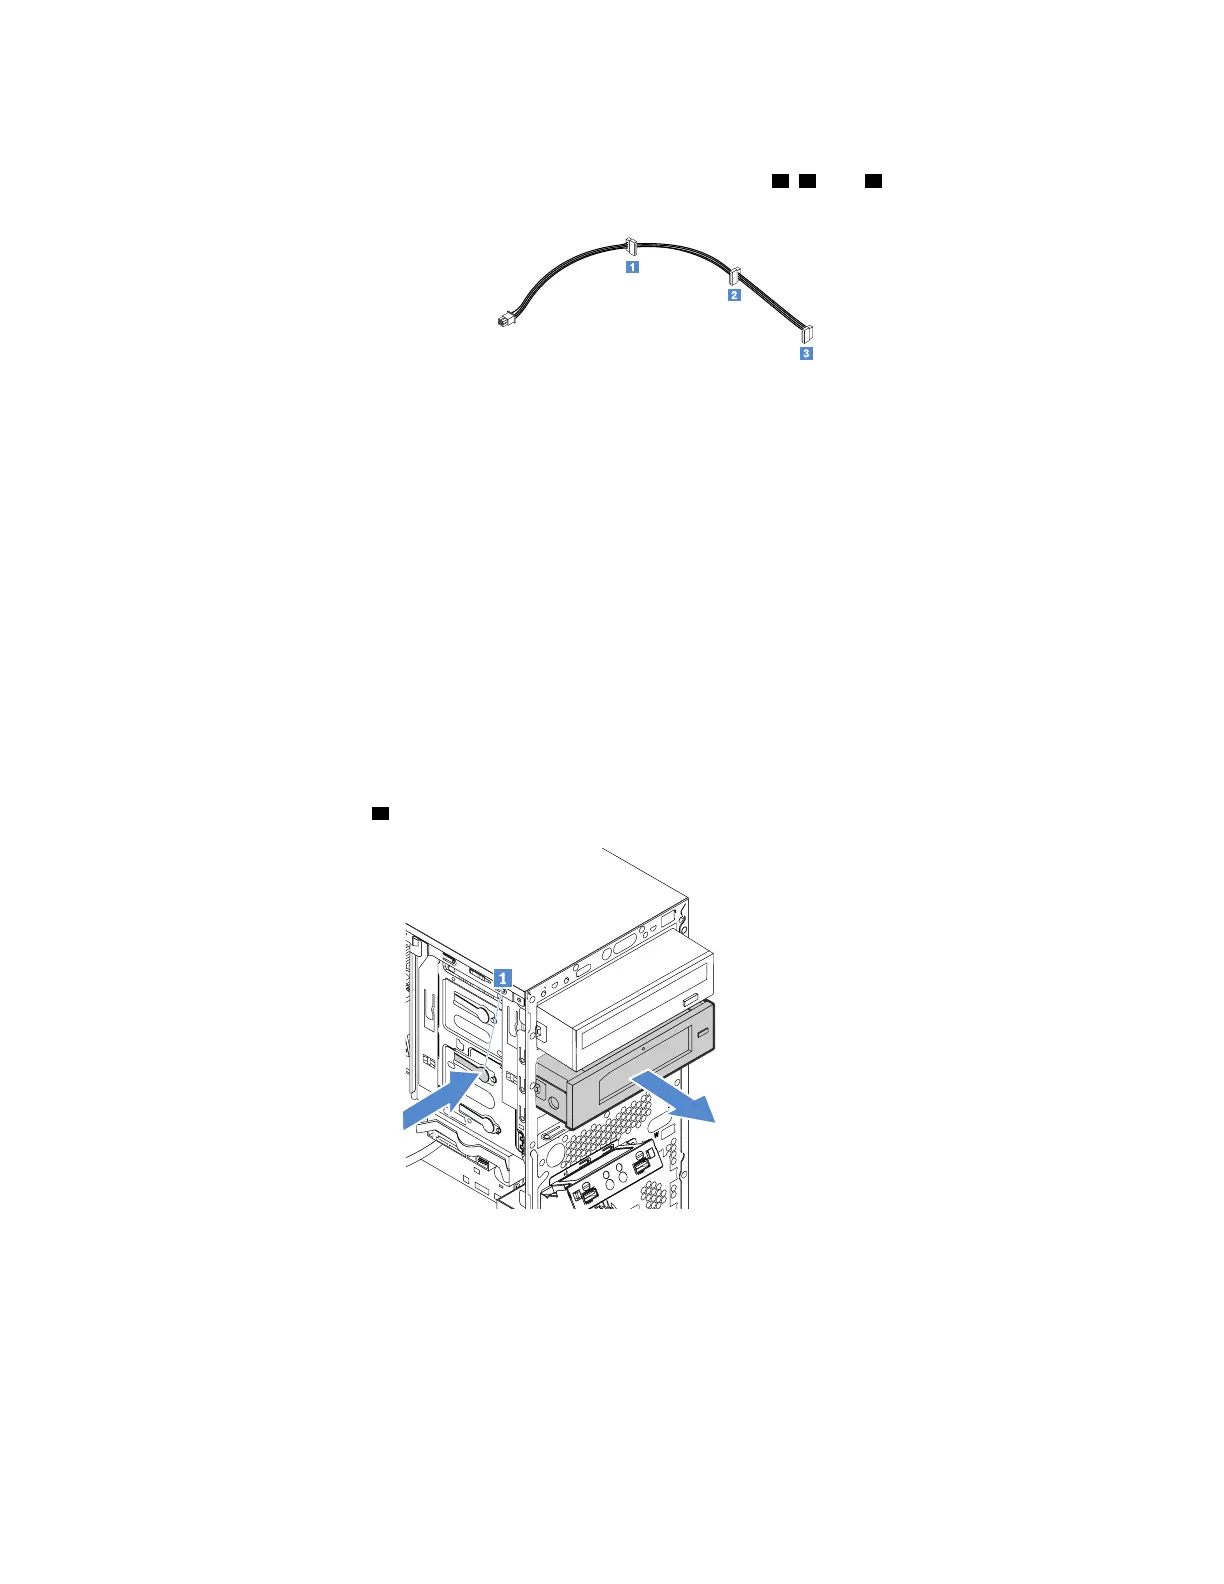
3. Disconnect the signal cable and power cable from the tape drive.
4. Press the release tab
1 and slide the tape drive out of the drive bay.
Figure 22. Removing the tape drive from the drive bay
5. Install a new tape drive or install a metal shield to cover the drive bay.
6. If you are instructed to return the old tape drive, follow all packaging instructions and use any packaging
materials that are supplied to you for shipping.
Installing a tape drive
To install a tape drive, do the following:
Chapter 5. Replacing hardware 49
 Loading...


