11
This section describes how to set up the VerifEye
®
meter in an office environment, and
congure the power meter for a pre-determined conguration. The setup is standardized
for an organization or project; however, you can document and e-mail the setup to an
installer. The setup can also be performed on-site, and reect “as-built” congurations.
The Power Meter Viewer Utilities application offers visual guides and context help to
facilitate meter conguration. Please see the Power Meter Viewer Utilities overview
section for additional information. By default, VerifEye
®
meters are congured for DNS
Ethernet addressing. A common conguration sequence is to use USB to congure
a meter for Ethernet communications at a static IP address, then switch from USB to
Ethernet to locate it. To facilitate this, select [Refresh Connectivity] on the Power Meter
Viewer Utilities software screen.
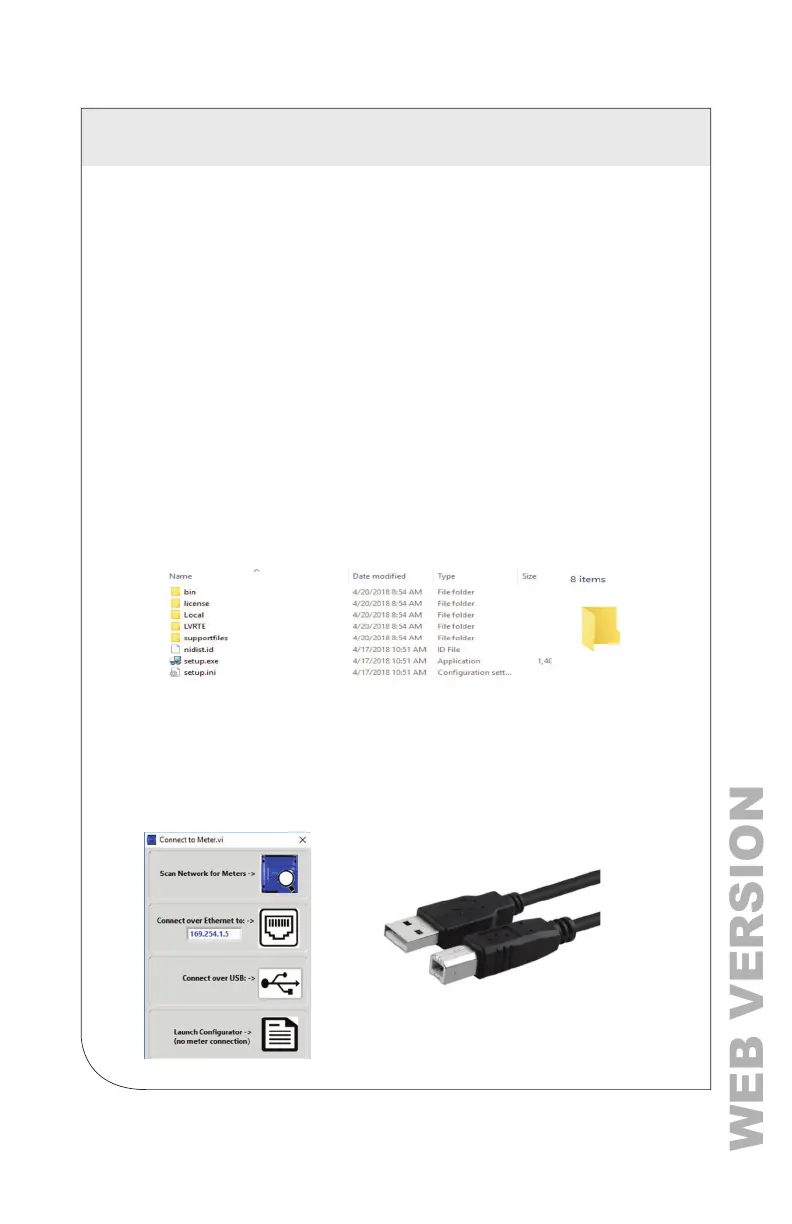
4.1 Install the Power Meter Viewer Utilities Software
Insert the Power Meter Viewer Utilities thumb drive into the computer or download
it from the Leviton FTP site (qualied Leviton personnel only). The installer starts
automatically. If it does not, browse the thumb drive and locate the Setup.exe
program, double-click it, and follow the installer instructions.
For Custom Installation
For users who want to specify the location of the Power Meter Viewer Utilities
software and support les, double-click the [supportles] folder, and run setup.
exe. This prompts the user for additional details.
4.1.1 Connection and Conguration Options Using Power Meter Viewer Utilities
When you launch the Power Meter Viewer Utilities application, it prompts the
user to select one of four connectivity options.
• Connect over USB cable.
• Connect over Ethernet to a Predetermined IP address.
• Scan Network.
• Create Setup le only (no meter connected).
NOTE: The USB connection method is
recommended for new users who have physical
access to the meter using a USB A to B cable.
4 METER CONFIGURATION
 Loading...