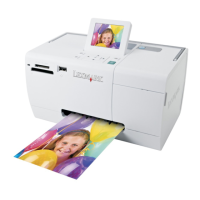
Using the control panel buttons
Press To
1
Turn the printer on and off.
2
Apply red-eye reduction to the photo on the display when it is printed. An icon appears on the bottom
of the display to indicate that red-eye reduction will be performed. Press
again to cancel the
correction.
3
Start a color print job using the current settings.
4
• Navigate through menu selections of the main menu.
• Navigate through selections of a submenu.
• When viewing photos, navigate from one photo to another.
5
• In a menu, enter submenus and perform actions.
• Select a photo being viewed on the display. Press again to deselect the photo.
• Eject paper. (Press for three seconds.)
6
• Navigate through submenus of a menu.
• When previewing a photo, decrease the number of copies to be printed.
7
• Navigate through menu selections of the main menu.
• Navigate through selections of a submenu.
• When viewing photos, navigate from one photo to another.
8
• In a submenu, save the current selection, and return to the previous display.
• When viewing a photo slideshow, pause or stop the slideshow.
• When printing a photo or an alignment page, stop and cancel the job, and eject the paper.
9
• In the photo selection screen, bring up the Photo Edit Mode menu.
• In the Print Preview screen, bring up the Print Settings menu.
10
• Navigate through submenus of a menu.
• When previewing a photo, increase the number of copies to be printed.
Understanding the printer
28

 Loading...