Print quality guide
Many print quality problems can be solved by replacing a supply or maintenance item that is approaching the end of
its intended life. Check the control panel for a message about a printer supply.
Use the following table to find solutions to print quality problems:
Isolating print quality problems
To help isolate print quality problems, print the print quality test pages:
1 Turn the printer off.
2 From the control panel, press and hold and while turning the printer on.
3 Release both buttons when Performing Self Test appears.
The printer performs its power-on sequence, and then Config Menu appears.
4 Press until Prt Quality Pgs appears, and then press .
The pages are formatted. Printing Quality Test Pages appears, and then the pages print. The message
remains on the control panel until all the pages print.
5 After the print quality test pages print, press until Exit Config Menu appears, and then press .
The information in the following topics may help you solve print quality problems. If these suggestions still do not correct
the problem, call for customer service. You may have a printer part that requires adjustment or replacement.
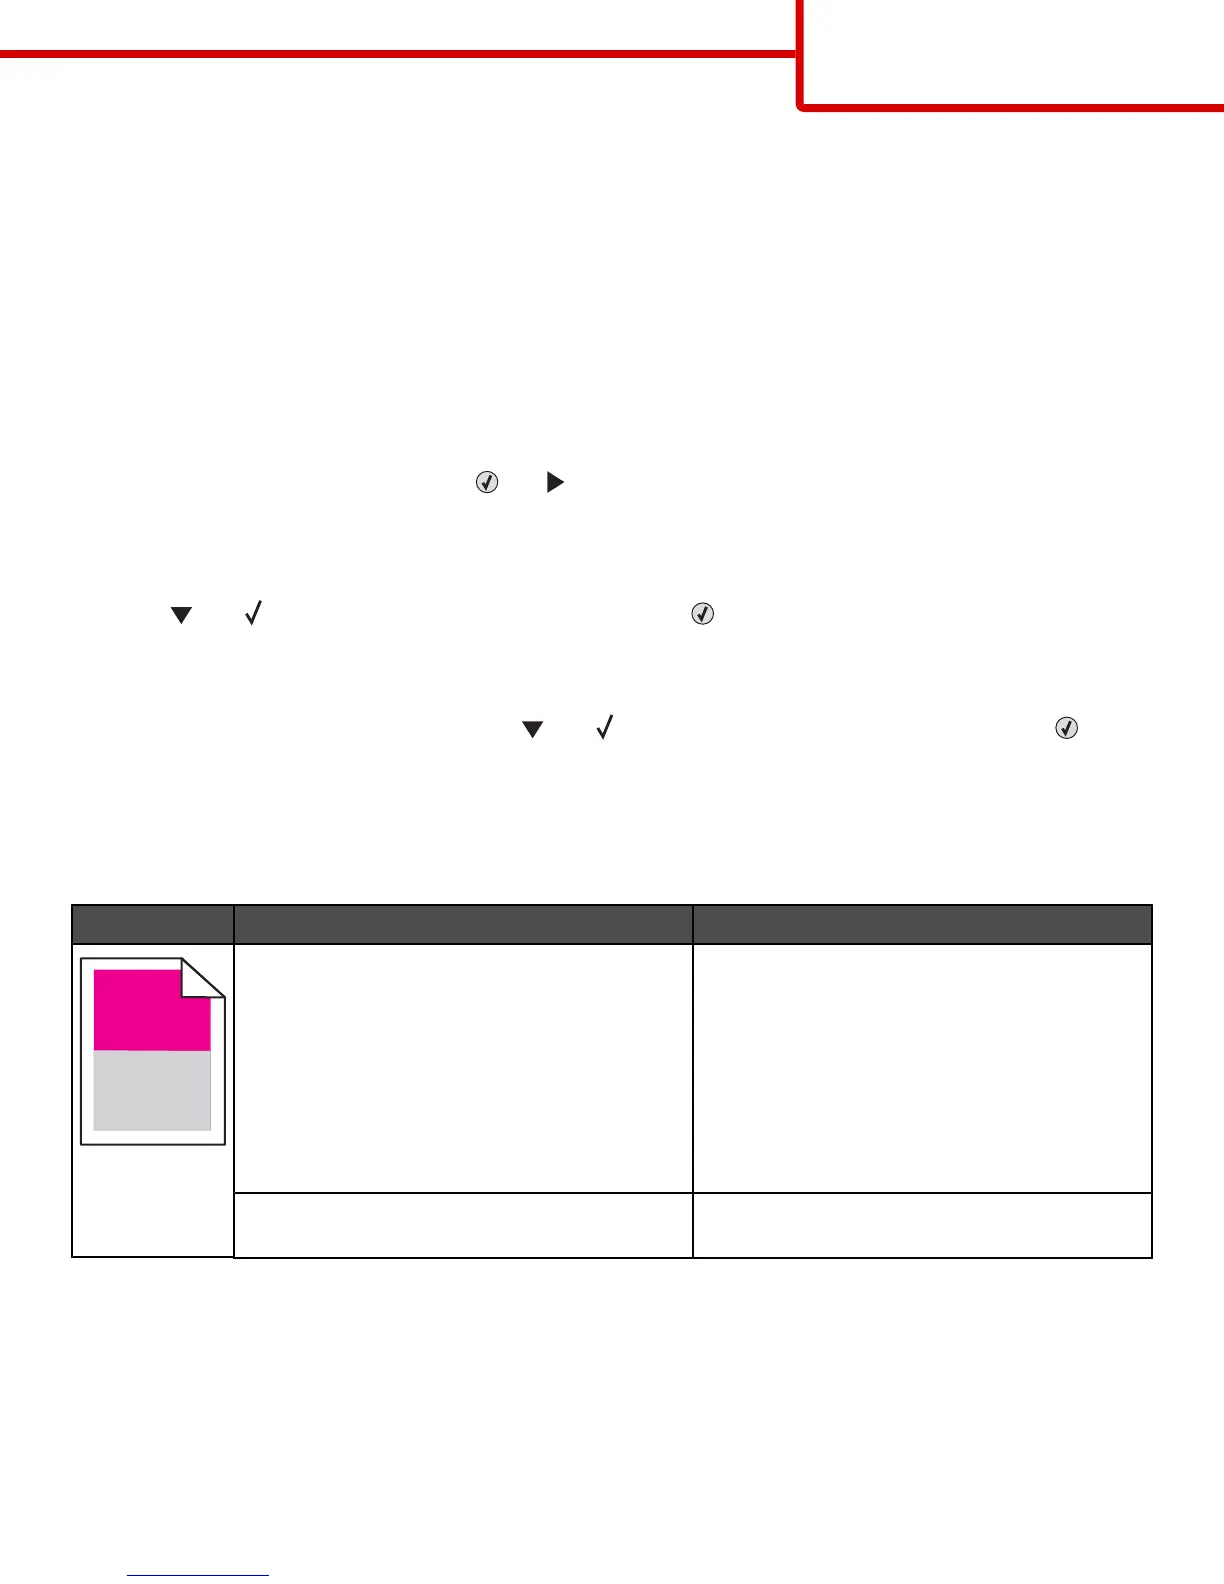
Repeating defects
Example Cause Solution
If marks occur repeatedly only in one color and
multiple times down a page, a toner cartridge or
photoconductor may be defective.
Replace the toner cartridge if the defects occur
every:
• 33.5 mm (1.32 in.)
• 35.7 mm (1.41 in.)
Replace the photoconductor if the defects occur
every:
• 28.3 mm (1.11 in.)
• 72.4 mm (2.85 in.)
If marks occur down the page repeatedly in all
colors, the fuser may be defective.
Replace the fuser if the defects occur every
116.2 mm (4.58 in.).
Print quality guide
Page 8 of 34

 Loading...