Setting the paper size and type
1 From the printer control panel, navigate to:
> Settings > > Paper Menu > > Paper
Size/Type >
2 Press the up or down arrow button to select the tray or feeder,
and then press .
3 Press the up or down arrow button to select the paper size,
and then press .
4 Press the up or down arrow button to select the paper type,
and then press to change the settings.
Configuring Universal paper settings
The Universal paper size is a user‑defined setting that lets you
print on paper sizes that are not preset in the printer menus.
Notes:
• The smallest Universal paper size is 6 x 127 mm (3 x 5
inches), and is supported only from the multipurpose feeder.
• The largest Universal paper size is 216 x 355.6 mm (8.5
x 14 inches), and is supported from all paper sources.
1 From the printer control panel, navigate to:
> Settings > > Paper Menu > > Universal
Setup > > Units of Measure > > select a unit of
measure >
2 Select
Portrait Width or Portrait Height, and then press
.
3 Press the left or right arrow button to change the setting, and
then press .
Adjusting toner darkness
Using the Embedded Web Server
1 Open a Web browser, and then type the IP address of the
printer in the address field.
Notes:
• View the printer IP address in the TCP/IP section in the
Network/Ports menu. The IP address appears as four
sets of numbers separated by periods, such as
123.123.123.123.
• If you are using a proxy server, then temporarily disable
it to load the Web page correctly.
2 Click
Settings
> Print Settings > Quality Menu > Toner
Darkness.
3 Adjust the toner darkness, and then click
Submit.
Using the printer control panel
1 From the printer control panel, navigate to:
> Settings > > Print Settings > > Quality
Menu > > Toner Darkness
2 Adjust the toner darkness, and then press .
Printing from a flash drive
Notes:
• Before printing an encrypted PDF file, you will be prompted
to enter the file password from the printer control panel.
• You cannot print files for which you do not have printing
permissions.
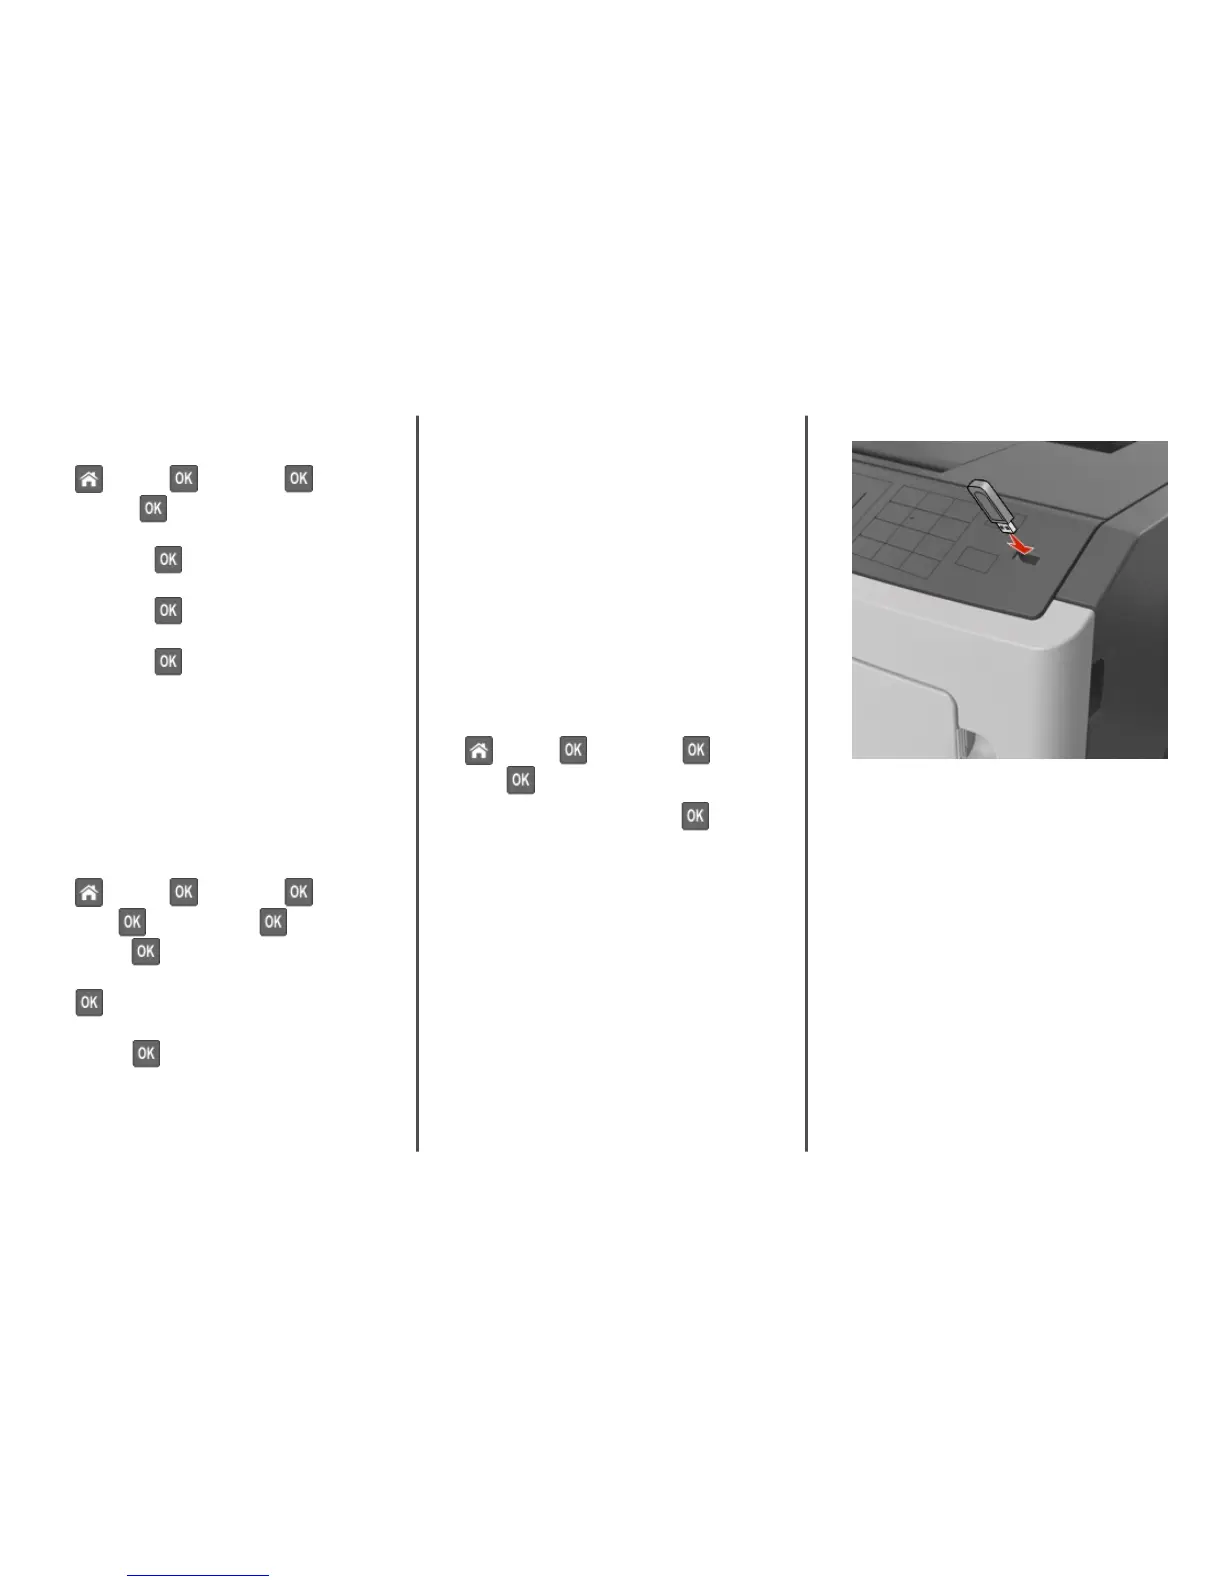
1 Insert a flash drive into the USB port.
Notes:
• A flash drive icon appears on the printer control panel
and in the held jobs icon when a flash drive is installed.
• If you insert the flash drive when the printer requires
attention, such as when a jam has occurred, then the
printer ignores the flash drive.
• If you insert the flash drive while the printer is processing
other print jobs, then Busy appears. After these print
jobs are processed, you may need to view the held jobs
list to print documents from the flash drive.
Warning—Potential Damage: Do not touch the printer or the
flash drive in the area shown while actively printing, reading,
or writing from the memory device. Loss of data can occur.
Learning about the printer
2
 Loading...