4
To uc h Custom Types, and then verify if the new custom paper
type name has replaced the custom name.
Assigning a custom paper type
Using the Embedded Web Server
Assign a custom paper type name to a tray when linking or
unlinking trays.
1
Open a Web browser, and then type the printer IP address in
the address
field.
Notes:
•
View the printer IP address on the printer home screen.
The IP address appears as four sets of numbers
separated by periods, such as 123.123.123.123.
•
If you are using a proxy server, then temporarily disable
it to load the Web page correctly.
2
Click Settings > Paper Menu > Custom Types.
3
Select a custom paper type name, and then select a paper
type.
Note: Paper is the factory default paper type for all
user
‑
defined custom names.
4
Click Submit.
Using the printer control panel
1
From the home screen, navigate to:
> Paper Menu > Custom Types
2
Select a custom paper type name, and then select a paper
type.
Note: Paper is the factory default paper type for all
user
‑
defined custom names.
3
To uc h Submit.
Printing
Printing a document
Printing forms
Use Forms and Favorites to quickly and easily access frequently
used forms or other information that is regularly printed. Before
you can use this application,
first
set it up on the printer. For more
information, see
“Setting up Forms and Favorites” on page 3.
1
From the home screen, navigate to:
Forms and Favorites > select the form from the list > enter the
number of copies > adjust other settings
2
Apply the changes.
Printing from a computer
Note: For labels, card stock, and envelopes, set the paper size
and type in the printer before sending the print job.
1
From the document that you are trying to print, open the Print
dialog.
2
If necessary, adjust the settings.
3
Send the print job.
Adjusting toner darkness
1
Open a Web browser, and then type the printer IP address in
the address field.
Notes:
•
View the printer IP address on the printer home screen.
The IP address appears as four sets of numbers
separated by periods, such as 123.123.123.123.
•
If you are using a proxy server, then temporarily disable
it to load the Web page correctly.
2
Click Settings > Print Settings > Quality Menu > Toner
Darkness.
3
Adjust the toner darkness, and then click Submit.
Using the printer control panel
1
From the home screen, navigate to:
> Settings > Print Settings > Quality Menu > Toner
Darkness
2
Adjust the setting, and then touch Submit.
Printing from a
flash
drive or mobile
device
Printing from a
flash
drive
Notes:
•
Before printing an encrypted PDF
file,
you will be prompted
to type the file password from the printer control panel.
•
You cannot print
files
for which you do not have printing
permissions.
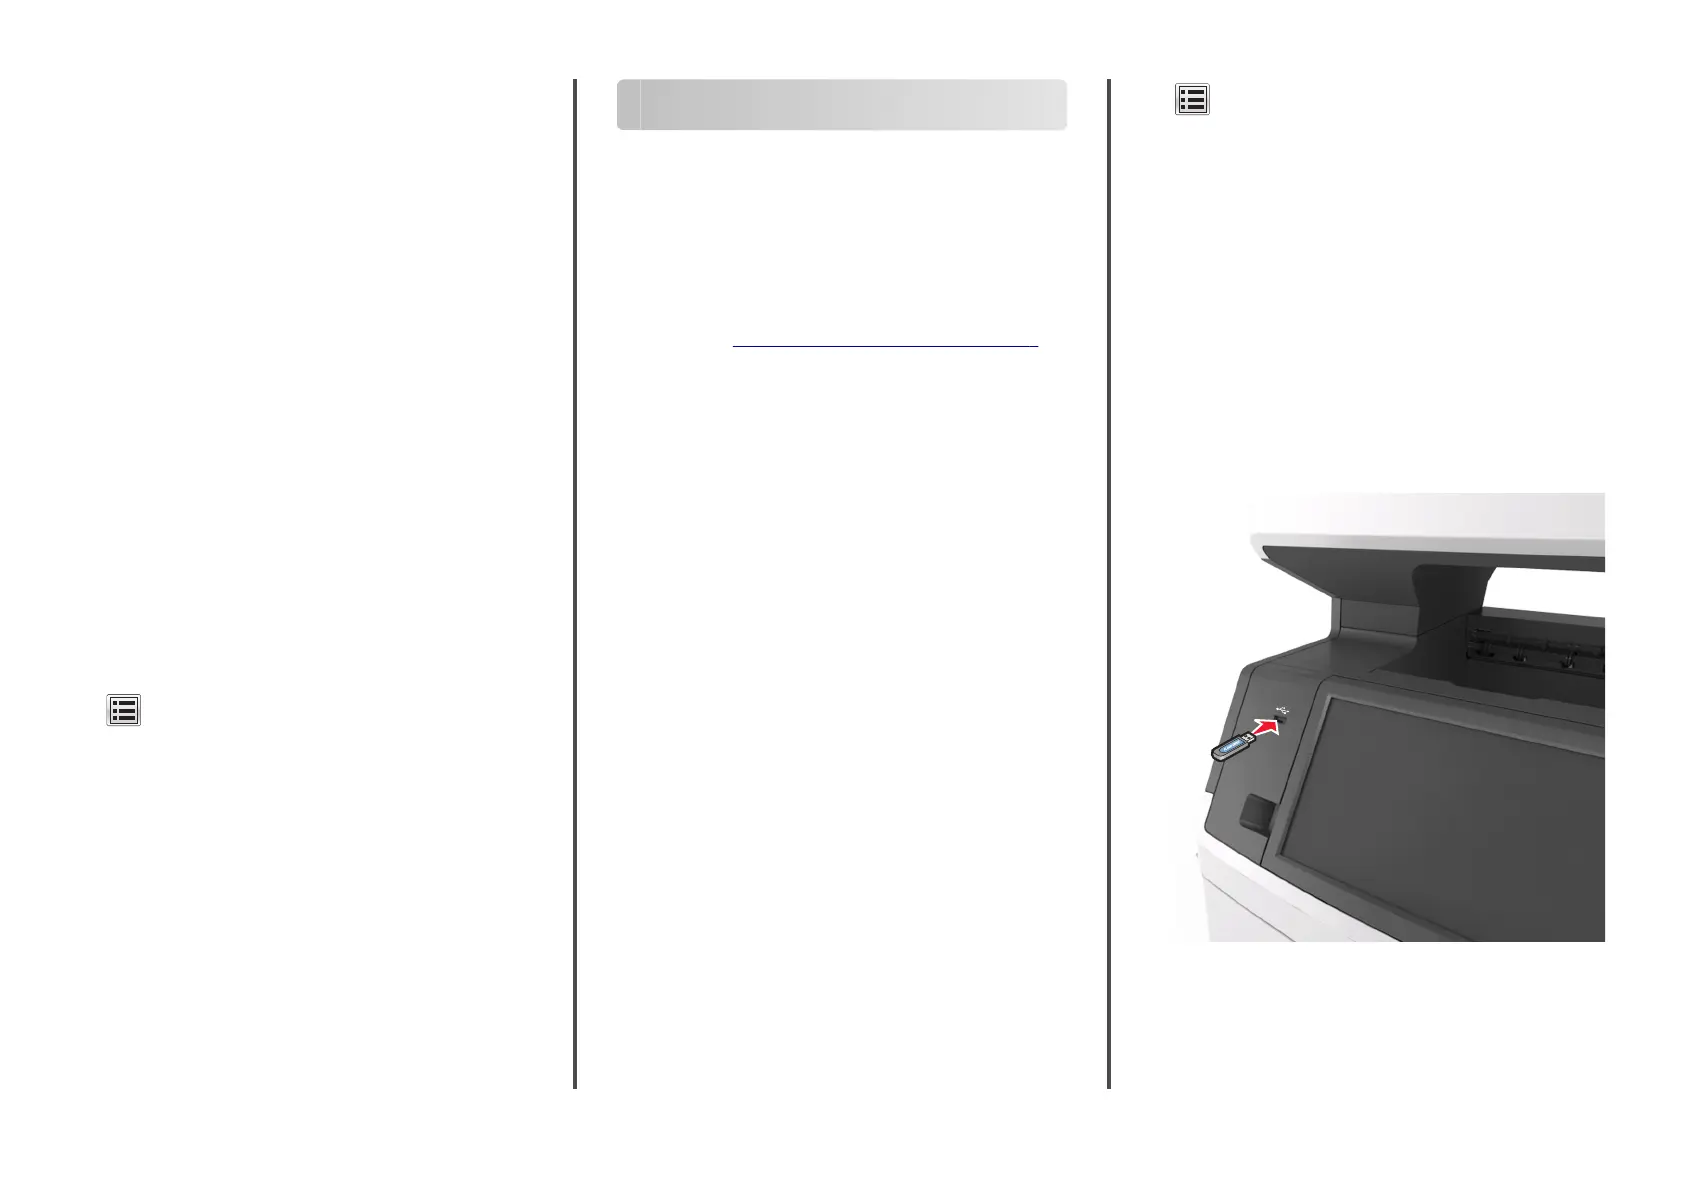
1
Insert a
flash
drive into the USB port.
Notes:
•
A flash drive icon appears on the printer home screen
when a flash drive is inserted.
•
If you insert the flash drive when the printer requires
attention, such as when a jam has occurred, then the
printer ignores the flash drive.
14
 Loading...