16
INSTALLATION
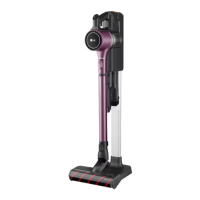
Installing the Charging
Station
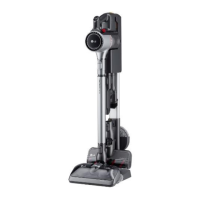
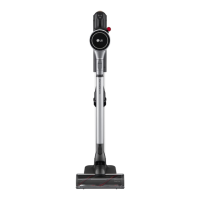
Self-Standing Installation
Follow the steps below to install the charging
station on a hard and level floor.
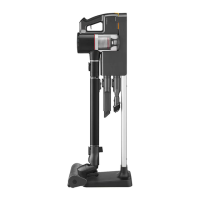
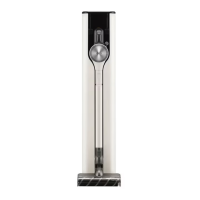
1
Place the floor stand dock on a hard and level
floor and assemble the floor stand pipe.
2
Clip the power cord tidily into the cord keeper
a
on the back of the floor stand pipe.
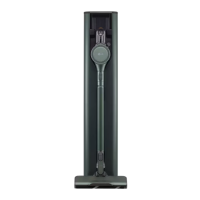
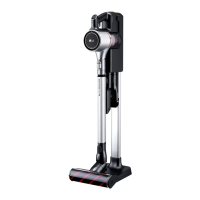
3
Slide the detachable nozzle storage onto the
floor stand pipe.
• Make sure not to pinch or tangle the power
cord behind the mop pads storage.
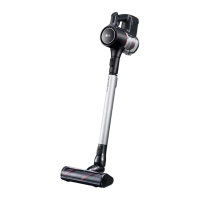
4
Assemble the charging station onto the top of
the floor stand pipe.
5
Connect the power adapter to the port on the
back of the charging station.
6
Drill a hole in the wall and insert the drywall
anchor
b
if needed.
• Before drilling, make sure that there are no
pipes or electrical wires inside the wall at the
desired location.
• For drywall anchor: use 1/4″ (6.5 mm) drill bit
• For concrete or wall stud: use 1/8″ (3 mm)
drill bit
• If screwing into drywall, use the drywall
anchor.
7
Align the wall anchoring block
c
of the
charging station, and fix the charging station
 Loading...