16
Connecting to the Water Tap*
* means that this feature varies depending on the
model purchased.
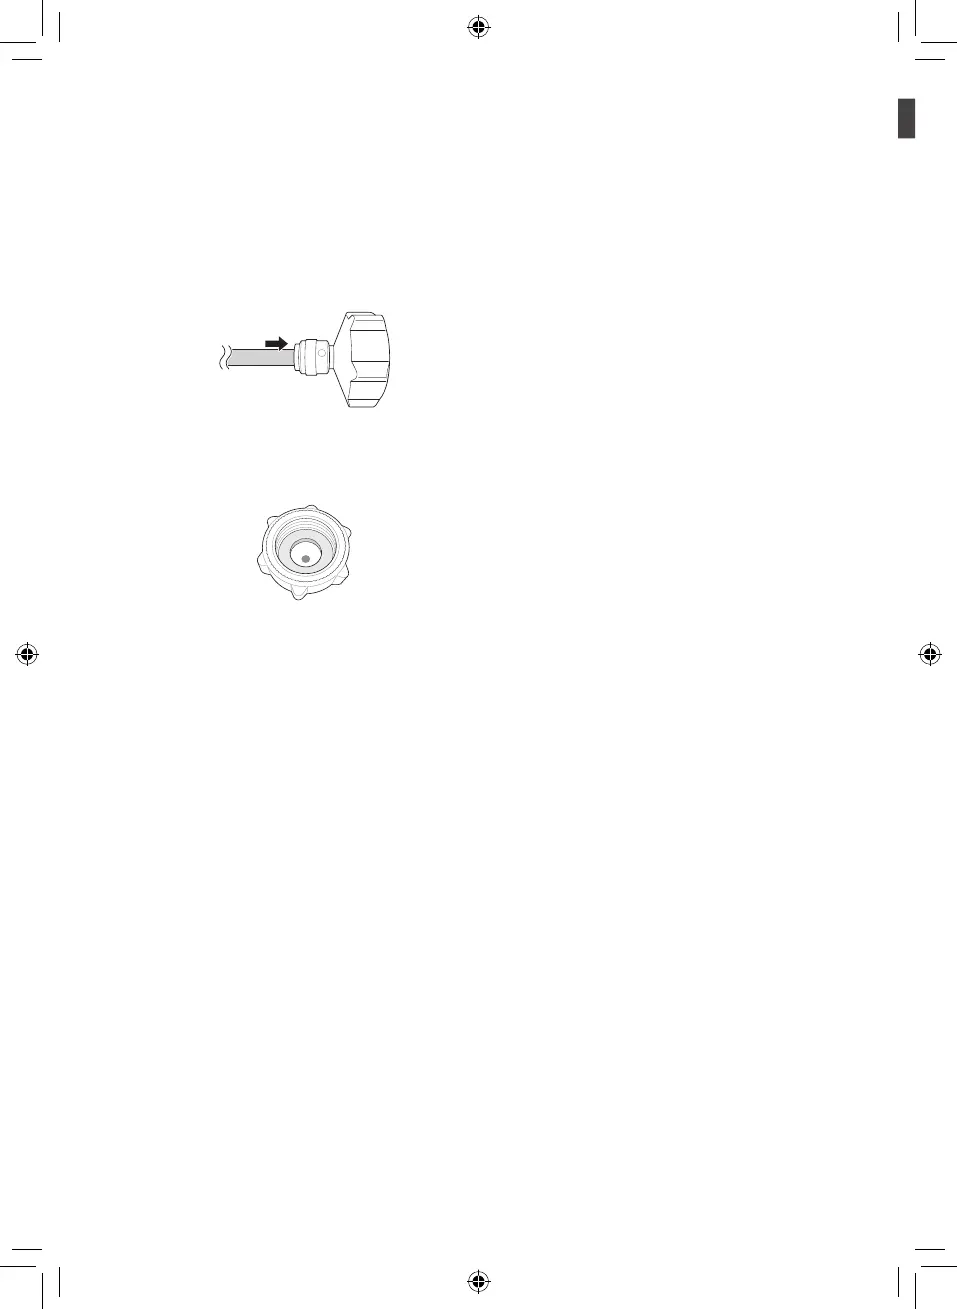
1
Push the water tube into the hole of the
tap connector supplied in the accessories.
The pipe should be held firmly whilst the
connector is pushed onto the pipe.
2
Ensure that the rubber washer is fitted inside
to the inside of the tap connector before
screwing it onto the tap.
Checking the Water Connection
1
Turn on the water supply and switch on the
appliance. Carefully check all fittings for
possible leaks due to poorly fitted hoses.
2
Press and hold the Water Filter button
for three seconds. That resets the
Replacement Filter icon. The new water filter
has been activated.
3
Place a cup under the water dispenser
to verify that water is flowing through the
appliance.
4
Check the connecting tube and joints for
leaks once again.
5
The water filter should be fixed at a
appropriate place where it is easy to reach for
replacement purposes.
Connecting the Appliance
After installing the appliance, connect the power
plug into a socket outlet.
NOTE
• After connecting the power supply cord (or plug)
to the outlet, wait 2 or 3 hours before you put
food into the appliance. If you add food before
the appliance has cooled completely, your food
may spoil.
Moving the Appliance
1
Remove all food from inside the appliance.
2
Pull the power plug out, insert and fix it into
the power plug hook at the rear or on top of
the appliance.
3
Tape parts such as shelves and the door
handle to prevent from falling off while moving
the appliance.
4
Move the appliance with more than two
people carefully. When transporting the
appliance over a long distance, keep the
appliance upright.
5
After installing the appliance, connect the
power plug into a socket out to switch on the
appliance.
 Loading...