Do you have a question about the LG LMV1852ST and is the answer not in the manual?
Installation preparation, recommended installer, and model number location.
Guidance on avoiding electric shock and ensuring proper grounding.
Precautions regarding oven door and safety interlocks to prevent energy exposure.
Conditions that prohibit oven operation due to damage (e.g., bent door, broken seals).
Mandatory professional service for oven adjustments or repairs to prevent hazards.
Guidelines for wall structure, weight bearing capacity, and clearance for installation.
List and description of parts included with the microwave oven for installation.
List of tools and materials needed for installation, including protective gear.
Locating the grounded outlet and preparing for the power supply cord connection.
Instructions for setting up roof, wall, or room venting systems.
Adjusting the blower for different venting types (roof, wall, room).
Measuring, marking, and drilling holes for installation templates and mounting.
Securing the mounting plate to the wall, ensuring it is connected to a stud.
Hanging the oven, connecting power, and installing filter screens.
| Turntable | Yes |
|---|---|
| Control type | Touch |
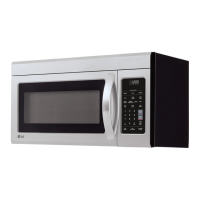
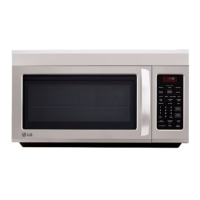
| Product color | Stainless steel |
| Microwave power | - W |
| Appliance placement | Countertop |
| Number of power levels | 10 |
| Connected load | 1000 W |
| Depth | 381 mm |
|---|---|
| Width | 736.6 mm |
| Height | 406 mm |
| Weight | 22000 g |