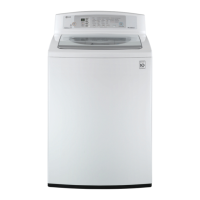
NATURAL
25
Location PIVOT(Color)
BLUE
3) Disassembly of Lid Assembly, Top
Cover, Tub Cover, Pulsator and Inner
Tub
① Remove Q-spring and two hinge pins then
disassemble the lid assembly
② Remove two top cover attaching screws in the rear, then
disassemble the top cover.
③ Remove tub cover attaching screws, then disassemble
the tub cover.
④ Remove the pulsator attaching screw, then disassemble
the pulsator.
⑤ Remove the hub attaching nut by a special tool.
⑥ Disassemble the inner tub.
4) Disassembly of Back Cover, Drain
Pump, Clutch (Transmission) and Motor
① Remove back cover attaching screws, then disassemble
the back cover.
② Disconnect the leads and the drain hose-p from the
drain pump.
③ Remove the pump attaching screws, then disassemble
the drain pump.
④ Fall down the washer for clutch and motor removal.
⑤ Remove the belt.
⑥ Disassemble the clutch.
⑦ Remove two motor attaching screws, then disassemble
the motor.
5) Replacement of Damper Assembly
① Separate top cover from washing machine.
② As in the drawing, lift the snubber bar and take it out of out
case with outer tub.
③ Damper assembly should not be disassembled.
Replace damper as assembly.
④ Reassemble in the same positions.
Tub cover
Inner tub
Hub fixing nut
Leads
Drain hose-p
Pump attaching screw
 Loading...