LGZ Broadcasting Tech | Copyright 2013 | Getting started
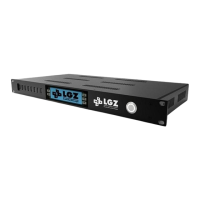
Format All (picture 5)
Accessed by pressing OK when
FORMAT ALL is selected in the USB List
menu (pic 4). Press OK to format all
connected drives.
BY pressing OK again here you will format all connected drives to NTFS. All the content on them
will be lost and irretrievable. If you wish to go back to the previous menu without formatting all
drives, press the BACK ARROW button.
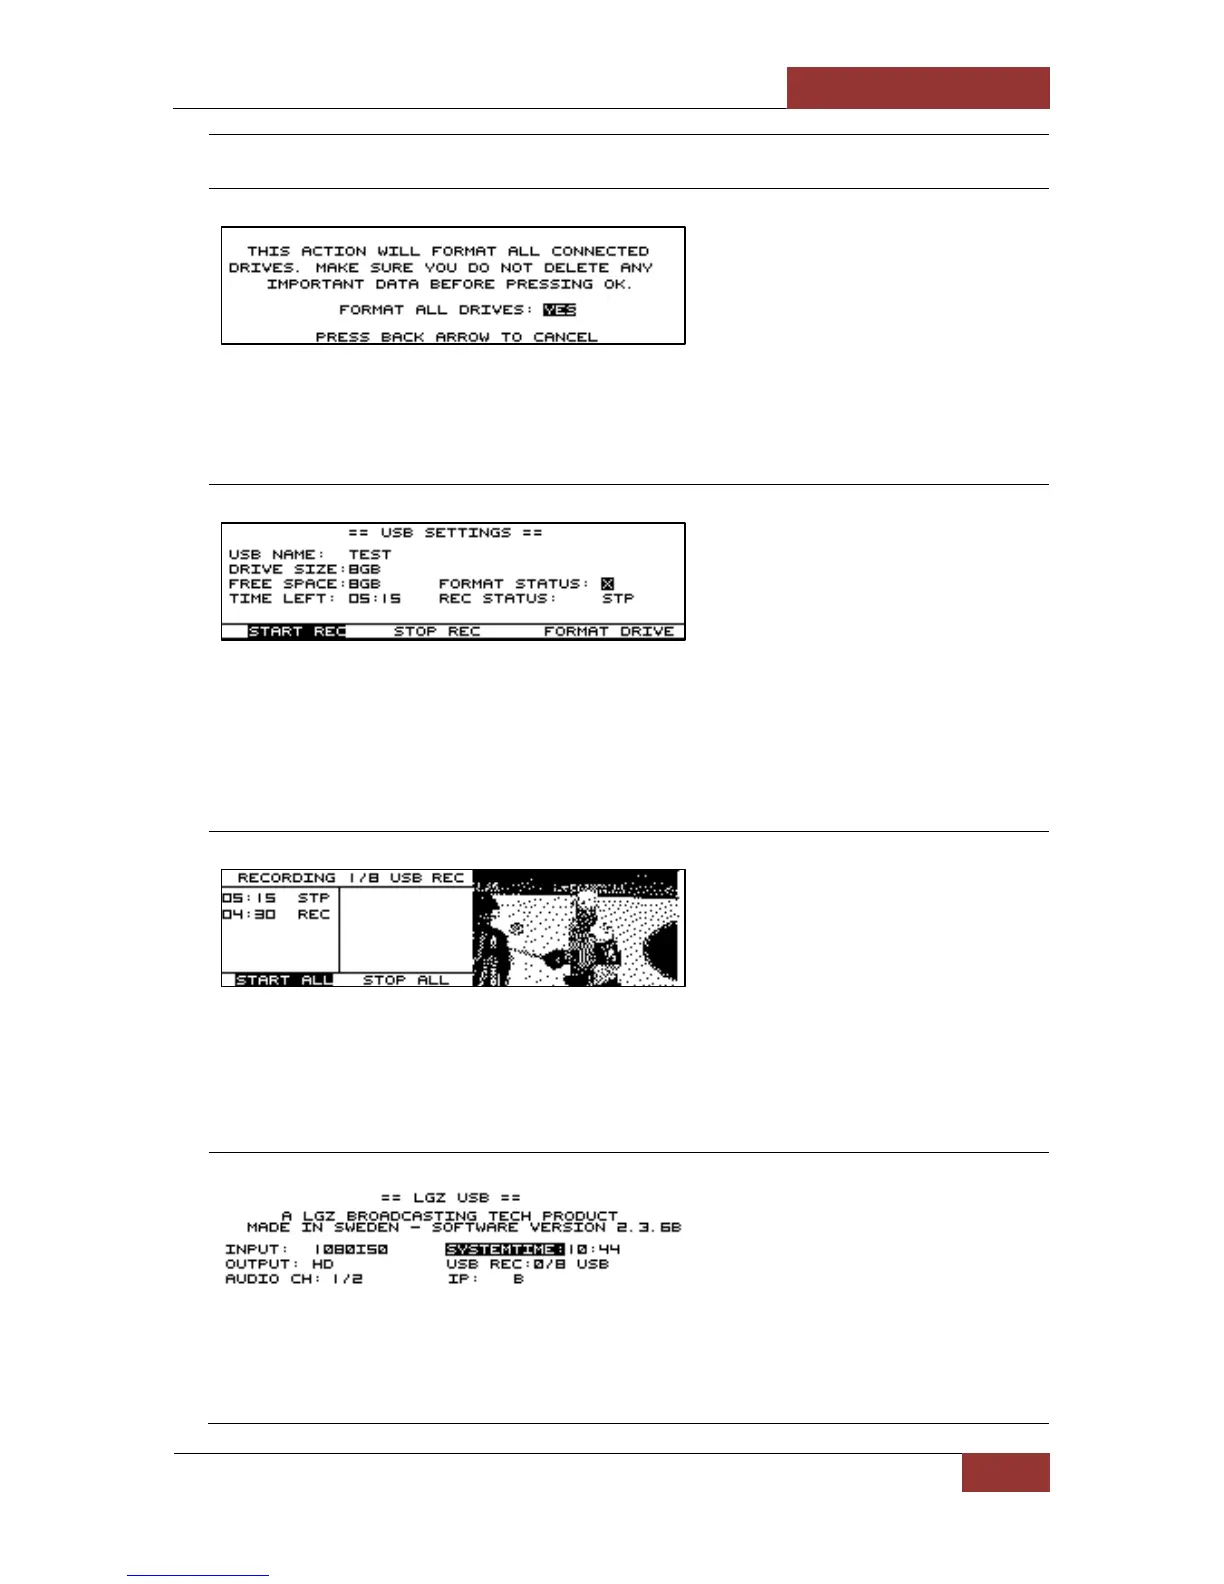
USB Specs (picture 6)
Here you can see the details of a
specific USB. From here you can
independently of other USBs format,
start rec and stop rec.
Here the operator can see information about each specific USB. It is important to know that the
free space is rounded down to the closest integer (an 8GB USB stick will often have 7,8 GB free
space, thus rounded down to 7). Independently of other USB devices, here the recording can be
started and stopped on this device. The device can also be formatted. Beware, the FORMAT
DRIVE button here will not ask if you are sure. The drive will be formatted right away.
Record menu (picture 7)
Here you can see a preview of the
INPUT and 2 audio level bars at the
right end of the screen. You can start
and stop recording on all units at once.
In this view you can see the time left on all USB devices connected at the same time. You also see
the picture Preview and the 2 audio level bars. If recording on at least on device the REC sign to
the top center of the screen will blink. The time left is indicated in HH:MM. This is the menu we
recommend you are in when recording to keep a good view of the work.
USB Info (picture 8)
This page shows information on the
unit (such as Uptime) as well as certain
settings that can be set. It is also here
that the IP is displayed if your unit is
connected to a network.
If it shows a “B” or “WB” it means the unit is set to DHCP but has not received an IP address from
your DHCP router. Make sure the unit is connected to the network and restart the unit.