4
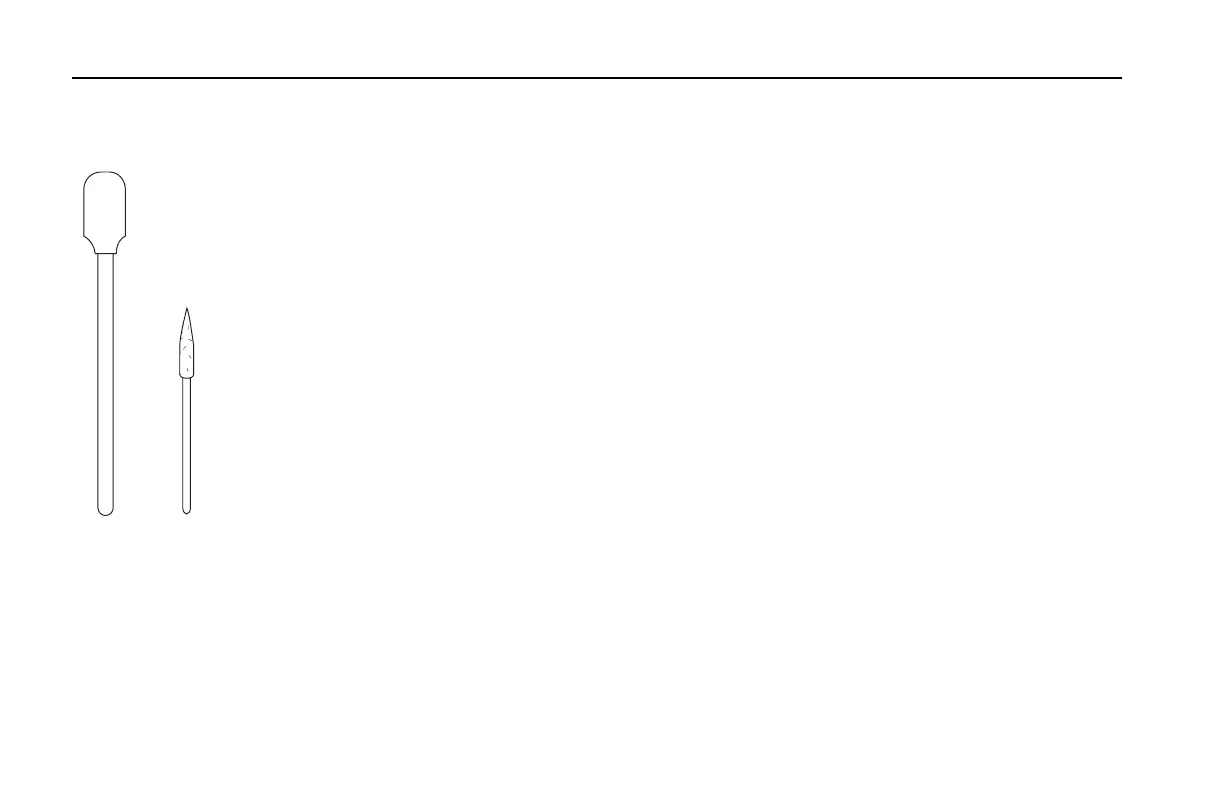
Use a swab and carefully swab the gold-plated concave surface of the source housing, if neces-
sary.
Optical
Path Swab
Reflector
If you need to clean out the hose barbs or replace the tubing connected to the source and
detector housings, use a small pair of diagonal cutters to remove the tubing from the hose barbs.
Use the cutters to pinch the tubing parallel to the hose barb axis, and then pivot the cutters over
the hose barb tip; the tubing will pull off of the hose barb. Be very careful not to cut the tubing
or scratch the hose barb with the cutters, as subsequent tubing connections may leak if the hose
barb is damaged.
5
Let the optical bench dry.
6
Re-assemble the bench, making sure the O-rings are in place on both ends of the bench.
Note that the orientation of the cylinder is not important; either end can be inserted into the
source or detector housing.
7
Re-assemble the LI-840A case.
Make sure that the foam insulation on the inside top cover is positioned over the optical bench;
it is required for thermal stability.
8
Perform zero, span, and secondary span calibrations as described in User Calibration - Setting
the Zero and Span on page3-23.
Section 5
5-4 Section 5. Maintenance