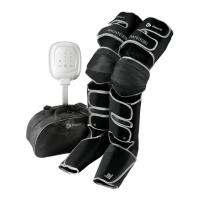
Wellness Recovery 9 8 Axis User Manual Lifepro
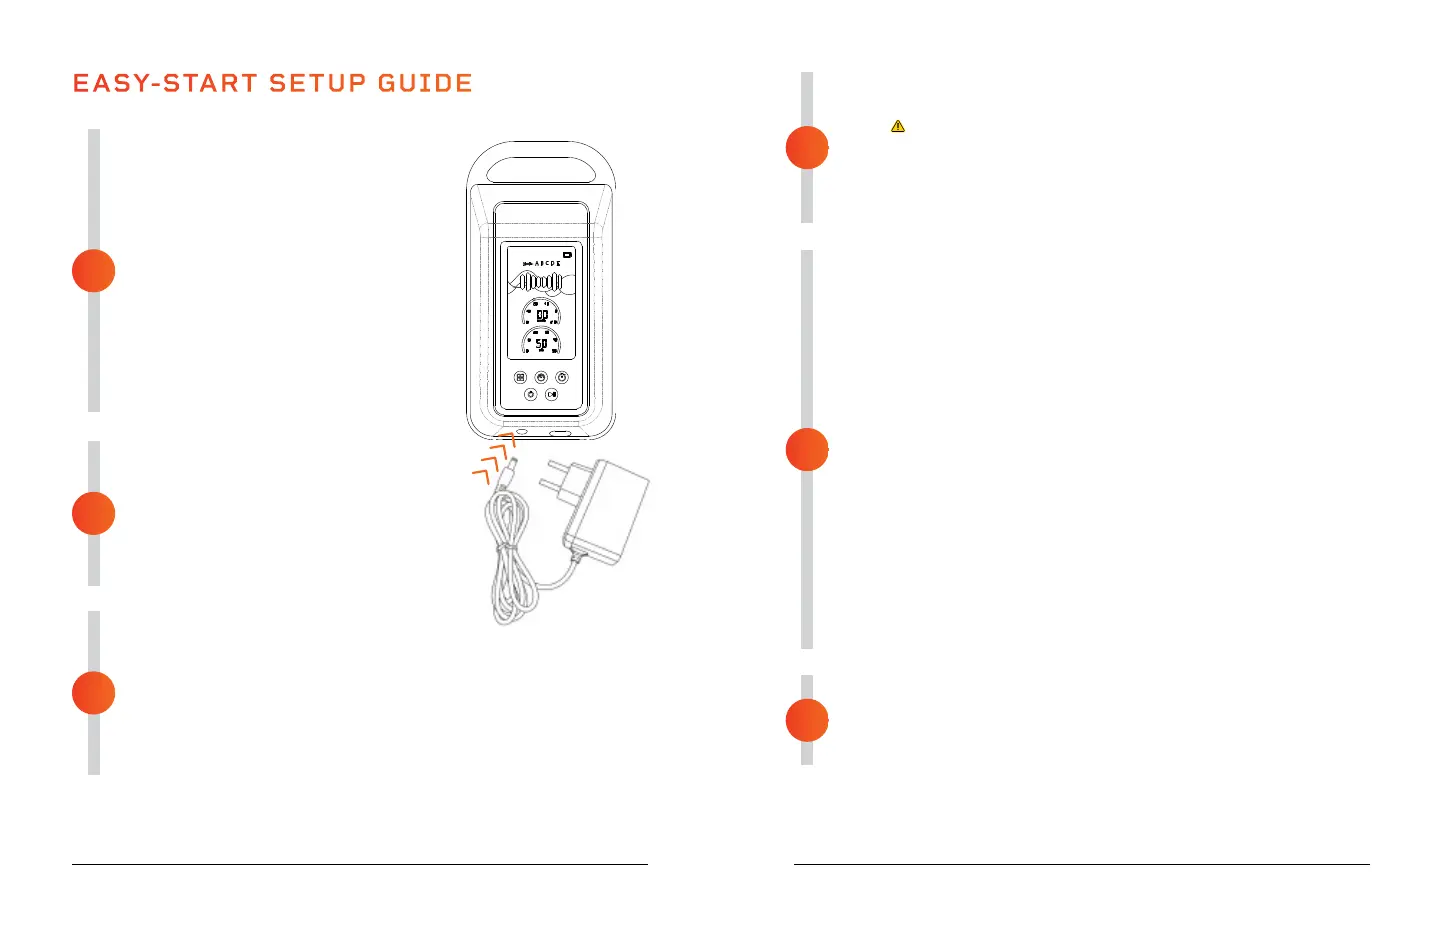
UNLOCK THE CONTROLLER
The controller comes locked to ensure
it does not accidentally turn on during
shipping. To unlock it:
• Plug the charging adapter into the
DC port on the base of the controller.
• Plug the charging adapter into a
standard wall outlet.
NOTE: If you wish to lock the controller
for travel or storage, press and hold the
Power button for 10 seconds. The buzzer
will sound twice to indicate the controller
has been locked.
FULLY CHARGE THE BATTERY
• Leave the charging cable plugged into
the controller and wall outlet and fully
charge the battery, for up to 5 hours,
before using the Axis for the first time.
• Disconnect the charging cable as soon
as the controller is fully charged.
CONNECT THE AIR HOSES AND
ADAPTER
• Insert the end of the left and right air hoses into the female end
of the hose adapter. Push firmly but not too hard. The air hose
connectors will click into place.
• Insert the male end of the hose adapter into the base of the
controller. Push firmly but not too hard. The hose adapter will
click into place.
EASY-START SETUP GUIDE
1
4
6
2
3
5
See OPERATING INSTRUCTIONS on the next pages for detailed usage and
charging instructions.
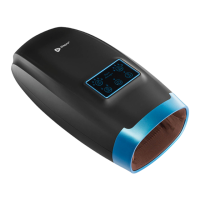
PLACE THE CONTROLLER IN A SAFE LOCATION
• Place the controller on a flat, stable surface next to you.
•
WARNING! Do not place the controller on a bed, blanket,
pillow, or soft furniture. Do not cover the controller.
• Place it at least six inches from the edge of the surface and
make sure it will not be able to slip off.
• Ensure you can easily reach the controller during the massage.
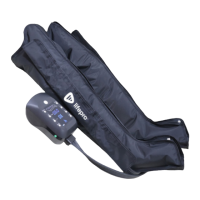
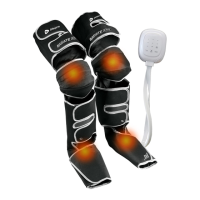
PLACE THE COMPRESSION BOOTS ON YOUR LEGS
• Sit, or lie, comfortably with your legs straight or slightly bent at
the knee.
• Unfold the compression boots and zip each boot to about ankle
height.
• Slide a compression boot onto each leg.
• Your feet should rest flat in the bottom of the boots and the top
of the boot should extend fully up your leg to your thigh.
• The boots are marked “L” (left) and “R” (right) to ensure correct
placement.
• When your legs are fully inserted, zip up the boots to secure them
to your feet and legs.
NOTES:
• Do not stand, walk, cross your legs, or sleep, while using the
compression boots.
• Keep boots completely zipped for the entire massage session.
• If the boots are too tight you will need a larger size. Contact
customer support for options.
BEGIN THE MASSAGE PROGRAM
• Press the Power button on the controller to turn it on.
• Adjust the massage time, pressure, and mode, as desired.
• Press the Start button to begin the massage.