12 | Using The Lil Buddy December 2008
NOTE: It is advisable to do a test-run of putting the new windshield in place prior to gluing. This
is so you can work out the exact manoevring required without having to worry about
accidentally smudging glue on the paintwork.
1. Turn the windshield over on the cradle and prep for windshield for installation, apply
glue.
2. If necessary, move the cradle with the windshield close to the side of the vehicle where
the Base Pivot Cup is attached to the door glass.
3. Adjust the end of the rod so it is the correct way for placing onto the Base Pivot Cup.
The side with the deeper cut-out needs to be facing upwards; the side of the shallower
cut-out need to be facing downwards. There should be a sticker on the rod end showing
which side is up. See figure 12.
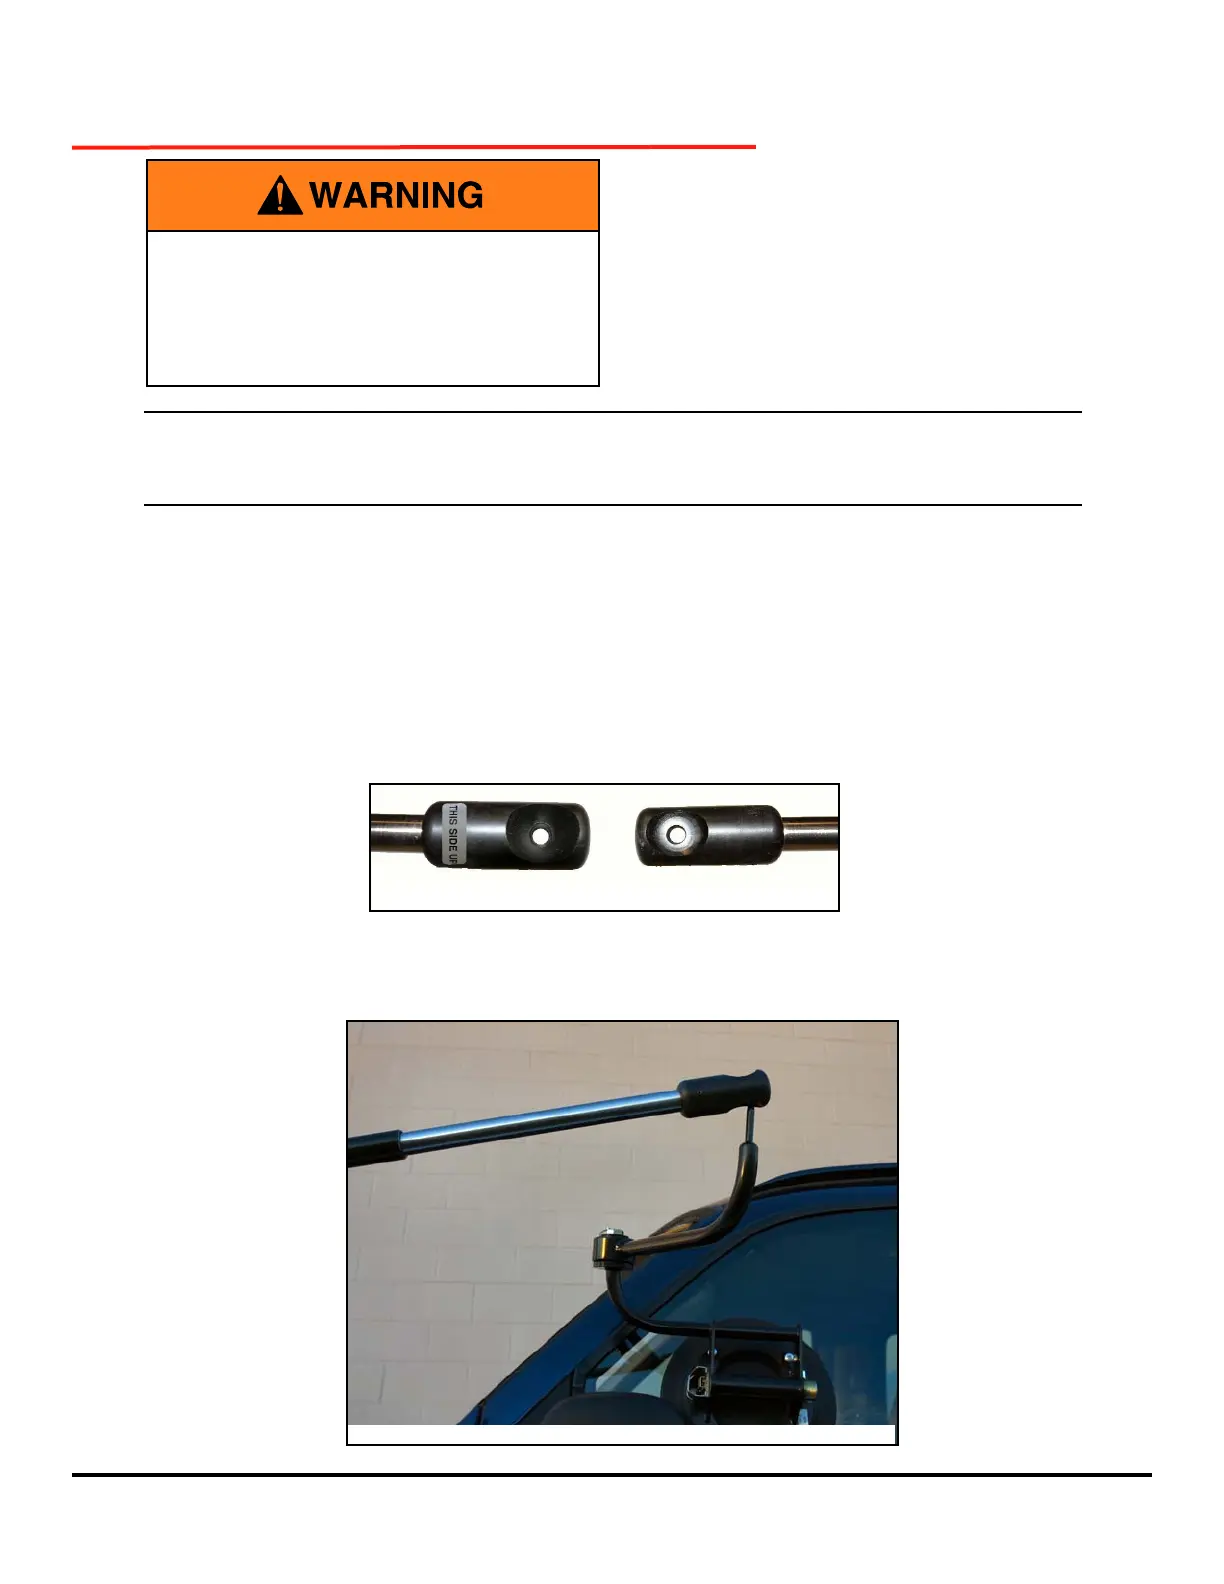
4. Fully extend the sliding rod and carefully place the rod end onto the pin at the end of
the Swing Arm. See figure 13.
Using The Lil Buddy
FIGURE 12 - SLIDING ROD END
FIGURE 13 - INSTALLATION OF SLIDING ROD END TO SWING ARM
Visually check cup seals before setting
windshield into place. A red line showing
on the cups brass pump rod indicates a
bad seal. DO NOT use the Lil-Buddy with
a bad seal.