Adjusting The Sliding Rod Cup Placement
20 | Special Techniques December 2008
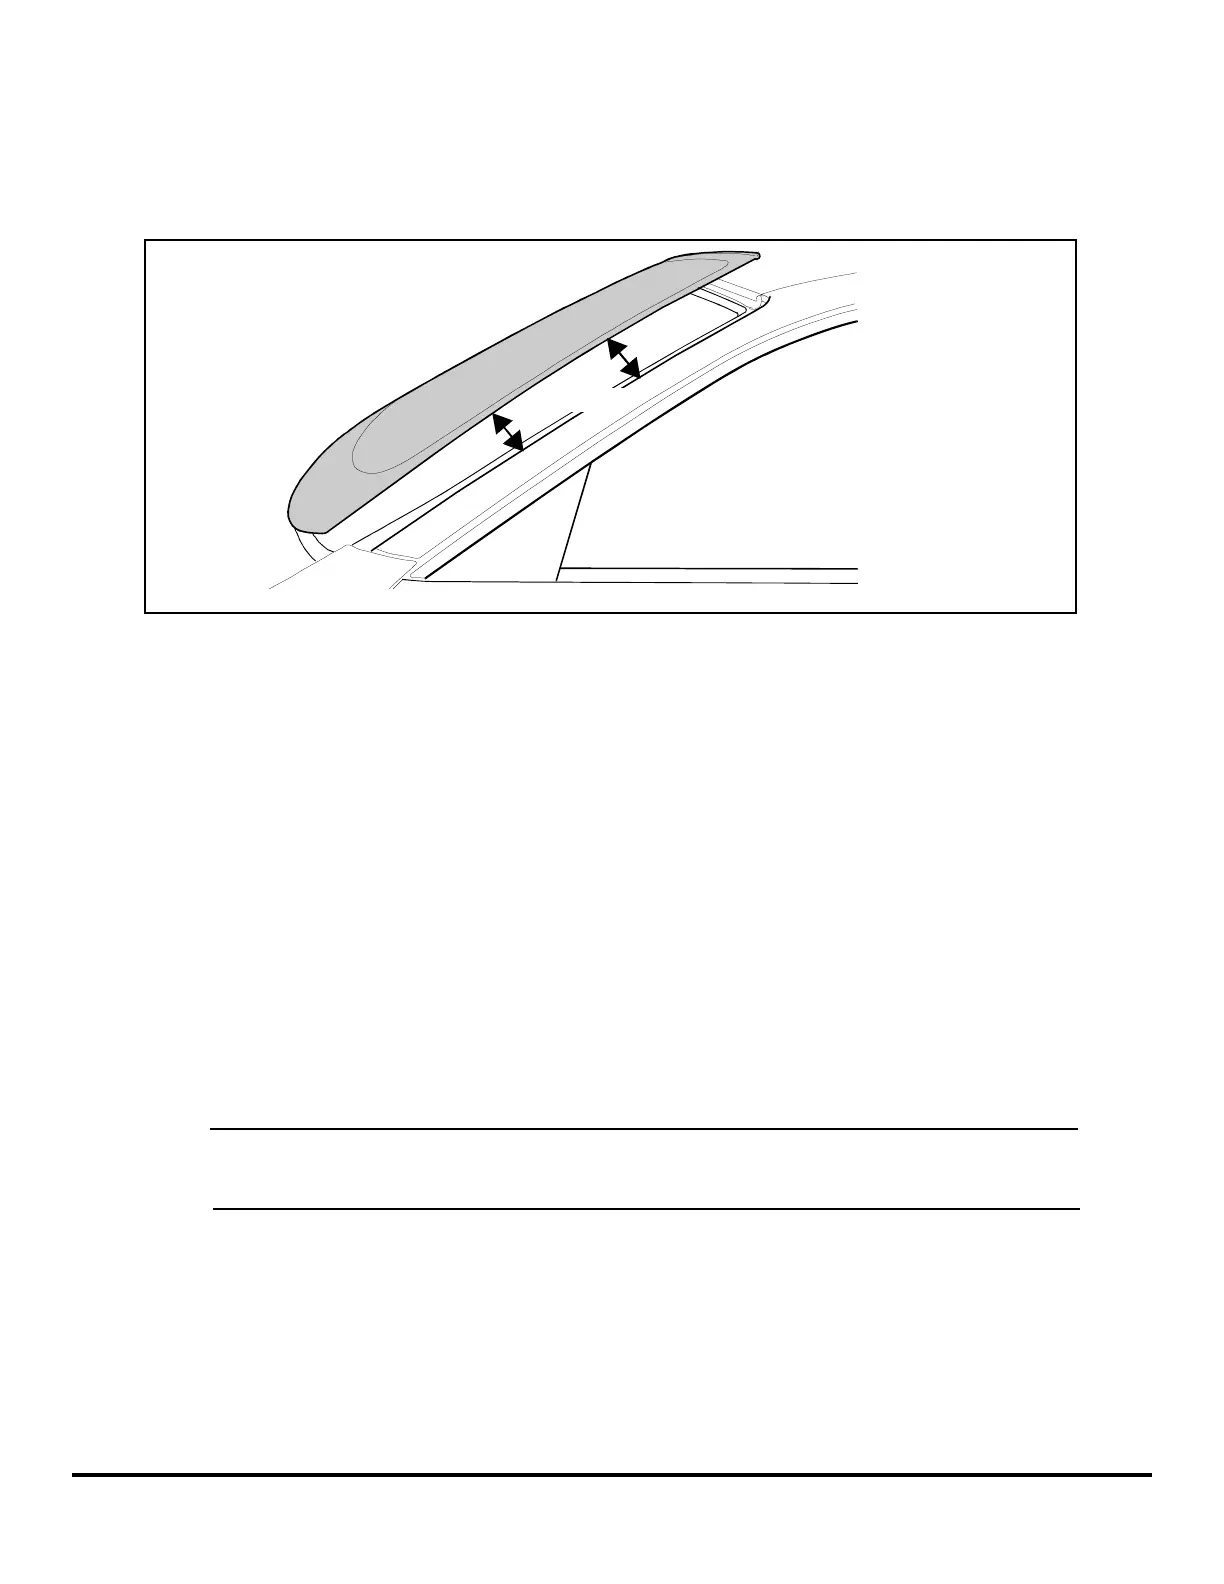
The standard placement for the Sliding Rod Cup on the new windshield, as described in the
manual, will give a gap of about 2 inches between the new glass and the aperture, when fitting.
This will be fine for 90% of replacements.
However, it is possible to adjust the Sliding Rod Cup placement, altering the 2 inch gap width,
to cope with different circumstances that you might encounter. For example:
• Obstruction of hood or fender - the gap between the new windshield and pillar should
be reduced to enable the glass to be positioned under the obstruction easily.
• Heavy windshields - the Sliding Rod Cup should be placed lower to give a more even
spread of weight for the technician.
As you become more experienced at using the Lil Buddy you will be able to view the car and
windshield type, and make an assessment on the Sliding Rod Cup placement.
1. Attach the Base Pivot Cup (see page 5) in the standard way.
2. Follow the standard procedure (see page 8) for positioning the Sliding Rod Cup on the
new windshield, that is:
• The rod is parallel to the windshield top edge.
• The center of the rod is above or below the 7 inch mark.
• The Lil Buddy lable on the rod to the side edge of the windshield.
Tip: For every 1 inch you move the Sliding Rod from the standard 7 inch placement; the
windshield gap will either increase or decrease approximately 1/2 inch.
See steps 3 and 4.