1•4
Dynamic DSP
As covered in the POD HD500X Advanced User Guide, the POD HD500X device oers a vast
number of HD Amp and FX of all types. Some Models require more Digital Signal Processing (DSP)
than others, so we’ve implemented a “Dynamic DSP” management system in POD HD500X to
allow you to mix and match any combinations of Models, and the device will automatically bypass
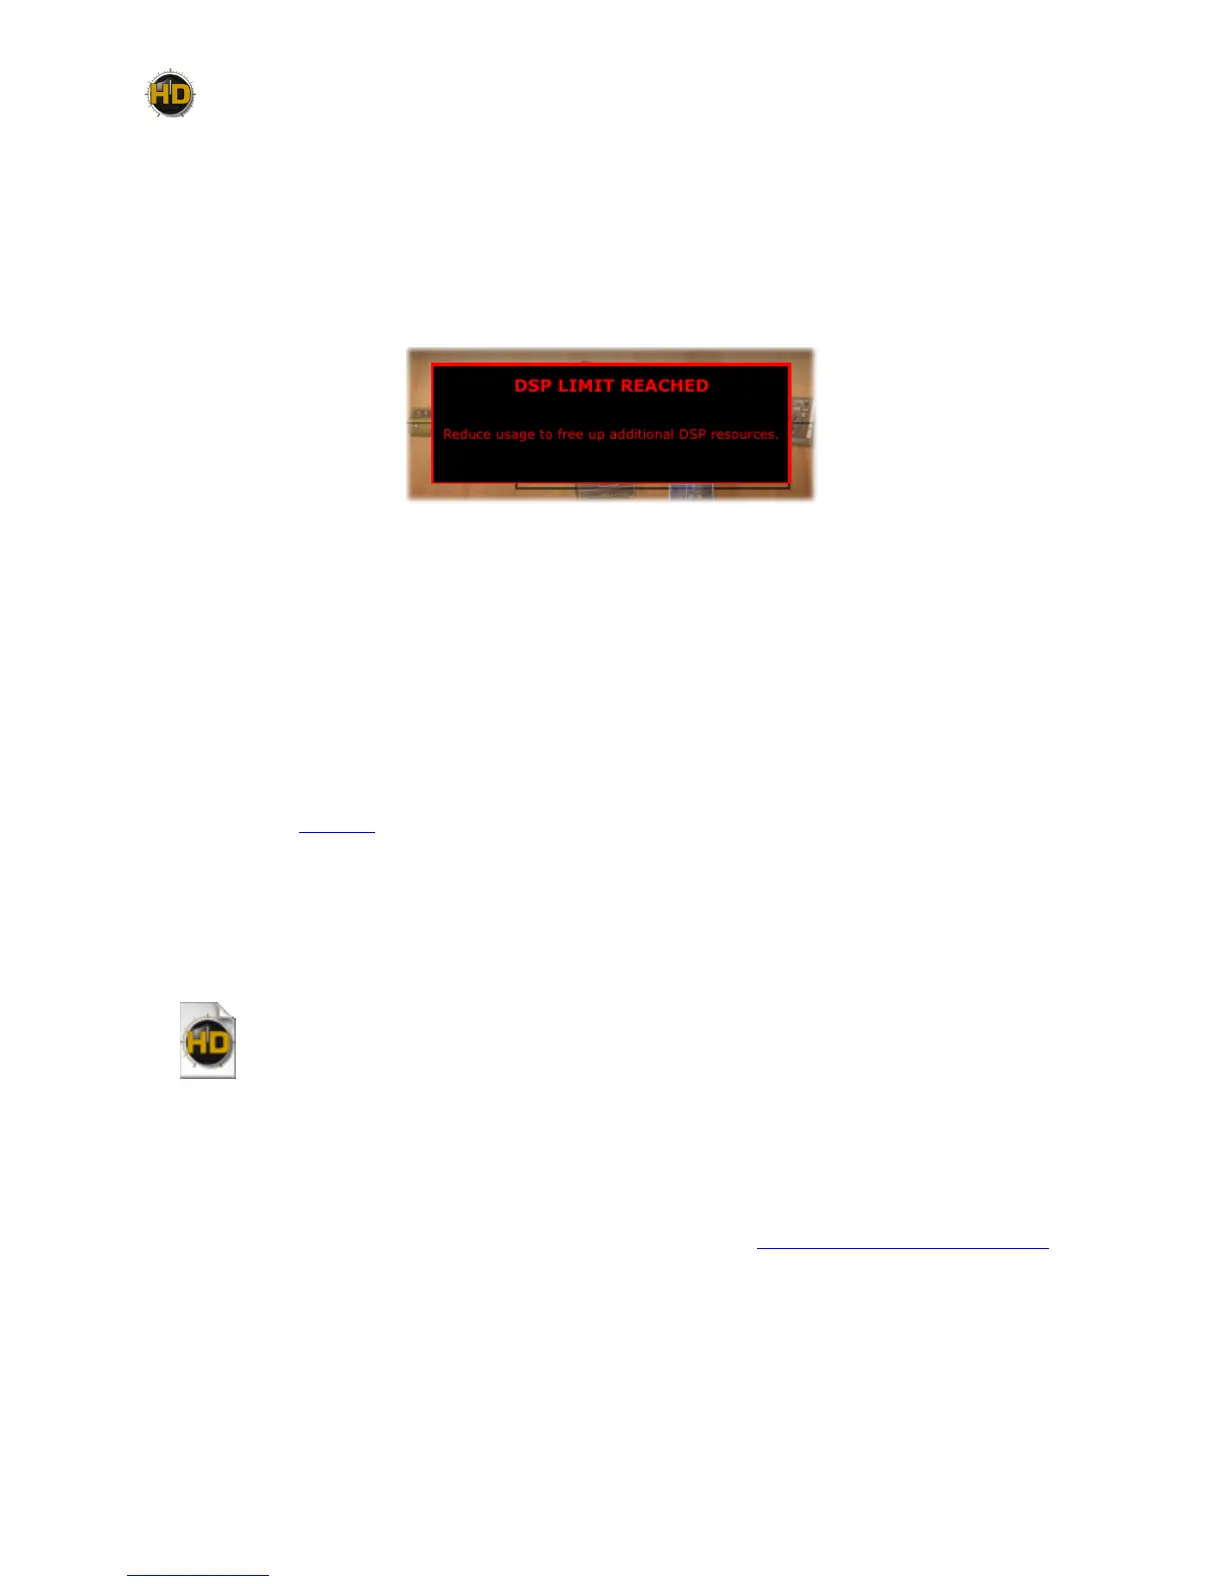
Models if the DSP limit is reached. You’ll be notied whenever this DSP limit is reached by the
following alert:
DSP Limit alert displayed momentarily in the SFV pane
Likewise, you’ll see a similar “DSP Limit Reached” alert displayed temporarily on your device’s
LCD screen. To alleviate the DSP load, you can toggle existing FX “O” or set Blocks to “Null,” or
try switching to dierent Amp or FX Models. The HD Amps, Reverbs and Pitch type FX Models
tend to be the heaviest DSP usage Models. However, even among Models of the same type, DSP
requirements vary - Simply trying a different Amp, Reverb or Pitch FX Model may be enough to
bring your Tone back below the DSP Limit.
Saving and Opening POD HD500X Preset Files
Note that there are two methods for “Saving” within the Line 6 POD HD500X Edit application. The
Save Panel allows you to “Send” one or all Presets from the application to your POD HD500X
device - see page 2•1.
The other way to “Save,” as covered here, is to create a copy of a Preset to any folder on your
computer as a POD HD500X Edit Preset (.5xe) le. This allows you to create a library of Presets
that can be reloaded onto your device at any time!
To Save a Preset to your Computer:
Double-click on a Preset within the application’s main Presets Panel or Set Lists View to
load it and then select “Save As” from the File menu. This launches the familiar Mac® or
Windows® le “Save As” window, where you can edit the le name and choose a destination
folder. By default, all .5xe les are saved to:
• Mac® - /Documents/Line 6/Tones/POD HD500X Edit folder
• Windows® - \My Documents\Line 6\Tones\POD HD500X Edit folder
It is also possible to drag any Preset directly from the main Presets Panel or Set Lists View and
drop it onto your Desktop, or into any folder on your computer to copy it there. Or, select multiple
Presets to drag and Save copies of each in one drop! (See the “Set Lists and Presets” on page 6•1 for
more on copying & moving Presets.)
 Loading...

