Rev: 10.24.19 Page 3
CCD-0002685
Prior to Installation
All screws supporting the awning assembly must have a backer within the structure of the wall of the unit.
Refer to the unit's manufacturer for proper location of backer material.
Resources Required
Installation
Awning Rail Installation (If Needed)
NOTE: Awning rail not included.
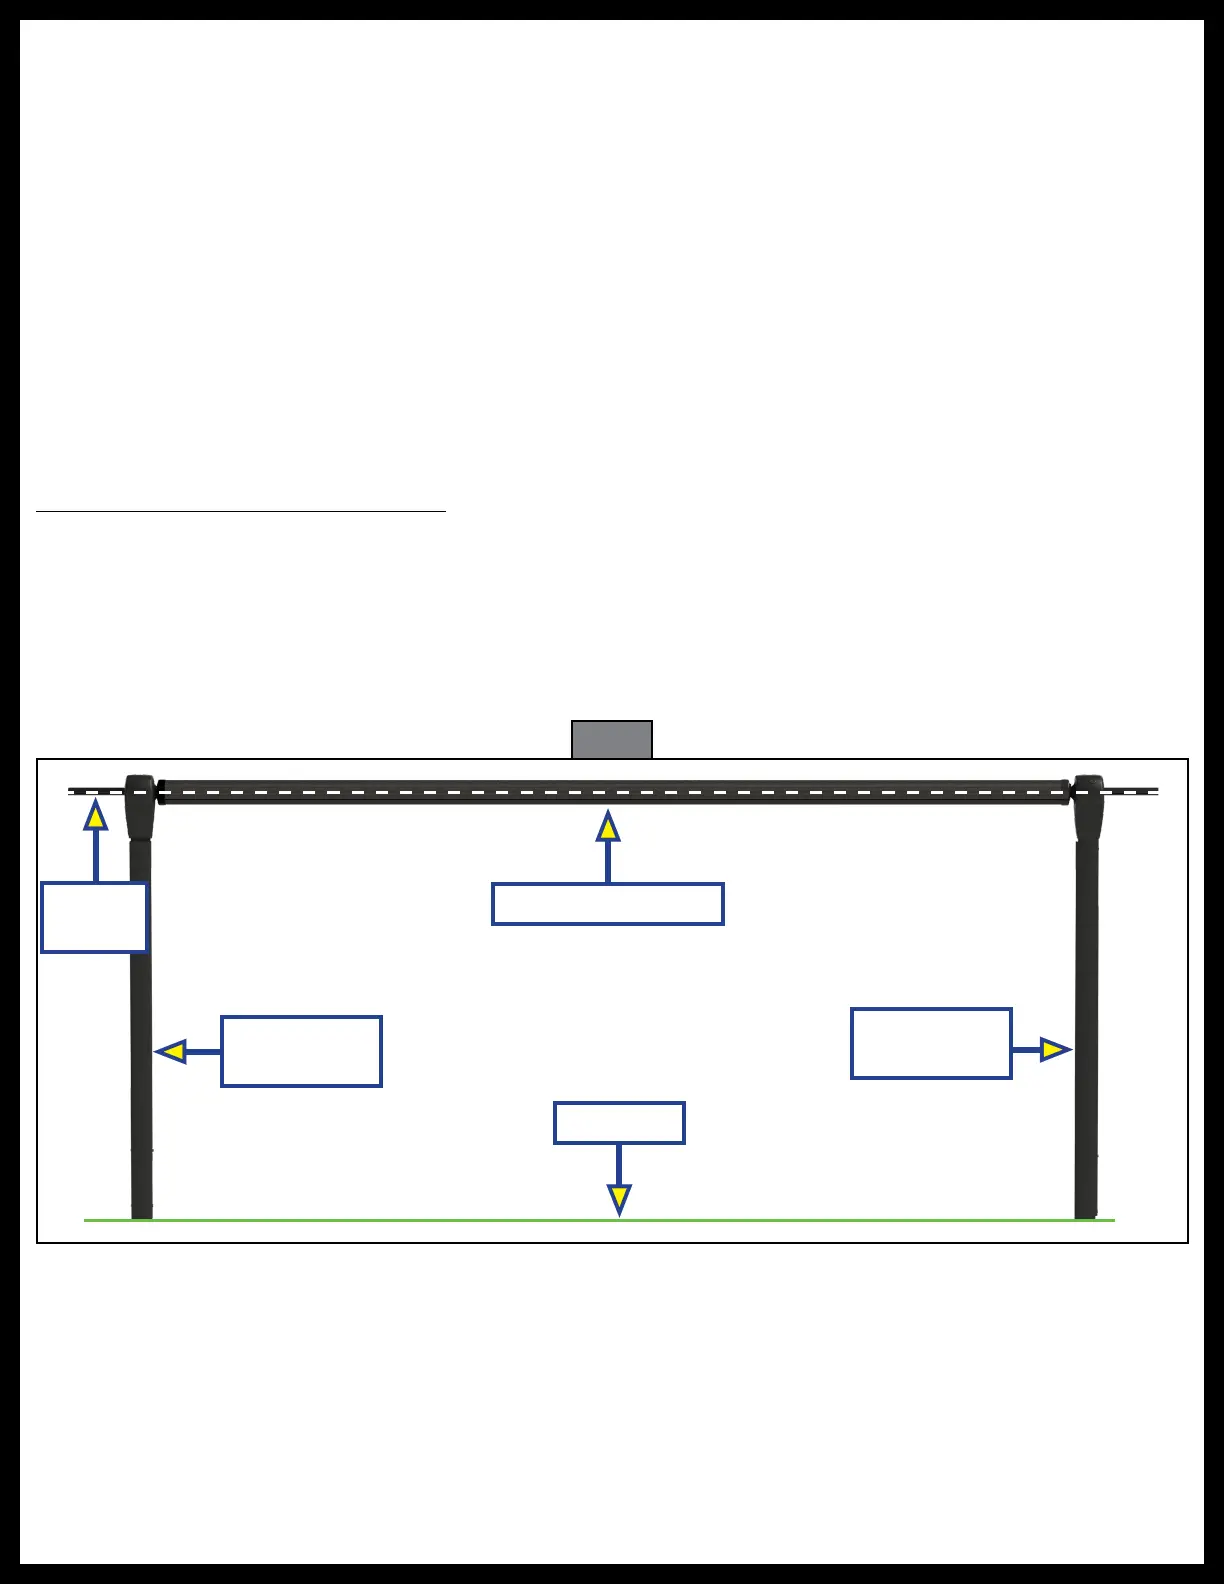
1. Position the awning rail along the line where the roof and wall meet or:
A. For pitched awnings, a minimum of 6” above doors or windows
B. For flat awnings, a minimum of 4” above doors or windows
NOTE: The awning rail MUST be level and parallel with the floor line of the unit (Fig. 1).
Fig. 1
2. After determining the awning rail's proper location, mark its position with a non-permanent method of marking.
3. Seal the back of the awning rail with silicone sealant or tape.
4. Align the awning rail on the wall and secure with #10 x
¾
” screws, using all fastener holes.
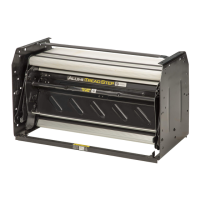
Roll Tube Assembly
Floor Line
Awning
Rail
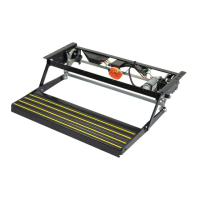
Support Arm
Assembly
Support Arm
Assembly
• 2 -3 People, depending on task
• Cordless or electric drill or screw gun
• Appropriate drive bits
• Rivet gun (if needed)
• Screwdriver
• #6 x
½
" hex head screws
• #10 x
¾
" screws
• #14 x 1
¼
" screws
• Wire cutters/strippers
• Non-permanent method of marking
• Silicone sealant or tape
• Silicone lubricant