Rev: 09.11.19 Page 4
CCD-0002616
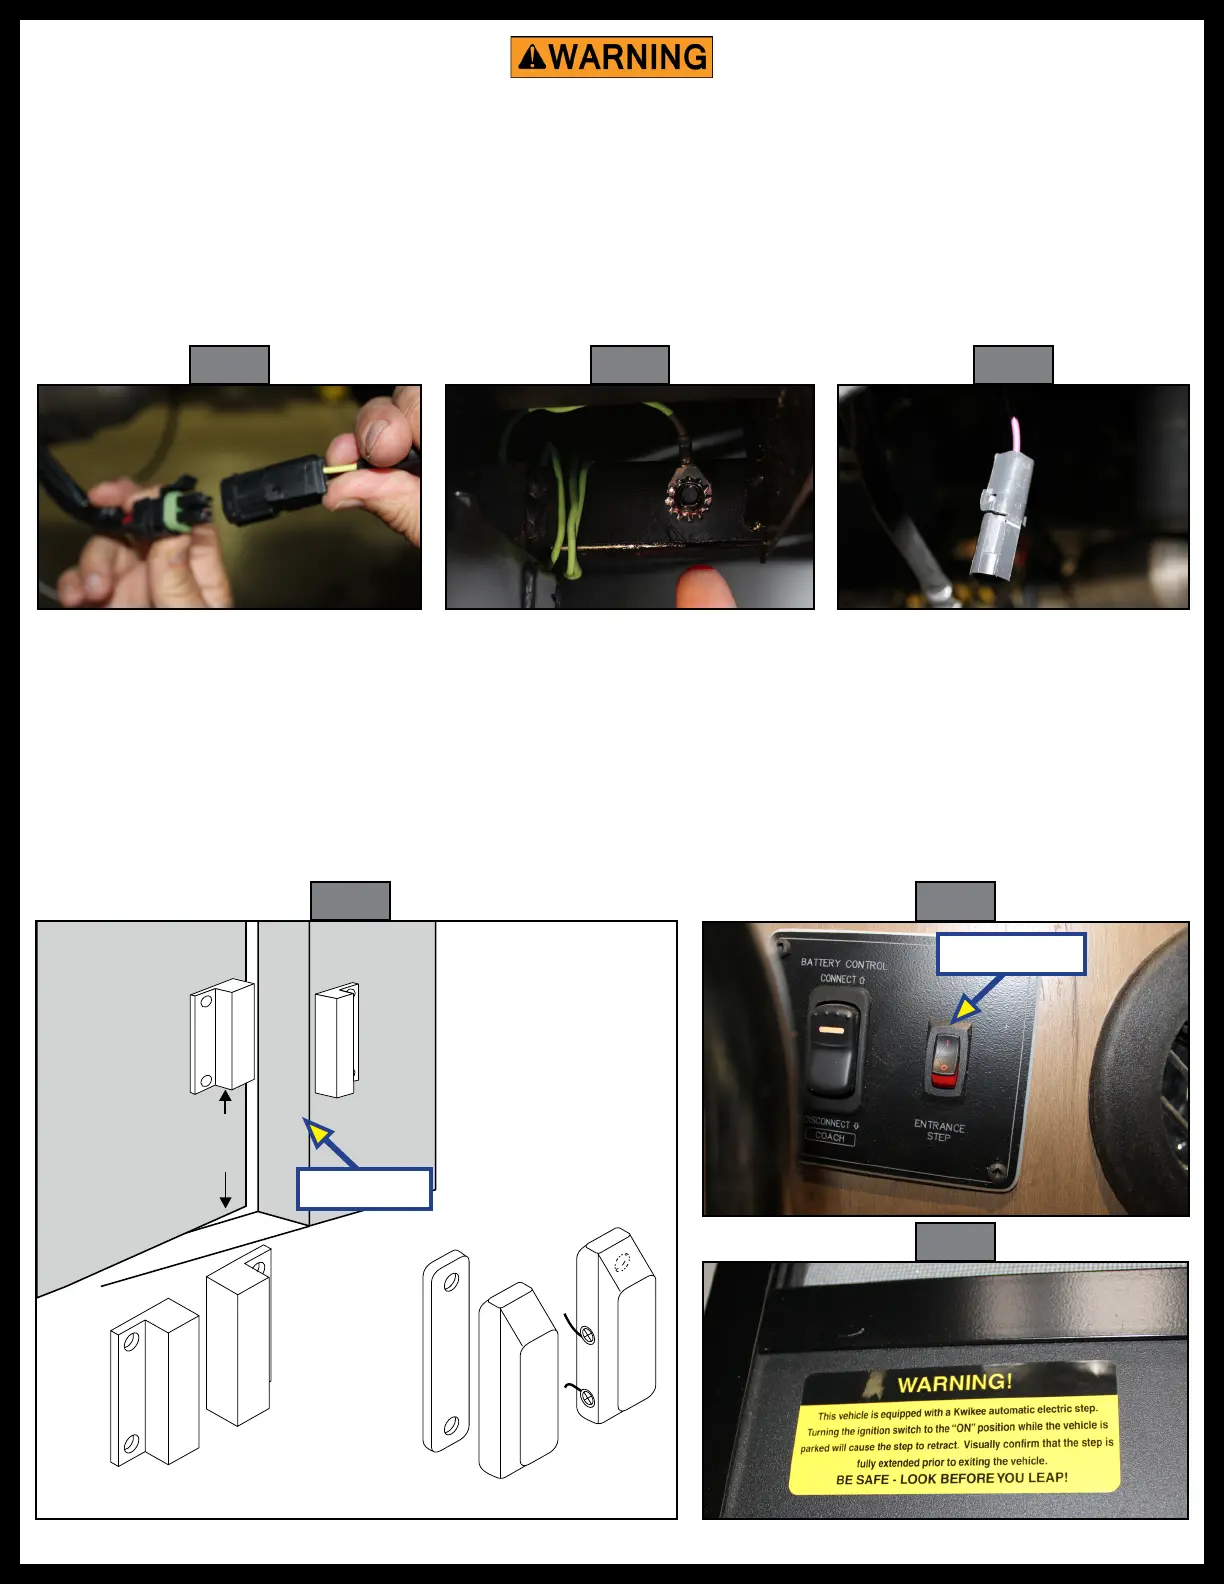
Black
Large magnetic
reed switch
Black
Small magnetic
reed switch
Door
Magnet
6"
minimum
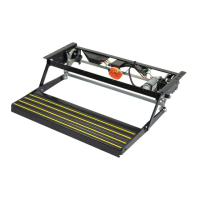
5. Connect harness to step wires (Fig. 3).
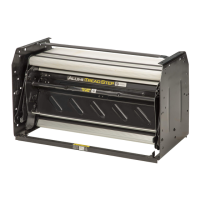
6. Install ground wire to chassis (Fig. 4). The ground wire should be located so that wires will not need to
be cut if the step is removed.
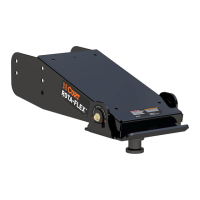
NOTE: The remaining purple wire is for an optional porch light (Fig. 5). See Wiring Diagram for Optional Light.
Fig. 3
Fig. 4
Fig. 5
Fig. 6
Fig. 7
Fig. 8
Latch Side
Step Switch
7. Install magnetic switch on the latch side of the door frame, with the magnet on the door (Fig. 6).
8. Connect wires from the step switch to the battery disconnect switch (Fig. 7). See Wiring Diagram for
Step With Control Unit.
NOTE: Appearance of switches may vary depending on OEM.
9. Install warning sticker in a visible location on the inside of the door (Fig. 8). The yellow warning sticker
reads: "This vehicle is equipped with a Kwikee automatic electric step. Turning the ignition switch to
the "ON" position while the vehicle is parked will cause the step to retract. Visually confirm that the
step is fully extended prior to exiting the vehicle. BE SAFE - LOOK BEFORE YOU LEAP!"
Step control wiring is only to be used for step and step light (provided with the step) functions. Do
not splice, cut or tap into any of the step wiring. Failure to heed this warning may result in voiding of
the warranty and/or failure of the step control, which may result in the loss of step function or re in
the step control.