6
2
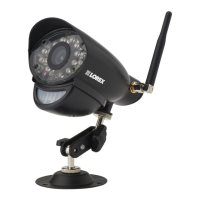
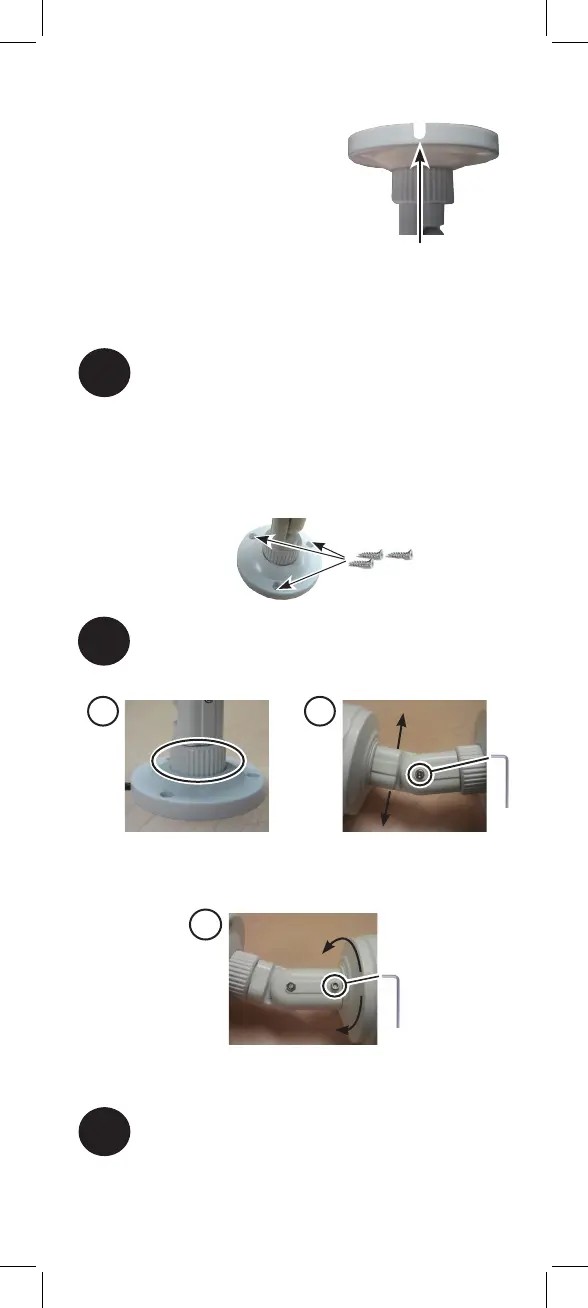
Adjust the position and angle of the camera
until the desired view is set:
B) Loosen lower screw with the
included Allen key to adjust the
camera’s vertical position.
C) Loosen upper screw with the
included Allen key to rotate the
camera housing.
A) Turn the adjustment ring
to tighten / loosen the stand
connection. Adjust the camera’s
horizontal position.
A B
C
To Install the Camera
1
3
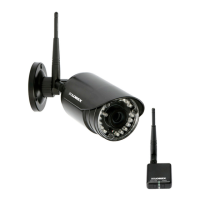
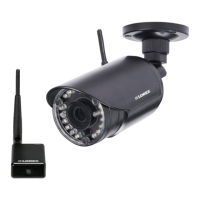
Screw the antenna to the back of the camera.
Use the included mounting screws to mount the
camera to the mounting surface:
• Mark the position of the screw holes on the wall.
• Drill holes and insert the drywall plugs (included)
as needed.
• Firmly attach the stand to the wall using the
provided screws.
Cable Notch
NOTE: Before you begin,
decide whether to run the
power cable through the wall /
ceiling (drilling required)
or along the wall / ceiling.
If you run the cable
along the wall / ceiling,
you must run it through the cable notch on
the base. This will keep the camera base flush to the
surface when mounted.