INSTALLATION
MOUNTING
Your 1240A is designed for convenient mounting the dash of your boat, or
it can be mounted on any flat panel that's at least four inches in diameter.
If the sonar is to located in the vicinity of a magnetic compass, run it in
position temporarily to make certain it doesn't affect the compass readings.
If the compass heading changes, choose an alternate location. (Note: The
sonar must be running when you make this test.)
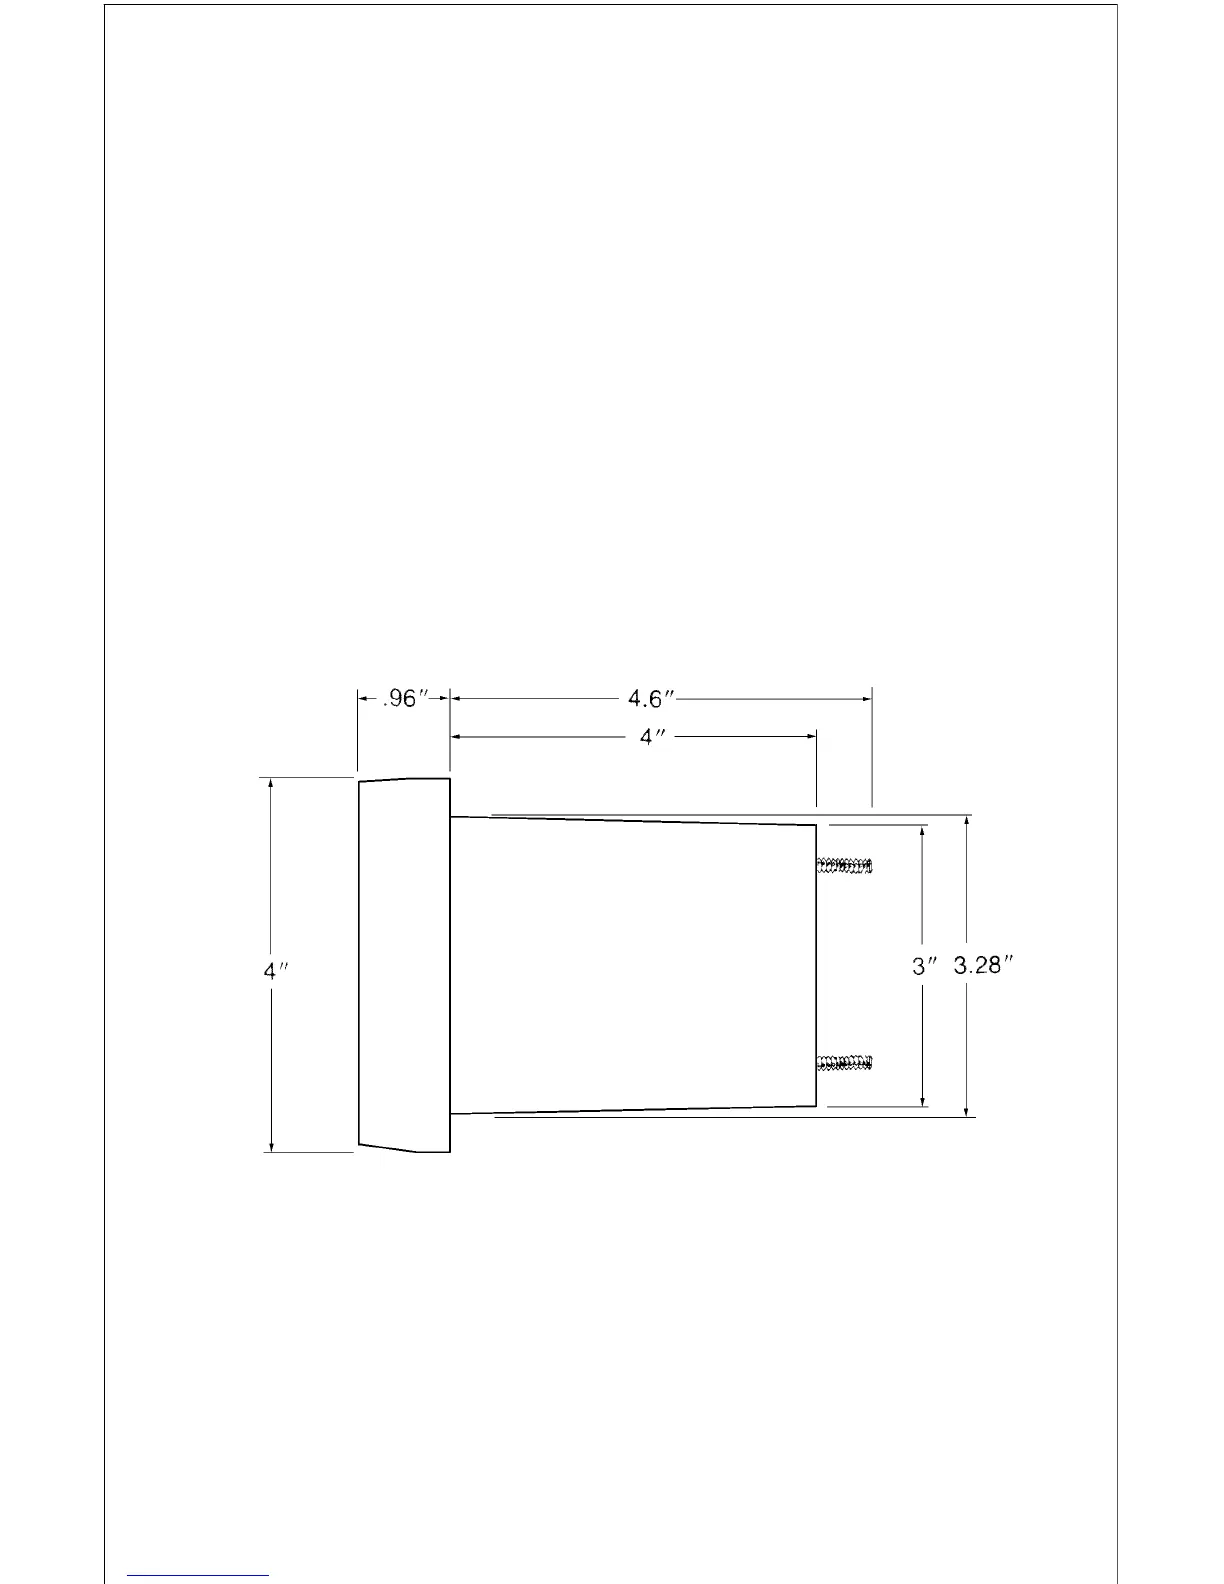
To mount the 1240A, first make certain there is clearance behind the dash
in the desired location. (See below for the unit's dimensions.) Also, be sure
there is enough room to connect power and attach the transducer connec-
tor at the rear of the unit. At least 5 1/4" are needed from the front surface
of the dash to clear all connectors and wiring. Once you've decided on the
mounting location, mark the spot.
Next, determine where to mount the control. Select an area with sufficient
space for the control decal on the front and enough depth behind the panel
for the control. The maximum panel thickness the control will attach to is
5/8". Make certain the control's cable will reach the display. Mark the spot
for the control.
Using a 3 3/8" hole saw, drill the display mounting hole. The display's bezel
will overlap the hole by 5/16", hiding minor chipping which may occur when
drilling the hole in fiberglass.
 Loading...