Do you have a question about the Lowrance HOOK2 7x GPS TS and is the answer not in the manual?
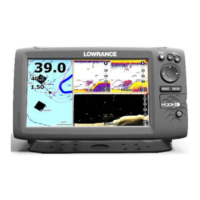
Press to activate the Home page.
Press to zoom the image or both keys for MOB waypoint.
Navigate menus, select panels, and position cursor.
Return to multi-panel page or exit dialogs.
Display menu or confirm selection.
Activate cursor or save waypoint.
Display system controls or power unit on/off.
Set brightness and select day/night mode from the System Controls dialog.
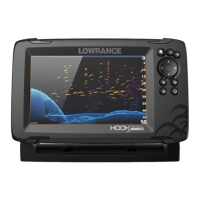
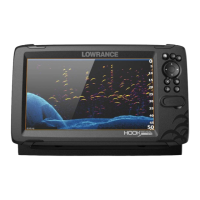
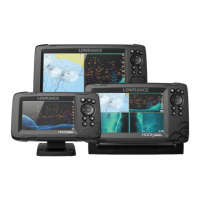
Overview of Tools panel, Page icons, and Customize option.
Use Arrow keys to switch active panel when cursor is not active.
Activate cursor, then use arrow keys to position it.
Maximize panel with Menu/Enter; return with X key.
Adjust panel size via System Controls and Arrow keys.
Zoom the image by using the Zoom keys.
Pan the image in any direction by using the Arrow keys.
Display item info by positioning cursor and pressing Menu/Enter.
Zoom the image by using the Zoom keys.
Use the Arrow keys to view the sonar history.
| Display Size | 7 inches |
|---|---|
| Resolution | 800 x 480 pixels |
| GPS | Yes |
| Waypoints | 3000 |
| Waterproof Rating | IPX7 |
| Split Screen Viewing | Yes |
| Sonar | Broadband Sonar |
| Power Output | 200W RMS |
| Depth Capability | 500 ft |
| Display Type | Color TFT |
| Mounting Type | Bracket |
| Operating Temperature | -15°C to +55°C |
| Storage Temperature | -20°C to +60°C |
| Sonar Frequency | 200kHz (High CHIRP), 455/800kHz (DownScan) |