|
3
HOOK2 x Series | Quick Guide - EN
Creating a route on the GPS Plotter page
1. Press an Arrow key to activate cursor mode
2. Press the Menu/Enter key to activate the menu, then select
the New route option in the menu
3. Press the Arrow keys to position the rst route point, then press the Menu/Enter key
to conrm the position
4. Repeat step 3 to position additional route points
5. Press the X key to save the route
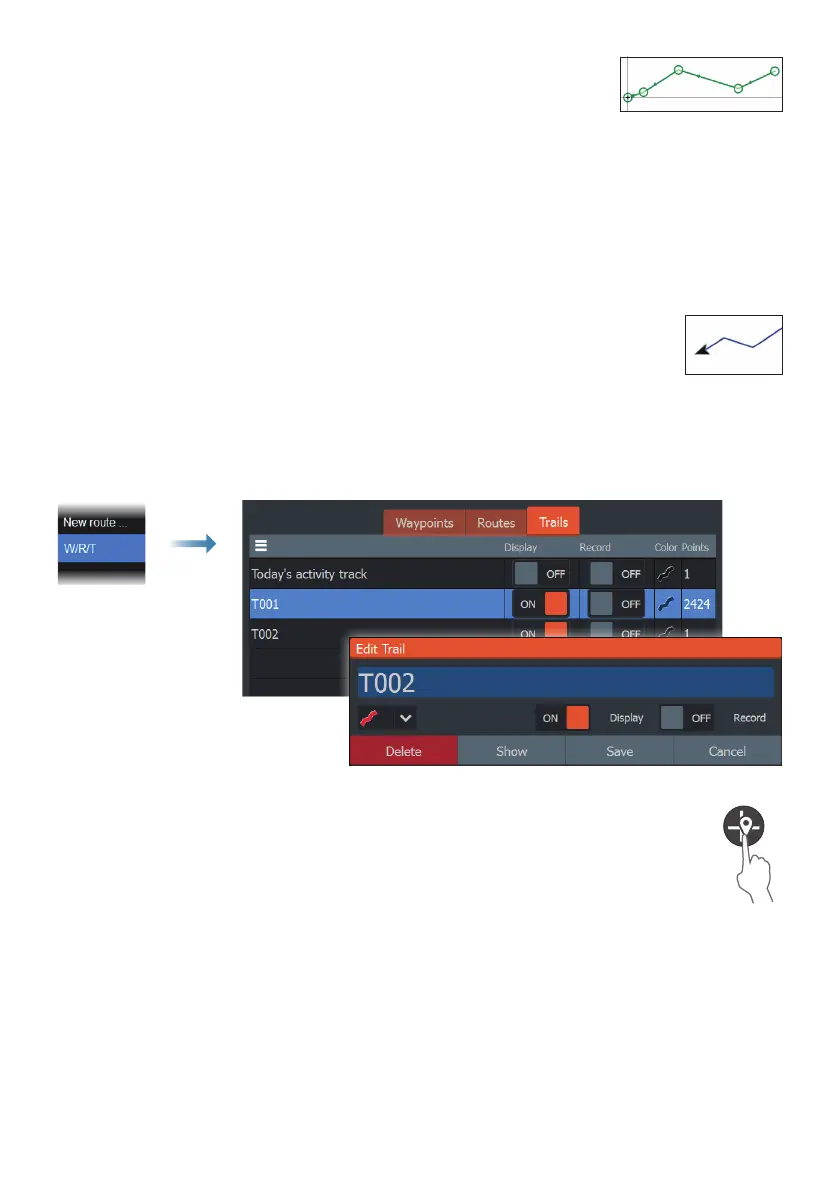
Trails
The system automatically tracks and draws the vessel's movement on the
chart panel. Trails are managed from the Trails dialog.
To display the trails dialog:
1. Select W/R/T from the menu
2. Select the Trails tab in the dialog
3. Select the trail you want to edit
Creating waypoints
Press and hold the Cursor/Waypoint key to save a new waypoint.
• With cursor inactive, the waypoint is placed at the vessel's position
• With cursor active, the waypoint is placed at the cursor position
 Loading...