Original Instructions Lumedica OQ LabScope 1.2 | Page 6 of
Quick Start (Basic System Only)
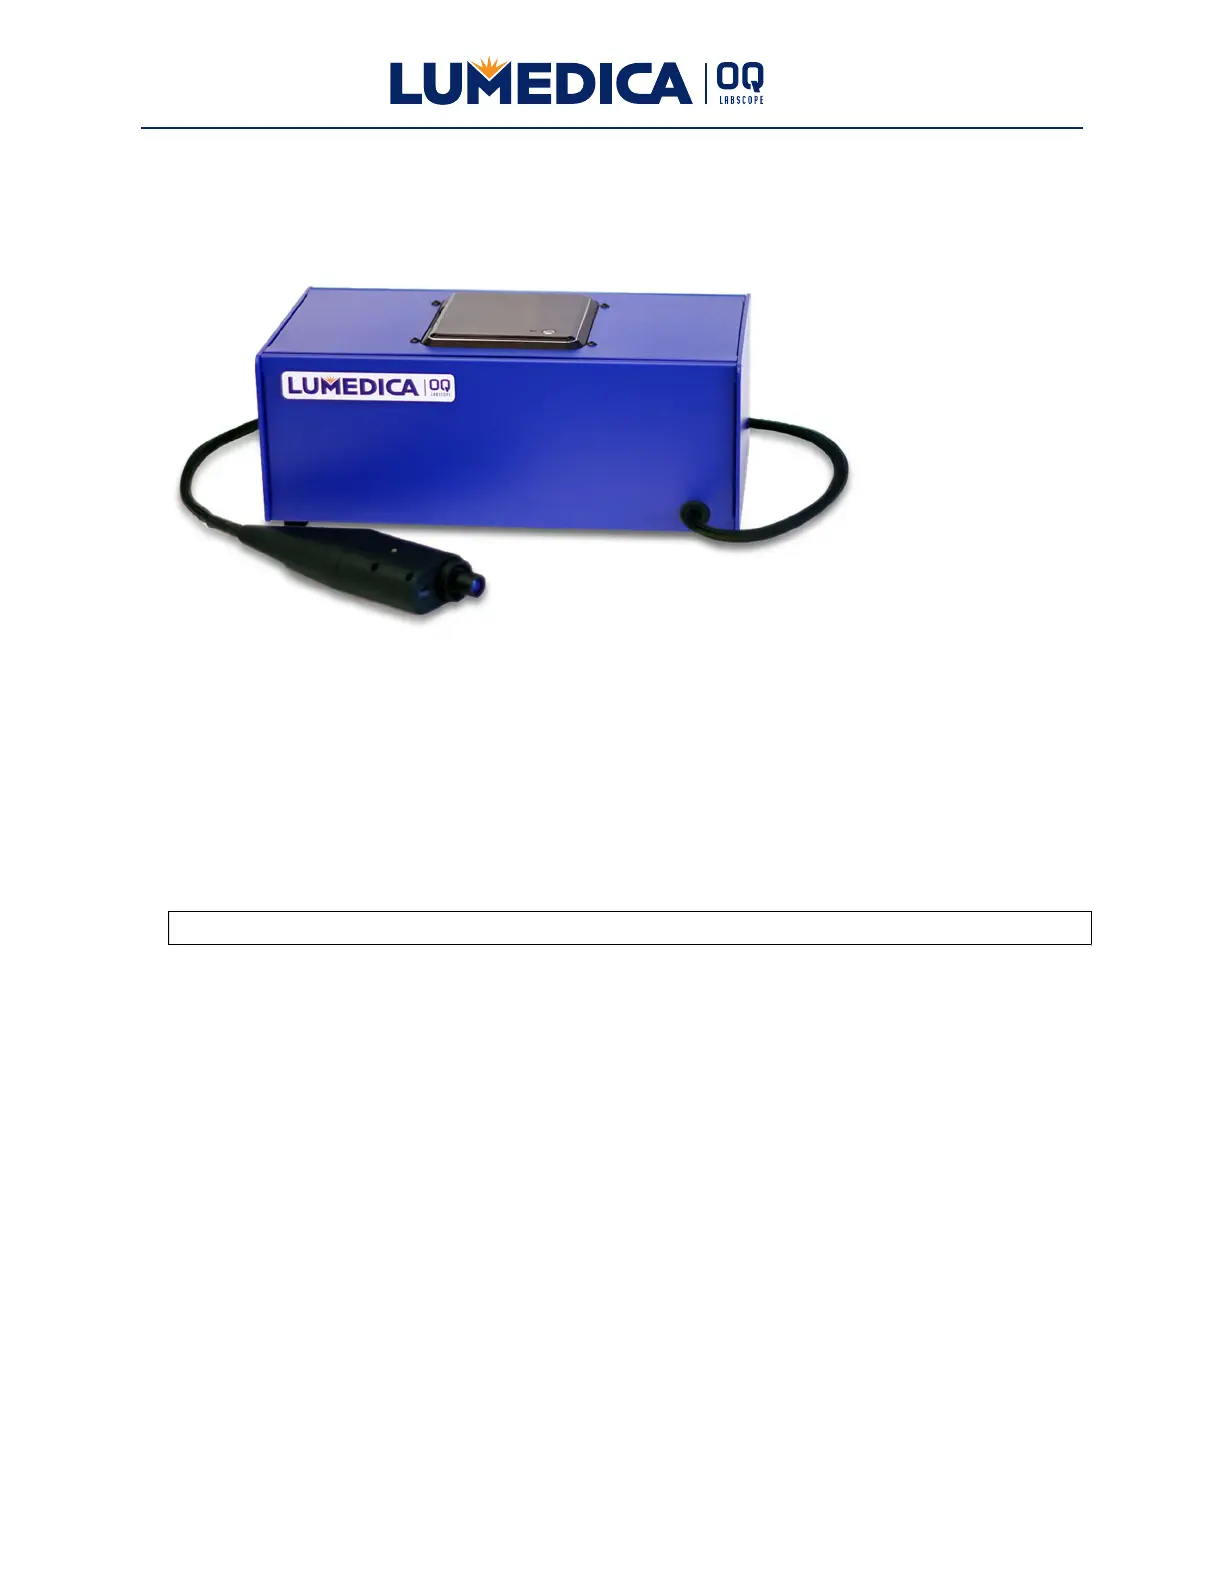
Carefully open the shipping box and unpack all items. Contents include:
User Manual
OQ LabScope system with handheld scanner
Power supply with 12Vdc cord
Appropriate country cord for 12Vdc power supply (US, EU, AU, IN, and UK)
Roll of Scotch™ tape
If any items are missing, please contact us directly at support@lumedicasystems.com.
1. Set up OQ LabScope system within a meter of an electrical outlet.
2. Select country cord for your location and plug into 12Vdc power supply.
3. Plug power supply into wall outlet.
4. Plug 12 Vdc power cord into back of OQ LabScope box.
5. You will need to supply a monitor with a resolution of 1920 x 1080 and an HDMI
interface with cord. The software interface is designed for this resolution and may not
work at other resolutions.
6. You will need a keyboard and mouse. We recommend using a combination wireless or
Bluetooth keyboard/mouse so that only one USB port is required.
7. Make sure that the handheld scanner cable is laid flat and not twisted or kinked.
8. Make sure scanner is in secure location and will not fall off of lab bench.
9. Power up OQ LabScope by pushing the button on top of the box.
10. Windows 10 OS will boot up and take you to the login screen.
11. Login username is: oqlabscope
12. Login password is: oqlabscope
13. Start OQ LabScope software by double clicking on Lumedica OQ LabScope icon.