20
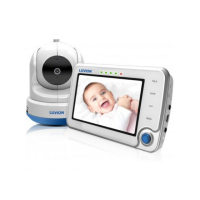
1. Plug one end of the provided power adapter into a wall outlet and the other end
into the monitor. See Fig. 5.
.
2. Press the POWER/VOX button and hold it around 3 seconds to turn the
monitor on. See Fig. 5.
Note 1: When power on the monitor
, "Power" LED will light up (green light).
Note 2: "Out of Range" will be displayed on the LCD screen if the monitor
exceeds the range (unlink).
Note 3: Press the POWER/VOX button and hold it around 3 seconds to turn off
the monitor.
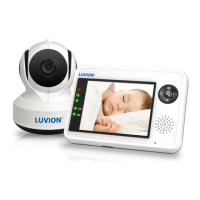
Monitor Remote Control Function
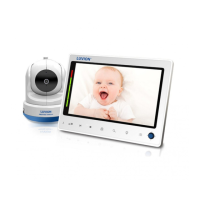
The monitor can control the movement of the camera. The camera head has the
ability to rotate up, down, right and left. Press the up or down buttons
on the monitor to move the camera up or down. Press the left or right buttons
on the monitor to move the camera to the left or to the right. See Fig. 6.
Note : The audio will be muted when motor rotates.
Zoom in Function
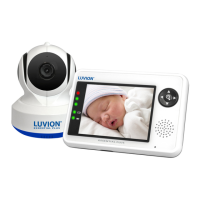
Press the Zoom/OK button on monitor once for 2X zoom of the image and press
again to change back to normal view. See Fig. 7.
VOX ( Voice-Operated Transmission) Function
1. Press and hold the POWER/VOX button for less than one second on the
monitor unit to enable the VOX function. This will turn the screen OFF but the
VOX LED will remain ON (green) to remind the user that the VOX
function is enabled. Please see Fig. 8.
2. When the sound from the camera reaches the pre-set level (See Fig. 18), the
screen will turn ON automatically. It will turn OFF again after 30 seconds. If
the sound from the camera still reaches the pre-set level during these 30 seconds,
the screen will stay on a further 30 seconds from this voice event before turning
of the screen.
Volume Setting
1. Press the volume setup button to enter volume setup. See Fig. 9.
2. Press up or down buttons to adjust volume level, and then press ok
button to confirm the setting. Fig. 9.
Using AC Power
. 2
. 3
. 4
. 5