21
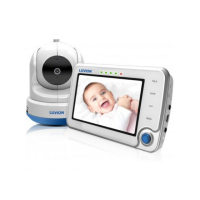
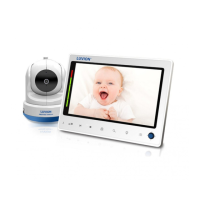
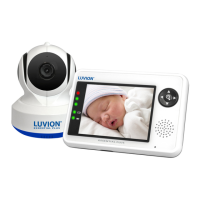
LUVION Premium Baby products
1. Plug one end of the provided power adapter into a wall outlet and the other end
into the monitor. See Fig. 5.
.
2. Press the POWER/VOX button and hold it around 3 seconds to turn the
monitor on. See Fig. 5.
Note 1: When power on the monitor
, "Power" LED will light up (green light).
Note 2: "Out of Range" will be displayed on the LCD screen if the monitor
exceeds the range (unlink).
Note 3: Press the POWER/VOX button and hold it around 3 seconds to turn off
the monitor.
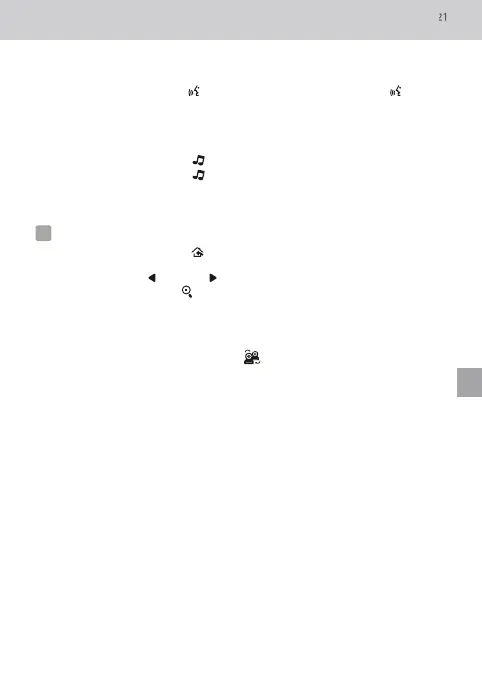
Monitor Remote Control Function
The monitor can control the movement of the camera. The camera head has the
ability to rotate up, down, right and left. Press the up or down buttons
on the monitor to move the camera up or down. Press the left or right buttons
on the monitor to move the camera to the left or to the right. See Fig. 6.
Note : The audio will be muted when motor rotates.
Zoom in Function
Press the Zoom/OK button on monitor once for 2X zoom of the image and press
again to change back to normal view. See Fig. 7.
VOX ( Voice-Operated Transmission) Function
1. Press and hold the POWER/VOX button for less than one second on the
monitor unit to enable the VOX function. This will turn the screen OFF but the
VOX LED will remain ON (green) to remind the user that the VOX
function is enabled. Please see Fig. 8.
2. When the sound from the camera reaches the pre-set level (See Fig. 18), the
screen will turn ON automatically. It will turn OFF again after 30 seconds. If
the sound from the camera still reaches the pre-set level during these 30 seconds,
the screen will stay on a further 30 seconds from this voice event before turning
of the screen.
Volume Setting
1. Press the volume setup button to enter volume setup. See Fig. 9.
2. Press up or down buttons to adjust volume level, and then press ok
button to confirm the setting. Fig. 9.
Using AC Power
2 . 2
2 . 3
2 . 4
2 . 5
Talkback Function
Press the talkback button to speak through the camera unit, and the icon
will then be displayed on the screen. See Fig. 10.
Music Function
You can activate the music(three different lullabies) through the monitor .
1. Press the music button , the camera will play music. See Fig. 11.
2. Press the music button again, the camera will play the next song.
Note: To switch off the music, press music button until it turns off.
2 . 7
2 . 6
1. Press the menu button on the monitor unit to display the main menu on
the screen. See Fig. 12.
2. Use the left and right buttons to navigate through the menu.
3. Press the Zoom/OK button to confirm a setting.
4. The main menu contains 6 submenus.
Camera Selection ( Camera Select )
In this submenu you can switch between all cameras that have been paired.
You can also tap the auto-switch icon for autotomatic switching.
When in auto switch mode the images from the cameras will be shown in eight-second
intervals. See Fig. 13.
Feed Timer Setting ( Feed Timer )
In this submenu you can set up the feed timer to remind you when to feed the baby.
Temperature Setting ( Temp. Setting )
1. In this submenu you can choose the preferred temperature unit you can choose ,
between Celsius or Fahrenheit. See Fig. 15.
2. You can set the temperature range for the temperature alert. If you select
"Alert
On" you activate the temperature alert and if the temperature is outside
the range, a warning sound will be emitted from the monitor unit. See Fig. 15.
Camera Setting ( Camera Setting )
The system comes with a camera unit that has already been paired with the
monitor unit. The
"Cam Setting" function gives each baby unit a separate
channel on the monitor unit. This is necessary for configuring additional
camera units.
Menu Options
3
3 . 1
3 . 2
3 . 3
3 . 4
See Fig. 14.
EN