- 42 -
Rear-mount brackets
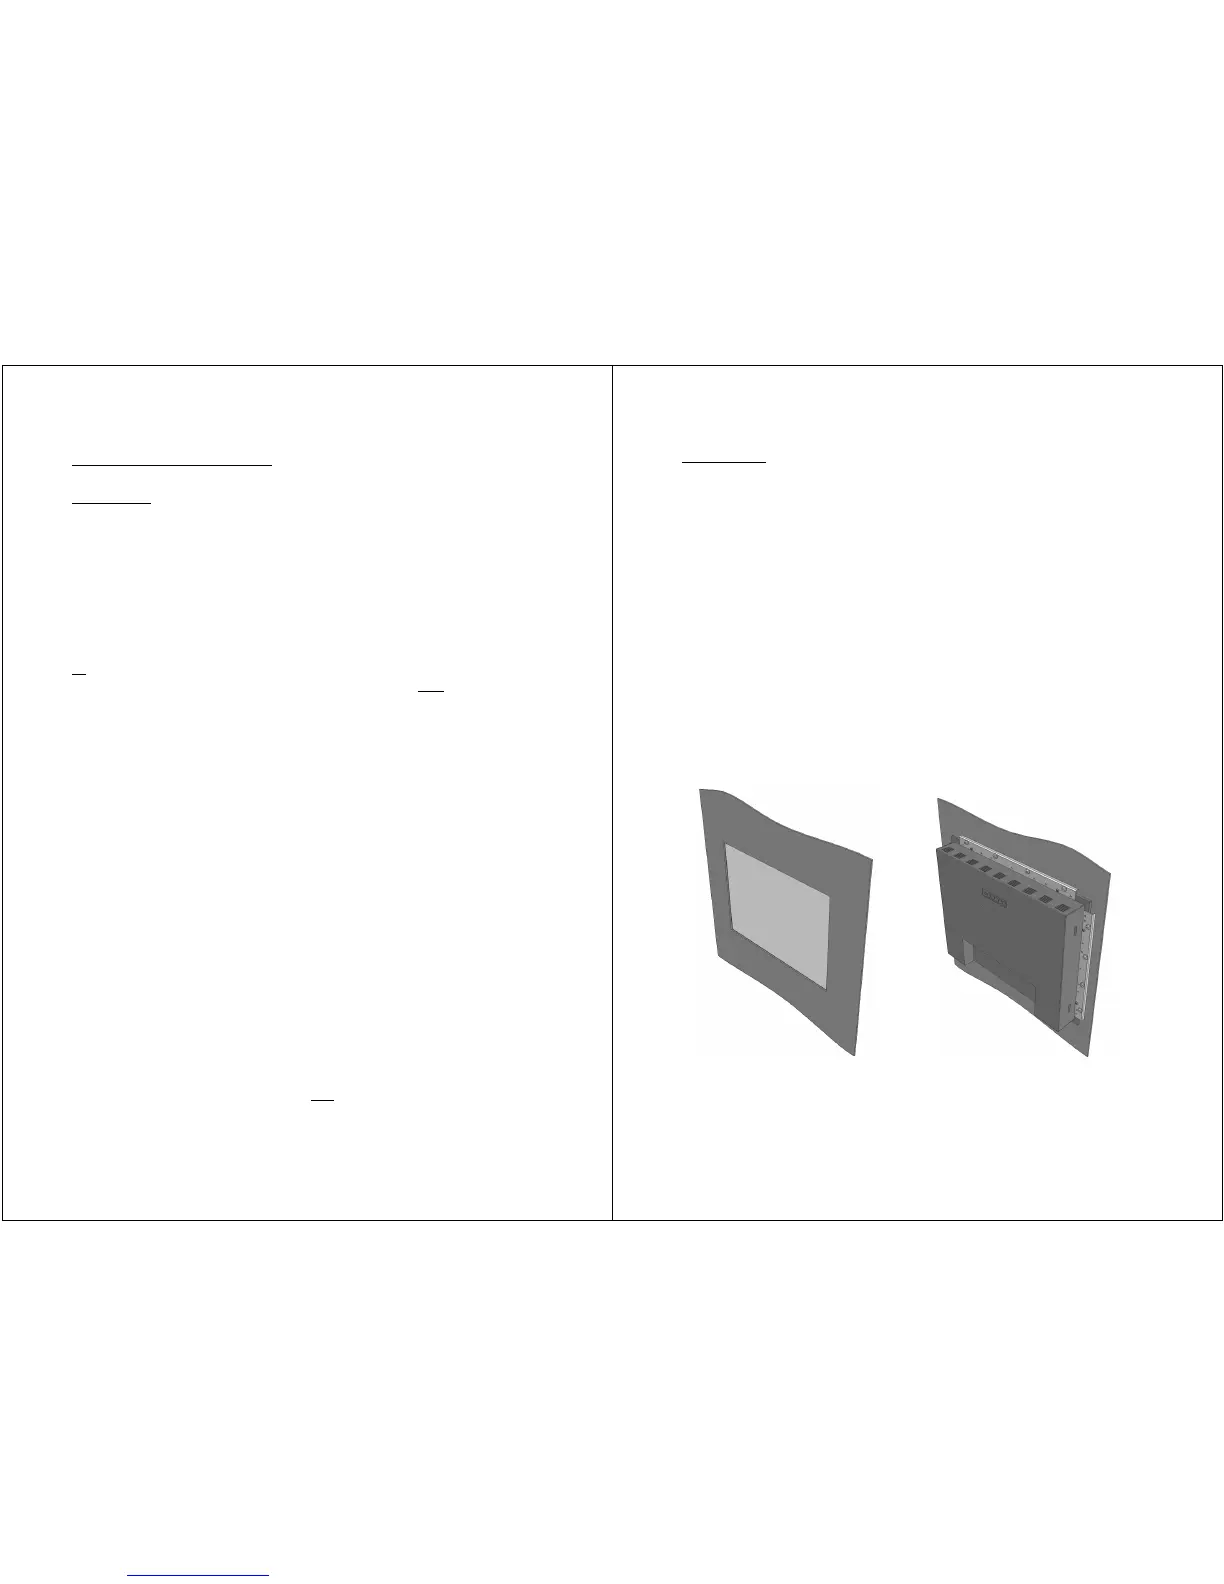
Description
LUVOX devices are designed as panel mount solutions. Although,
when allowed by the application in terms of space, LUVOX (AIO
and LCD monitors) devices can be mounted in a rear mount
construction. This can be obtained by using a set of rear mount
brackets.
LUVOX rear-mount brackets are ordered in pairs. One pair per
device is sufficient to create a rear mount construction (Left/right
or
top/bottom). Although the construction will be more robust
when using two pairs for one device (Left/right and
top/bottom).
LUVOX rear-mount brackets exist in 4 different lengths:
• 215 mm
• 260 mm
• 320 mm
• 370 mm
The list below indicates which sets must be obtained
corresponding to each different model:
• F100 Left & right 215 mm
Top & bottom 260 mm
• F120 Left & right 215 mm
Top & bottom 260 mm
• F150 Left & right 260 mm
Top & bottom 320 mm
• F170 Left & right 320 mm
Top & bottom 370 mm
• F190 Left & right 370 mm
Top & bottom 370 mm
NOTE: Rear-mount brackets are not
suitable in combination with
ELO INTELLITOUCH.
- 43 -
Instructions
• Create a cutout with the minimal dimensions of the aperture
in the front of your device. You may want to increase these
dimensions when the kiosk material is rather thick. This will
help users touching in corners. Rounding or chamfering the
edges of the aperture will also increase touching comfort.
• Assemble one or both pairs of rear-mount brackets
(depending the operational conditions) to the side skirts of the
device. Use the provided M3 screws and insert these in the
free M3 holes.
• Prepare M4 head threaded studs in case of using sheet metal.
When customer material is not sheet metal, drill Ø4.5MM thru
holes for M4 bolts with nuts (bolts are visible from the front
side). Use no-thru Ø3MM holes and 4MM woodscrews when
having rather thick or woodlike materials (no bolts will be
visible from the front side). Make sure the length of the
screws is smaller then the material’s thickness.
NOTE: (3D) CAD drawings available on request.