www.m2tech.biz
NOTE: To disable this feature, the value “OFF” must be selected, which is one of the
allowed values.
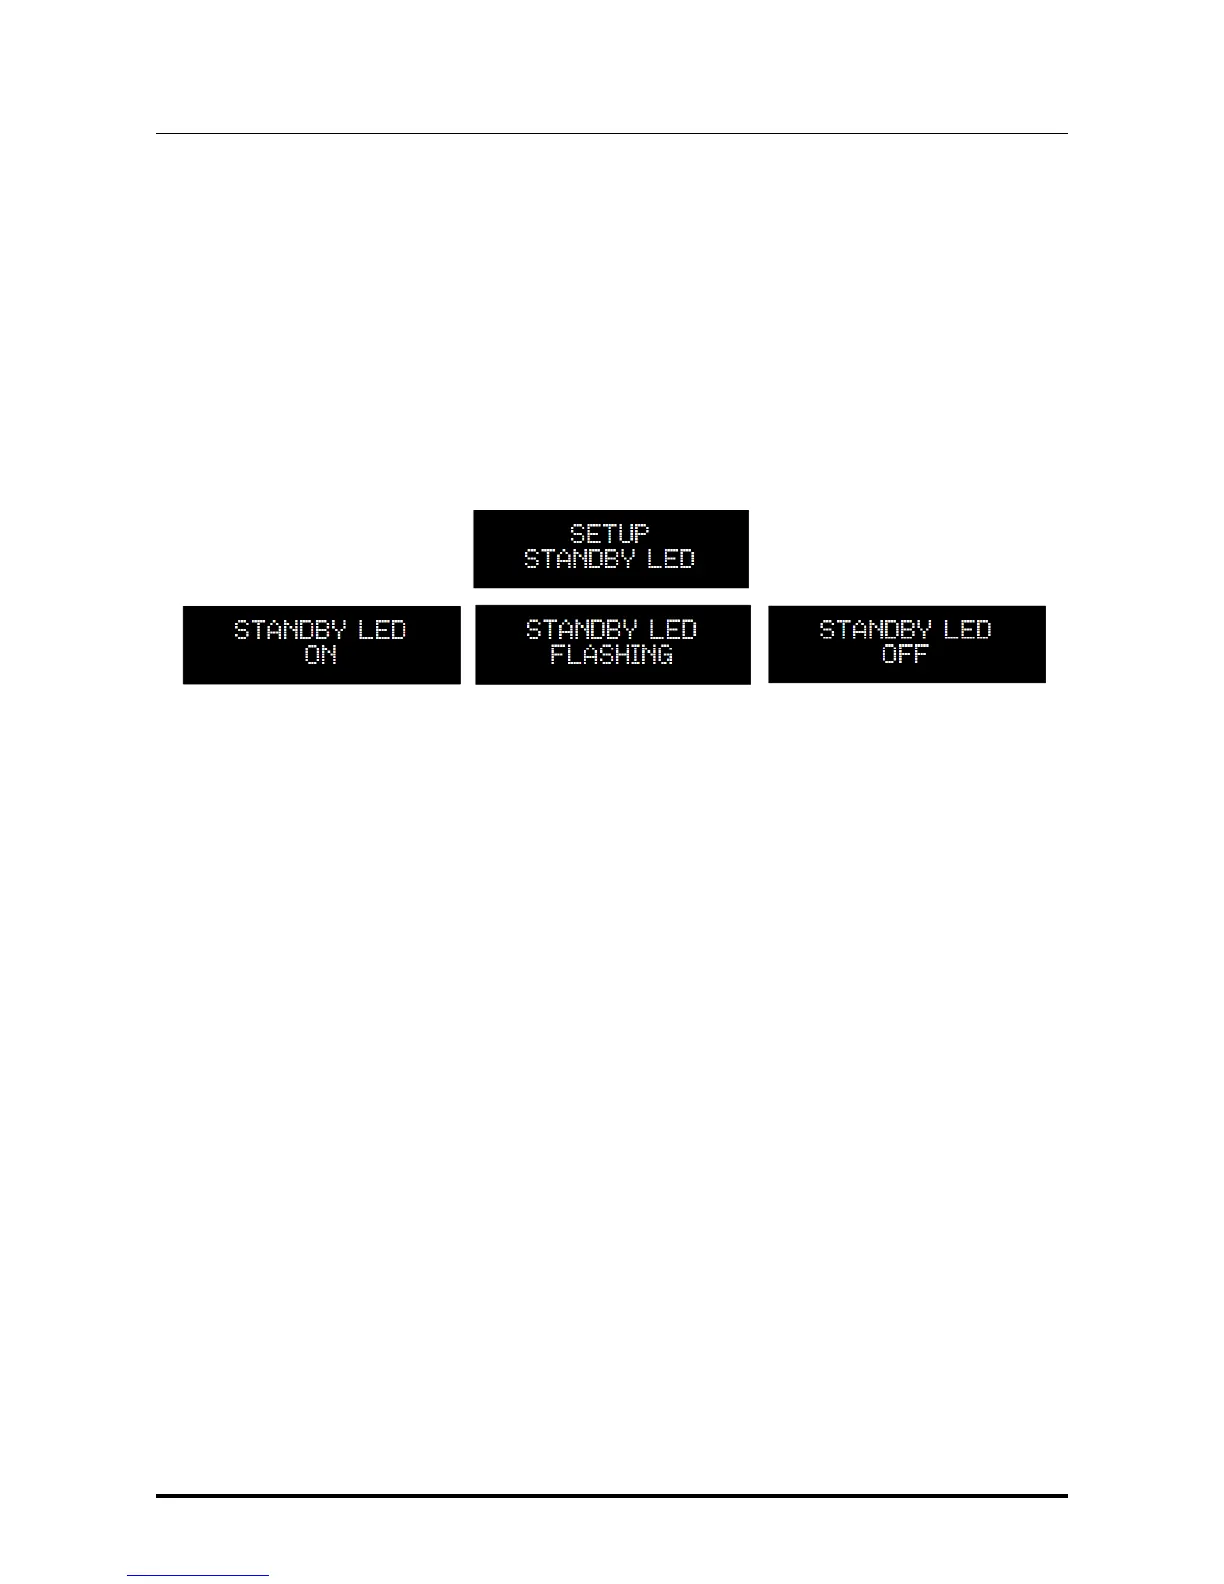
7.2.7. STANDBY LED: Setting the Front Panel LED behaviour
The front panel LED of the NASH (Fig.1, 2) can be set to operate in three different modes, at
user’s convenience:
ON: the LED will be continuously blowing when the NASH is in standby
FLASHING: the LED will blink when the NASH is in standby
OFF: the LED will be off when the NASH is in standby
7.2.8. POWER MODE: Setting the NASH behaviour when power is applied
The NASH may behave in different ways when power is applied to its power sockets
(Fig.2, 14 and 15), according to user needs. The behaviour depends on the power mode
switch (Fig.2, 13) and this setting.
Specifically, when the power mode switch is set to “B” and power is applied to the NASH,
the 3 available settings for POWER MODE operate as follows;
1. Disable: when power is applied the NASH enters standby. The user may activate the
NASH by pushing the front panel button (Fig.1, 1), sending an “on” command by the
IR remote control or sending an “on” command by the Android app;
2. Enable: when power is applied the NASH becomes immediately operative;
3. Trigger in: when power is applied the NASH enters standby. The user may activate
the NASH by pushing the front panel button (Fig.1, 1), sending an “on” command by
the IR remote control or sending an “on” command by the smartphone app. The
NASH will also activate when the trigger input (Fig.2, 16) is driven high (5V
DC
to
15V
DC
).