242 Chapter 12: Optimizing and Exporting
To select a color for transparency:
1 Click the Preview, 2-Up, or 4-Up button at the upper left of the Document window. In 2-Up
or 4-Up view, click a view other than the original.
2 In the Optimize panel, choose Index Transparency from the Transparency pop-up menu at the
bottom of the panel.
The canvas color is made transparent in the preview.
3 To choose a different color, click the Select Transparency Color button.
The pointer changes to an eyedropper.
4 Do one of the following to choose the color to make transparent:
■ Click a color swatch in the Optimize panel color table.
■ Click a color in the document.
To add or remove transparent colors:
1 Click the Preview, 2-Up, or 4-Up button at the upper left of the Document window. In 2-Up
or 4-Up view, click a view other than the original.
Note: You can add or remove transparent colors in Original view but won’t be able to see your
results until you display a preview.
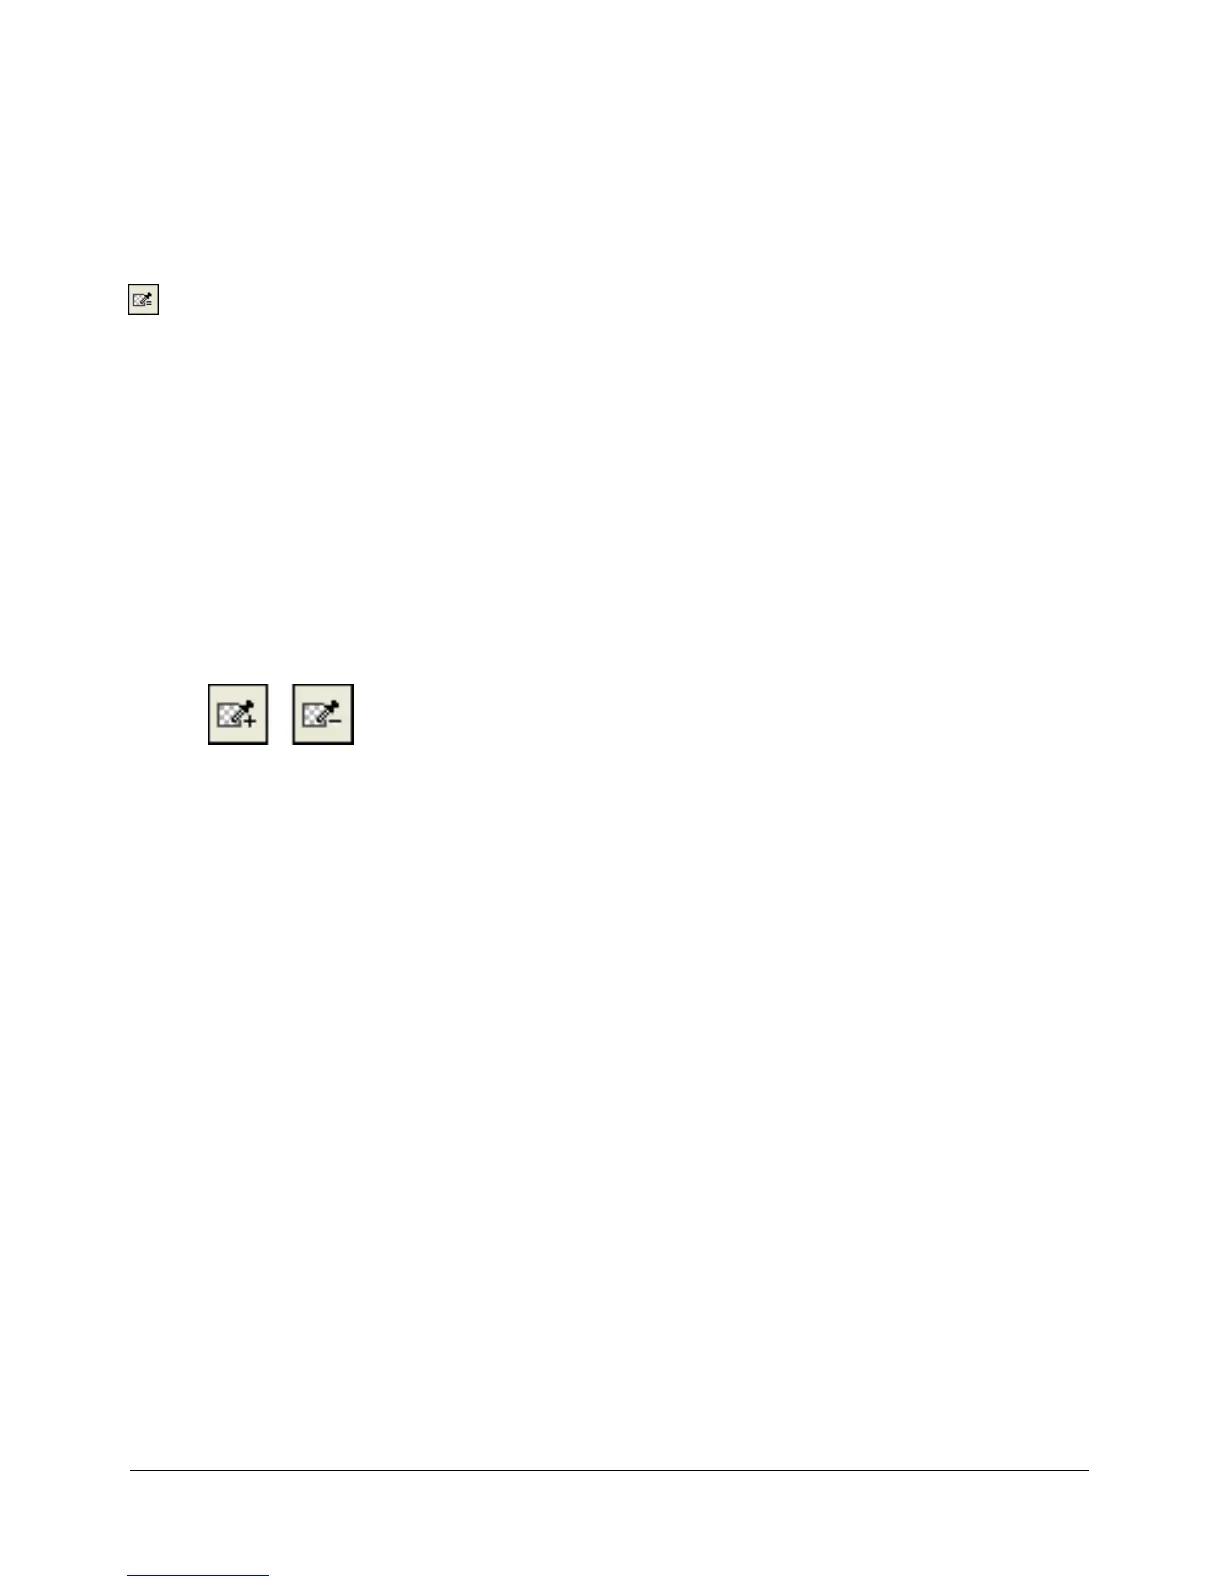
2 In the Optimize panel, click the Add Color to Transparency or Remove Color from
Transparency button.
3 Do one of the following to choose a color to add or remove from transparency:
■ Click a color swatch in the Optimize panel color table.
■ Click a color in the preview.
To make an image background transparent:
1 Click the Preview, 2-Up, or 4-Up button at the upper left of the Document window. In 2-Up
or 4-Up view, click a view other than the original.
2 Choose GIF as the file format in the Optimize panel, and choose Index Transparency from the
Transparency pop-up menu.
The canvas color is made transparent in the preview, and the graphic is ready for export.
Interlacing: Downloading gradually
When viewed in a web browser, interlaced images appear gradually while they are downloading.
They display at a low resolution first and then transition to full resolution by the time the
download is complete.
Note: This option is available only for GIF and PNG file formats. You can get similar results with a
JPEG by making it progressive. For more information, see “Optimizing JPEGs” on page 243.
To make a GIF or non-Fireworks PNG interlaced:
• Choose Interlaced from the Optimize panel Options menu.
 Loading...