1-6-2 T8200EA
2. Setting for BRIGHT, CONTRAST,
COLOR, TINT, V-TINT and
SHARP Data Values
General
1. Enter the Service mode. (See page 1-6-1.)
2. Press "PICTURE" button on the service remote
control unit. Display changes "BRT," "CNT," "COL,"
"TNT," "V-TNT," and "SHP" cyclically when
"PICTURE" button is pressed.
BRIGHT (BRT)
1. Press "PICTURE" button on the service remote
control unit. Then select "BRIGHT" (BRT) display.
2. Press "CH. o / p" buttons on the service remote
control unit so that the value of "BRIGHT" (BRT)
becomes 90.
CONTRAST (CNT)
1. Press "PICTURE" button on the service remote
control unit. Then select "CONTRAST" (CNT)
display.
2. Press "CH. o / p" buttons on the service remote
control unit so that the value of "CONTRAST"
(CNT) becomes 80.
COLOR (COL)
1. Press "PICTURE" button on the service remote
control unit. Then select "COLOR" (COL) display.
2. Press "CH. o / p" buttons on the service remote
control unit so that the value of "COLOR" (COL)
becomes 58.
TINT (TNT)
1. Press "PICTURE" button on the service remote
control unit. Then select "TINT" (TNT) display.
2. Press "CH. o / p" buttons on the service remote
control unit so that the value of "TINT" (TNT)
becomes 56.
V-TINT (V-TNT)
1. Press "PICTURE" button on the service remote
control unit. Then select "V-TINT" (V-TNT) display.
2. Press "CH. o / p" buttons on the service remote
control unit so that the value of "V-TINT" (V-TNT)
becomes 56.
SHARP (SHP)
1. Press "PICTURE" button on the service remote
control unit. Then select "SHARP" (SHP) display.
2. Press "CH. o / p" buttons on the service remote
control unit so that the value of "SHARP" (SHP)
becomes 40.
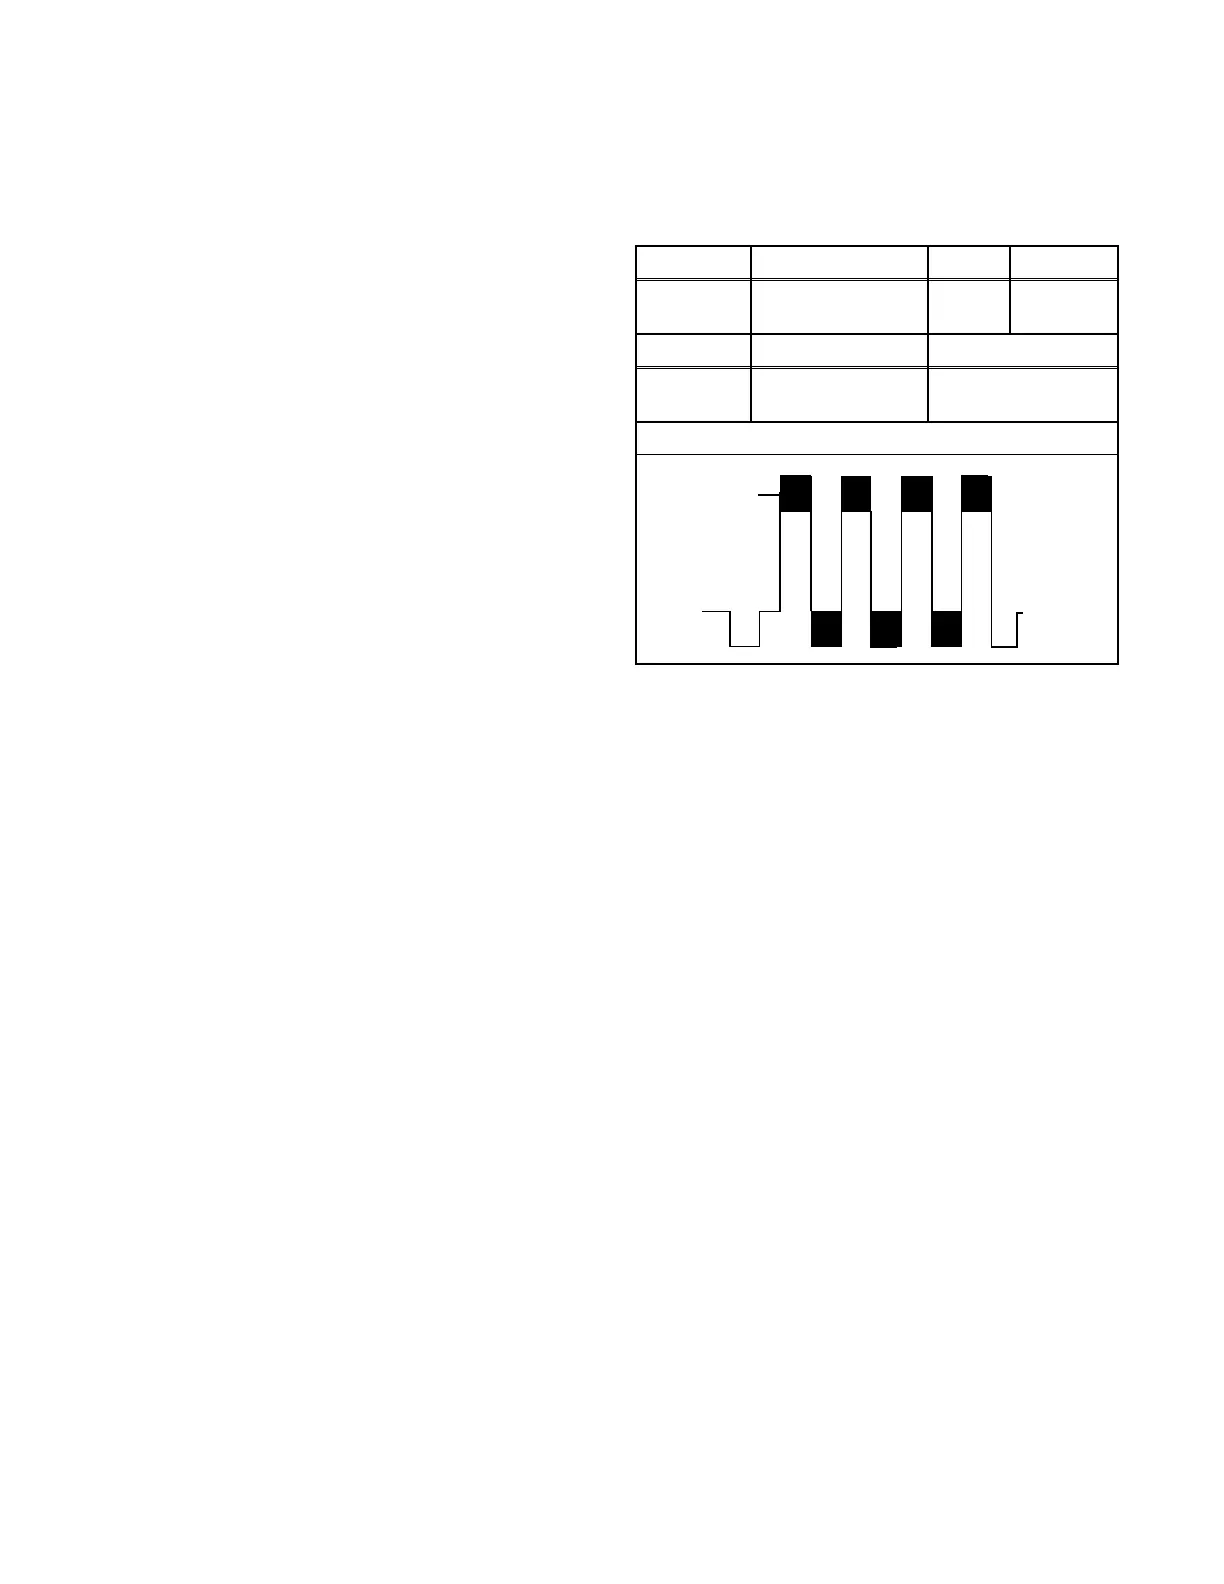
3. C-Trap Adjustment
Purpose: To get minimum leakage of the color signal
carrier.
Symptom of Misadjustment: If C-Trap Adjustment is
incorrect, stripes will appear on the screen.
Note: J1080 (TP.BLUE)--- Main CBA
1. Connect oscilloscope to J1080.
2. Input a color bar signal from RF input.
Enter the Service mode. (See page 1-6-1.)
3. Press "0" button on the remote control unit and
select C-TRAP mode.
4. Press "CH. o / p" buttons on the remote control
unit so that the carrier leakage B-Out (3.58MHz)
value becomes minimum on the oscilloscope.
5. Turn the power off and on again.
Test point Adj. Point Mode Input
J1080
(TP.BLUE)
CH. o / p
buttons
--- Color Bar
Tape M. EQ. Spec.
---
Oscilloscope
Pattern Generator
---
Figure
minimum
Fig. 2
 Loading...