11 ENGLISH
ASSEMBLY
WARNING: Always be sure that the tool is
switched off and battery cartridge is removed
before carrying out any work on the tool.Failureto
switchoffandremovethebatterycartridgemayresult
inseriouspersonalinjuryfromaccidentalstart-up.
WARNING: Never start the tool unless it is
completely assembled. Operation of the tool in a
partiallyassembledstatemayresultinseriousper-
sonalinjuryfromaccidentalstart-up.
Mounting the handle
Attachthehandlewithsuppliedclampsandbolts.Make
sure that the handle is located between the spacer and
the arrow mark. Do not remove or shrink the spacer.
4
2
3
1
3
5
►1. Handle 2.Hexsocketbolt3. Clamp 4.Spacer
5.Arrowmark
Attachthebarrier(countryspecic)tothehandleusing
the screw on the barrier. Once assembled, do not
remove the barrier.
1
2
►1. Barrier 2.Screw
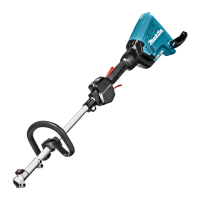
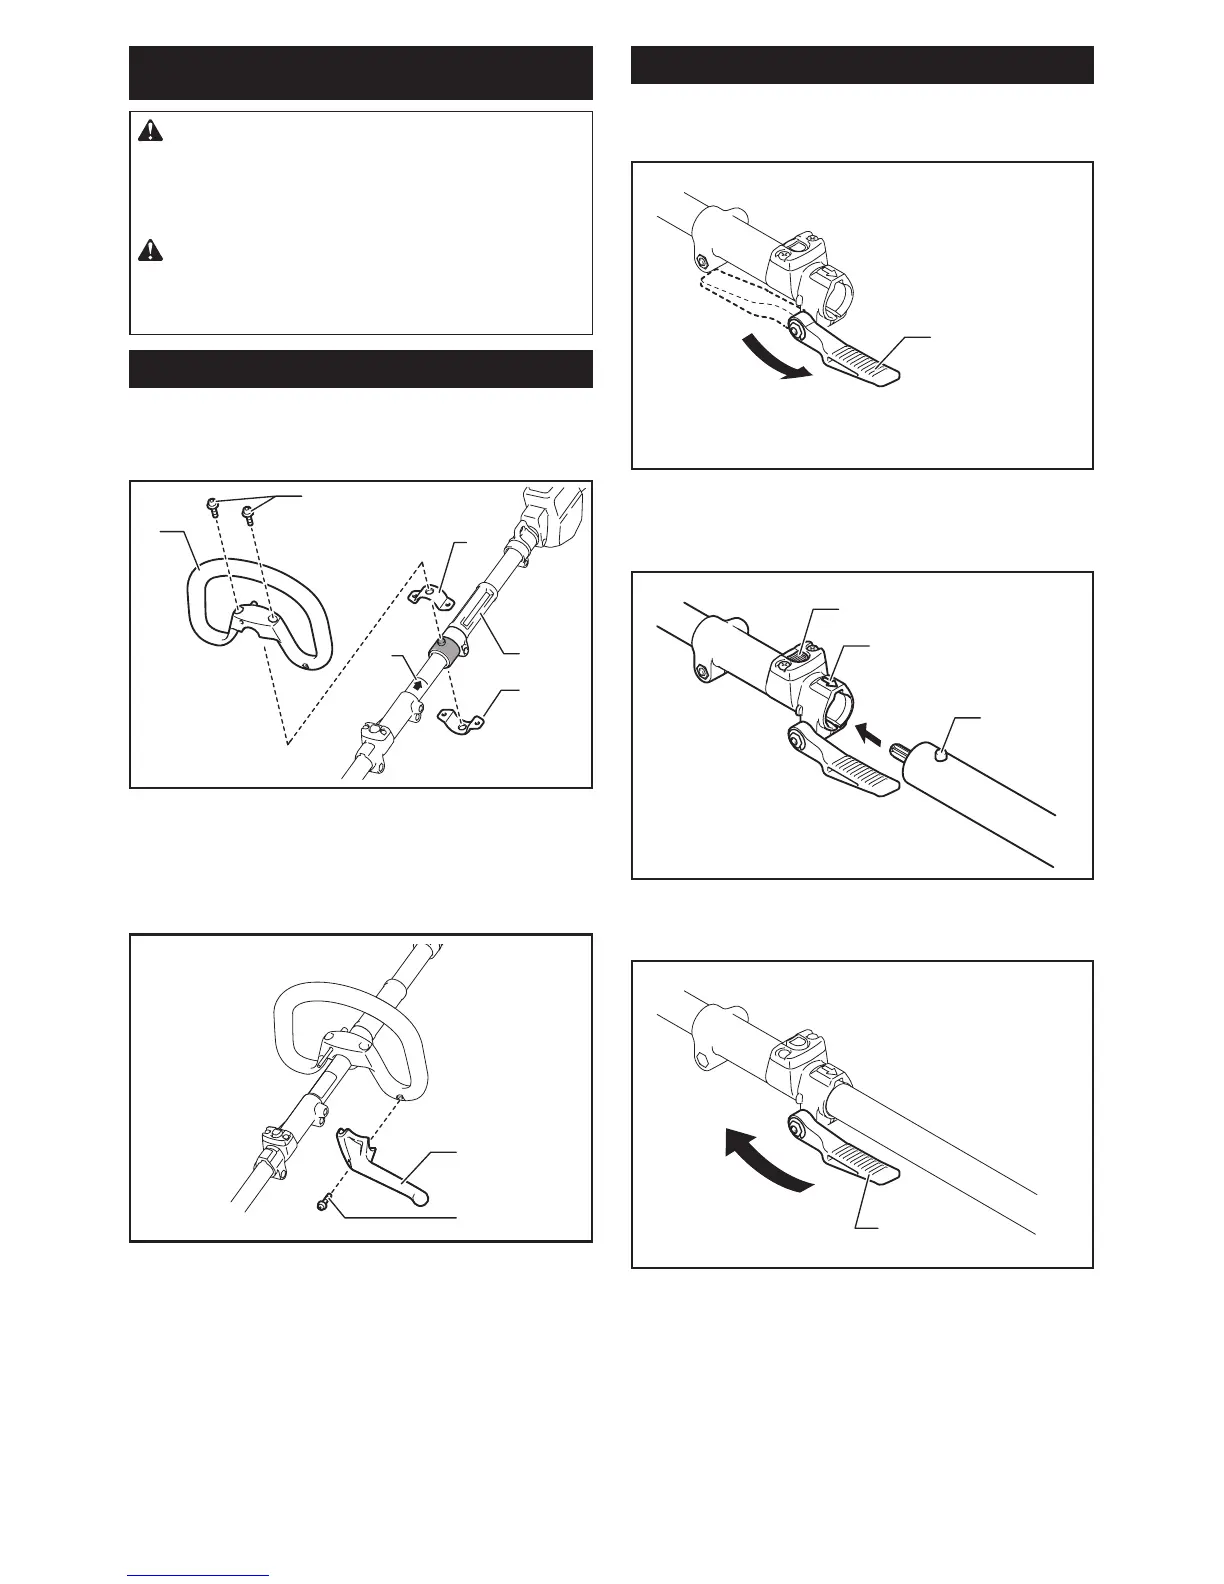
Mounting the attachment pipe
Mount the attachment pipe to the power unit.
1. Turnthelevertowardthecuttingattachment.
1
►1. Lever
2. Alignthepinwiththearrowmarkandinsertthe
attachment pipe until the release button pops up.
1
2
3
►1. Release button 2.Arrowmark3. Pin
3. Turnthelevertowardthepowerunit.
1
►1. Lever
Make sure that the surface of the lever is parallel to the
pipe.
Toremovethepipe,turnthelevertowardthecutting
attachment and pull the pipe out while pressing down
the release button.
 Loading...