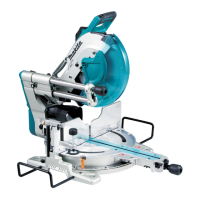
10 ENGLISH
3
1
2
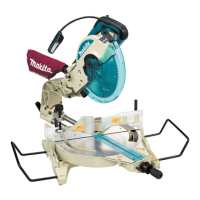
►1. Center cover 2. Hex wrench 3. Blade guard
Kerf boards
This tool is provided with the kerf boards in the turn
base to minimize tearing on the exit side of a cut. The
kerfboardsarefactoryadjustedsothatthesawblade
doesnotcontactthekerfboards.Beforeuse,adjustthe
kerf boards as follows:
1
►1. Kerf board
1
4
6
5
►1. Left bevel cut 2. Straight cut 3. Right bevel cut
4. Saw blade 5. Blade teeth 6. Kerf board
First, unplug the tool. Loosen all the screws (2 each
on left and right) securing the kerf boards until the kerf
boards can still be easily moved by hand. Lower the
handle fully, then pull and turn the stopper pin to lock
the handle in the lowered position. Release the stopper
pin on the sliding pole and pull the carriage toward you
fully.Adjustthekerfboardssothatthekerfboardsjust
contact the sides of the blade teeth. Tighten the front
screws(donottightenrmly).Pushthecarriagetoward
theguidefencefullyandadjustthekerfboardssothat
thekerfboardsjustcontactthesidesofbladeteeth.
Tightentherearscrews(donottightenrmly).
Afteradjustingthekerfboards,releasethestopper
pin and raise the handle. Then tighten all the screws
securely.
NOTICE: After setting the bevel angle ensure
that the kerf boards are adjusted properly. Correct
adjustmentofthekerfboardswillhelpprovideproper
support of the workpiece minimizing workpiece tear
out.
Maintaining maximum cutting
capacity
Thistoolisfactoryadjustedtoprovidethemaximum
cutting capacity for a 305 mm saw blade.
When installing a new blade, always check the lower limit
positionofthebladeandifnecessary,adjustitasfollows:
First, unplug the tool. Turn the stopper lever to engaged
position.
1
►1. Stopper lever
 Loading...