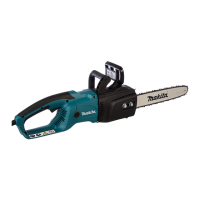
4. Replacement of oil pump complete
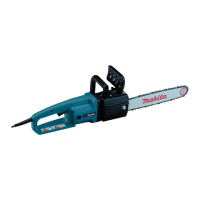
5. Replacement of armature
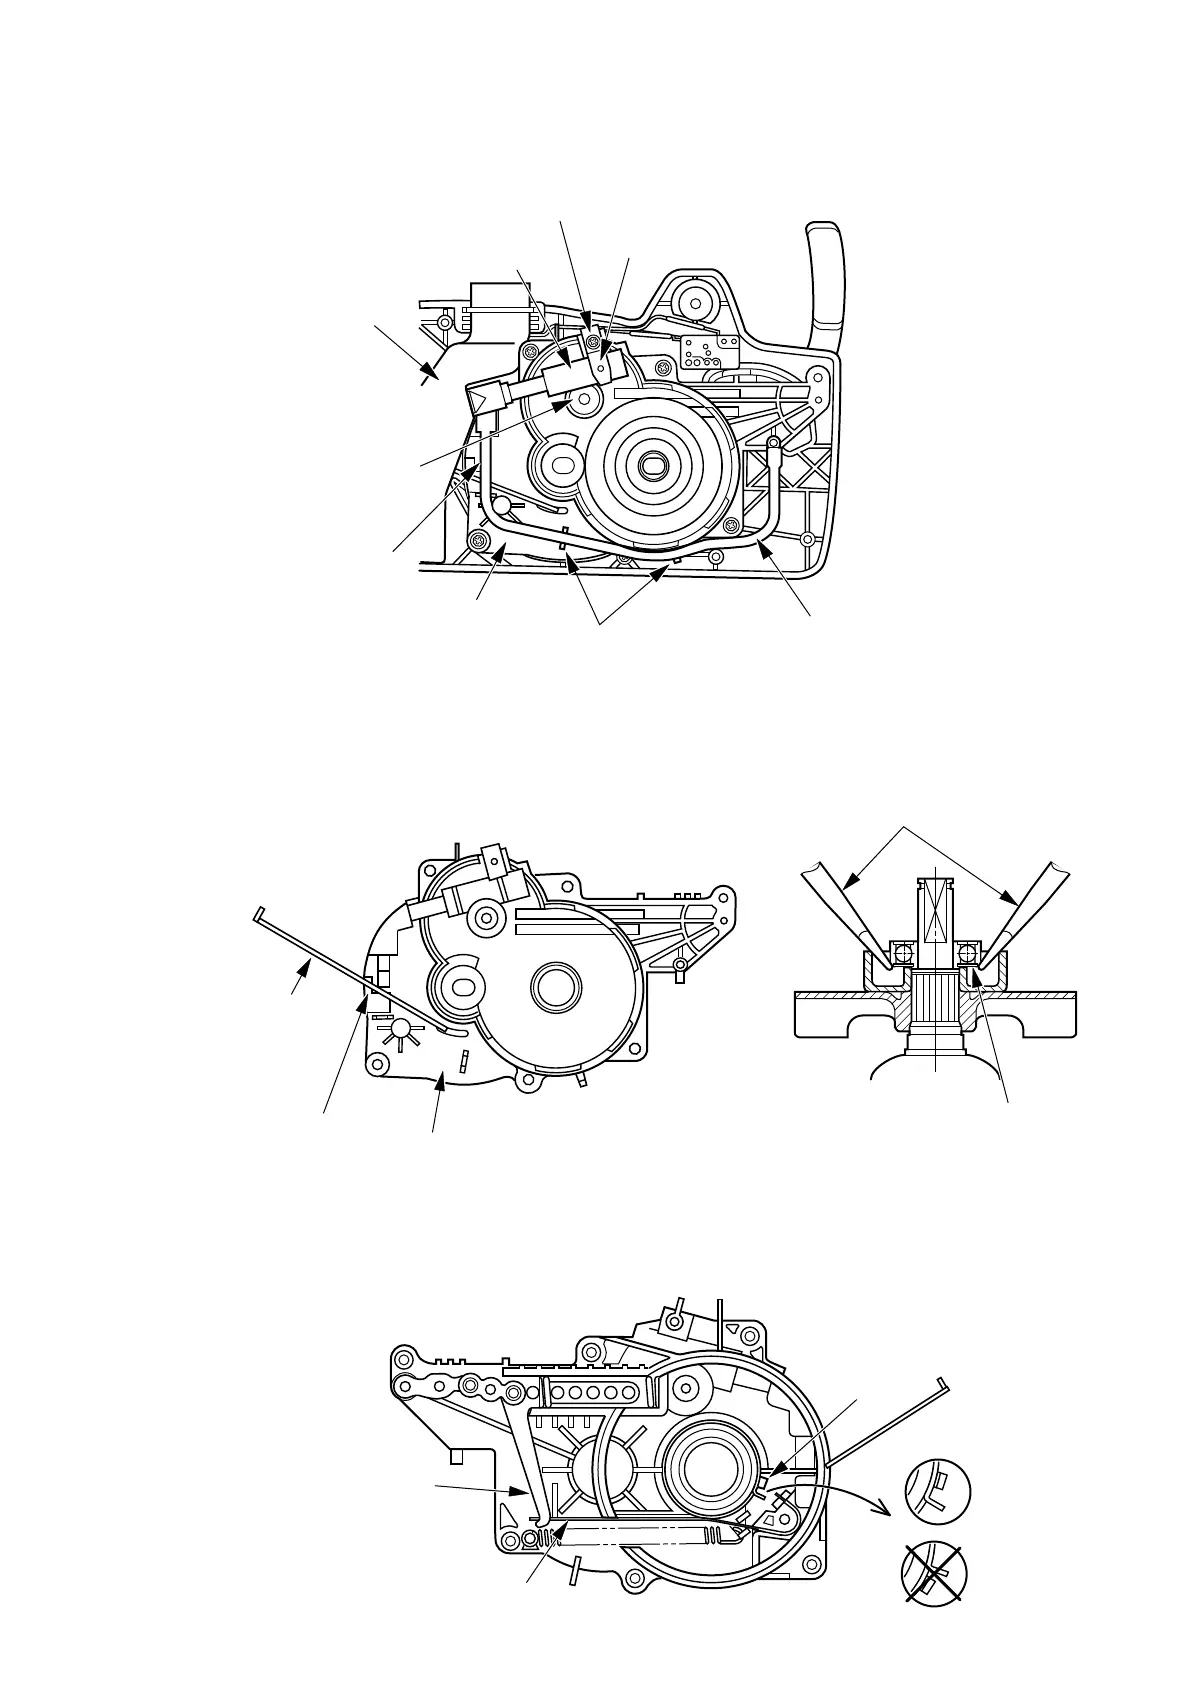
6. Replacement of brake band
1)
2)
3)
4)
1)
2)
3)
4)
1)
2)
3)
Loosen tapping screw 3.5x10 and remove holder.
Remove oil pump complete together with oil bezel.
Secure pipe 6 on the groove of the bearing holder and the pipe holder.
Insert flat washer 5 between bearing holder and spur gear 39.
Before replacement release kick-back brake by following the instruction manual.
Remove carbon by following the procedures of "1. Replacement of carbon."
When pulling out/putting on armature from/to bearing holder, hook a rod to the bearing holder and release the kick-
back brake.
Use two flat head screwdrivers to replace the bearing #6000LLB.
Release the brake as the same procedures as 5-1 above.
Before replacing the brake band, insert rink plate complete to the brake band hole and mount it on the bearing holder.
Confirm that the claws of the brake band and those of the brake ring are positioned as shown in the figure below.
Pipe 6
Tapping screw 3.5x10
Holder
Oil pump
complete
Oil bezel
Flat washer 5
Groove
Bearing holder
Pipe holder
Rod
Hook here
Bearing holder
Flat head screwdriver
#6000LLB
Link plate complete
Brake band
Brake ring
 Loading...