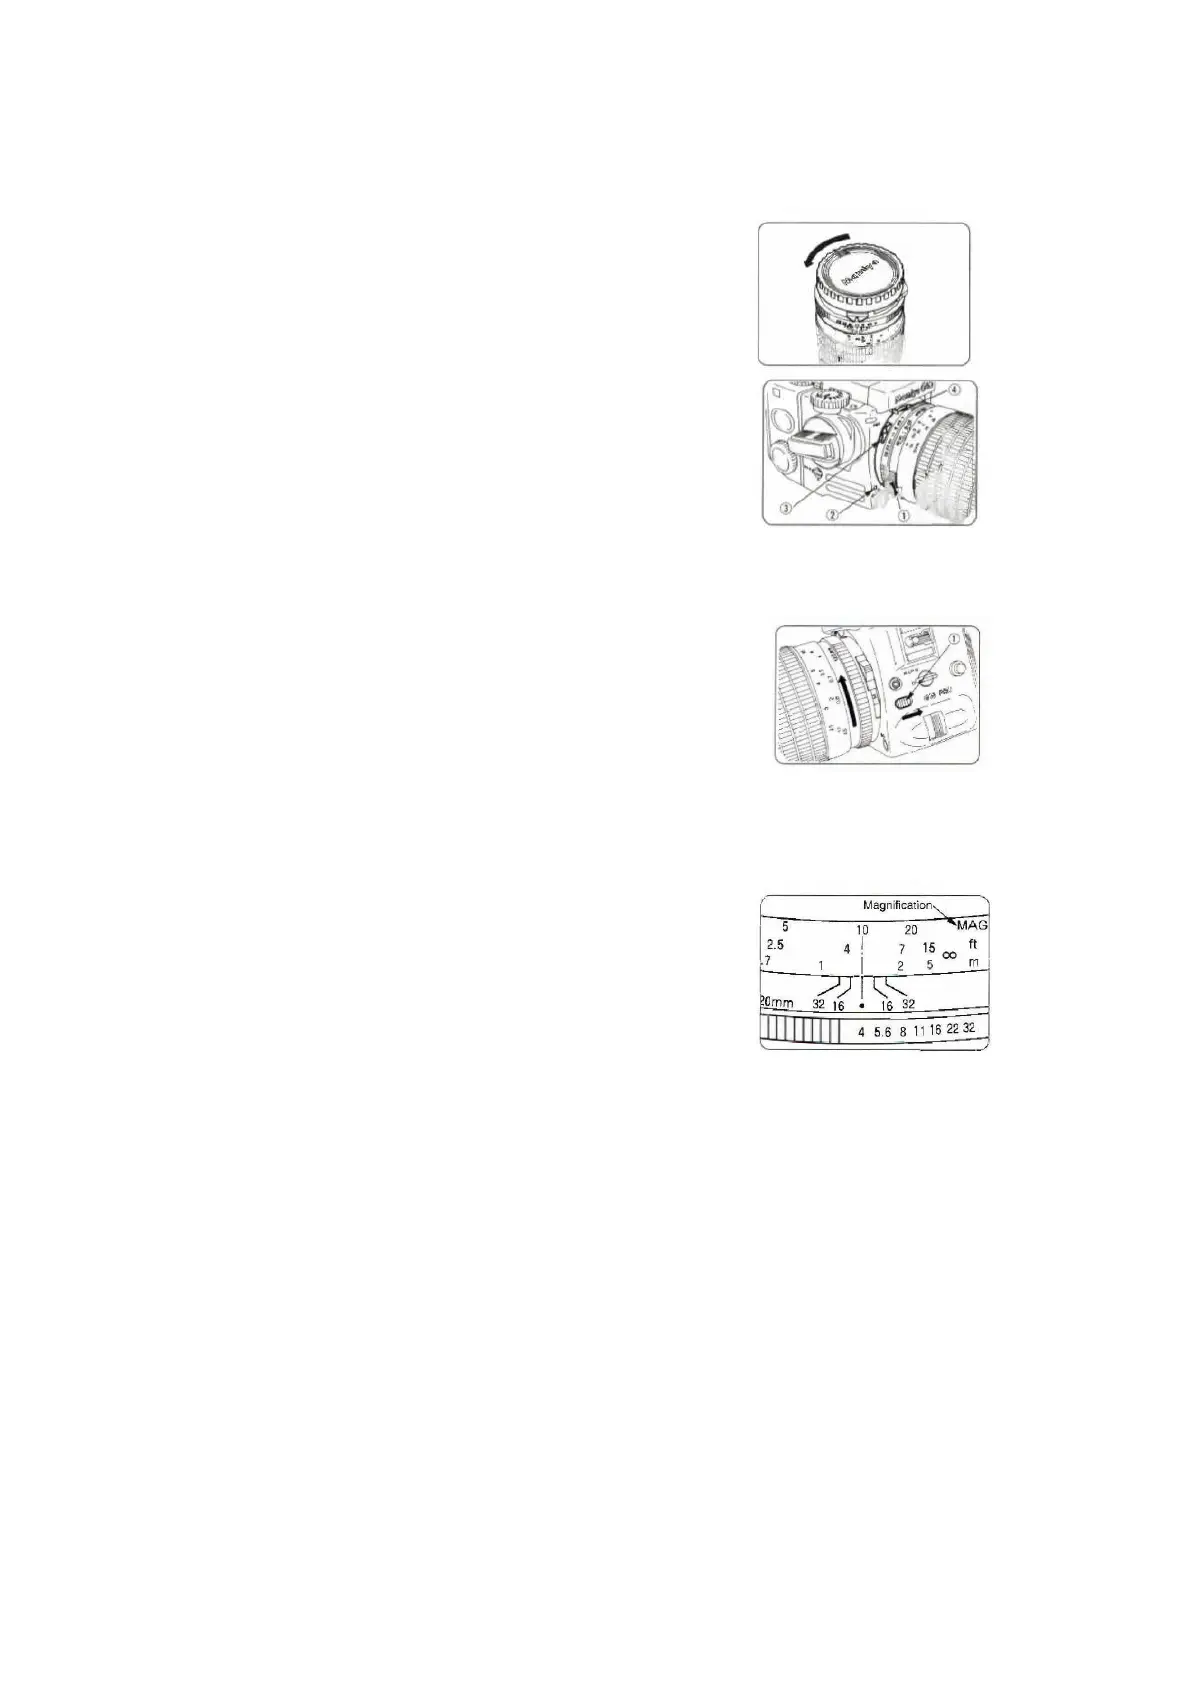
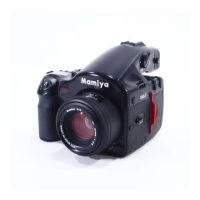
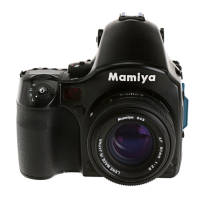
Attaching the Lens to the Camera Body
1.
Rotate the Front Lens Cap counterclockwise to
remove it.
2.
Align the lens’ Attachment Dot (1) with the
Alignment Mark on the Camera Mount (2).
3.
Insert the lens into the camera body.
4.
Rotate the lens clockwise making sure that the
Exposure Meter Coupler (3) links securely with the
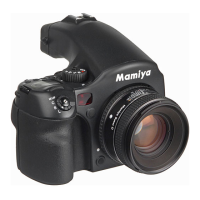
Detaching the Lens from the Camera Body
1.
Press the Lens Release Button (1) on the camera
body in the direction of the arrow, and then rotate
the lens counterclockwise.
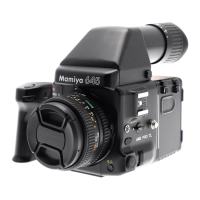
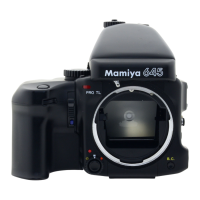
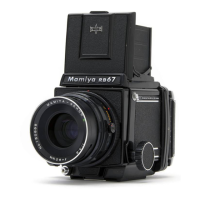
Magnification
1
Frame the subject through the viewfinder, and
then turn the Focusing Ring to obtain sharp focus.
2
Read the MAG Scale, aligned with red Index Mark
located in the center of the Depth-of-Field Scale.
The MAG Number is a reciprocal of the image size.
For example, if the MAG Number is 20, the subject is
being photographed at a size of 1/20. A MAG
Number of 1 indicates life-size.