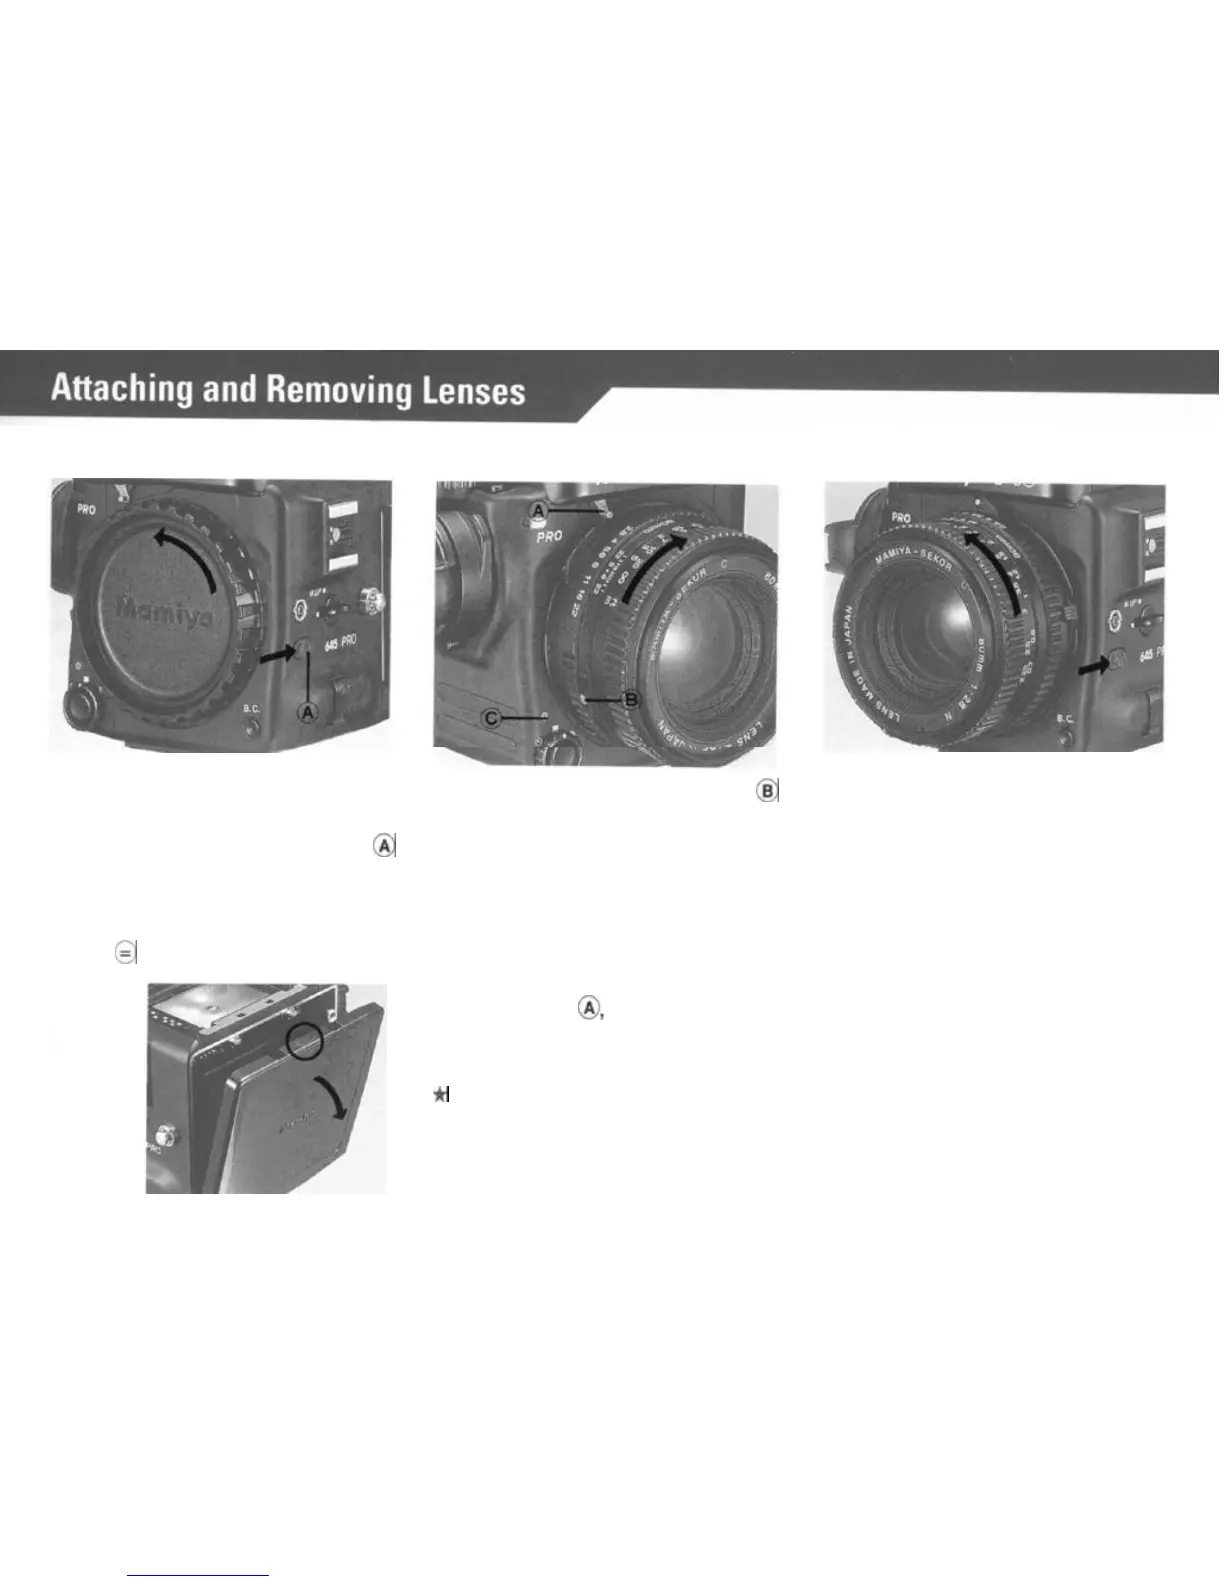
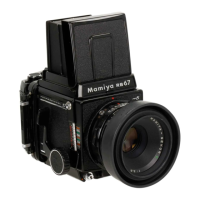
Removing the Front Body Cap and
Rear Cover
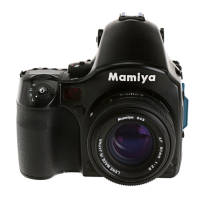
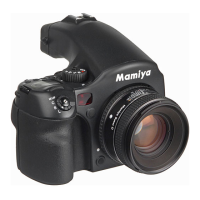
Attaching the Lens
Removing the Lens.
First remove the Front Body Cap in
the direction of the arrow, while
pushing the Lens Release Button
8
backwards as indicated by arrow.
Rear Body Protective Cover can be
readily removed by depressing the
part
of
@
as shown in the illustration.
Line up red Lens Alignment Dot
@
against red camera Alignment Dot
(C) and gently insert the lens into the
camera body. Then turn the lens
clock wise, as indicated by arrow,
until it clicks into place. Make sure
that the Aperture Ring Coupler Pin
is engaged with the Exposure Meter
Coupling Pin
@,
which sticks out
under the
Mamiya name plate of the
camera.
While pushing lens release button back-
wards, turn lens counterclockwise.
(Same procedure as removing
body
cap).
*
When the Aperture Ring Coupler Pin is engaged
by the exposure meter coupling pin lever, F/stop
data is conveyed to the AE Prism Finder.
10