3 - 313 - 31
E4 - HE4 - HYDYDRARAULULICIC OIOILL
DRAINDRAIN
E5 - SE5 - SUCUCTITIONON SSTRTRAAIINENERR FFOORR HYHYDDRARAUULILICC OIOILL TTAANNKK
CLEANCLEAN
E6 - FE6 - FIILTLTERER CCAAPP FFOORR HYHYDDRARAUULILICC OIOILL TTAANNKK
CHANGECHANGE
Park the lift truck on Park the lift truck on level ground with the I.C. engine stopped and level ground with the I.C. engine stopped and telescope boom retract-telescope boom retract-
ed and lowered as far as possible.ed and lowered as far as possible.
Before any intervention, thoroughly clean the area surrounding the drain plugs and the suction
Before any intervention, thoroughly clean the area surrounding the drain plugs and the suction
cover on the hydraulic tank.cover on the hydraulic tank.
DRAINING THE OILDRAINING THE OIL
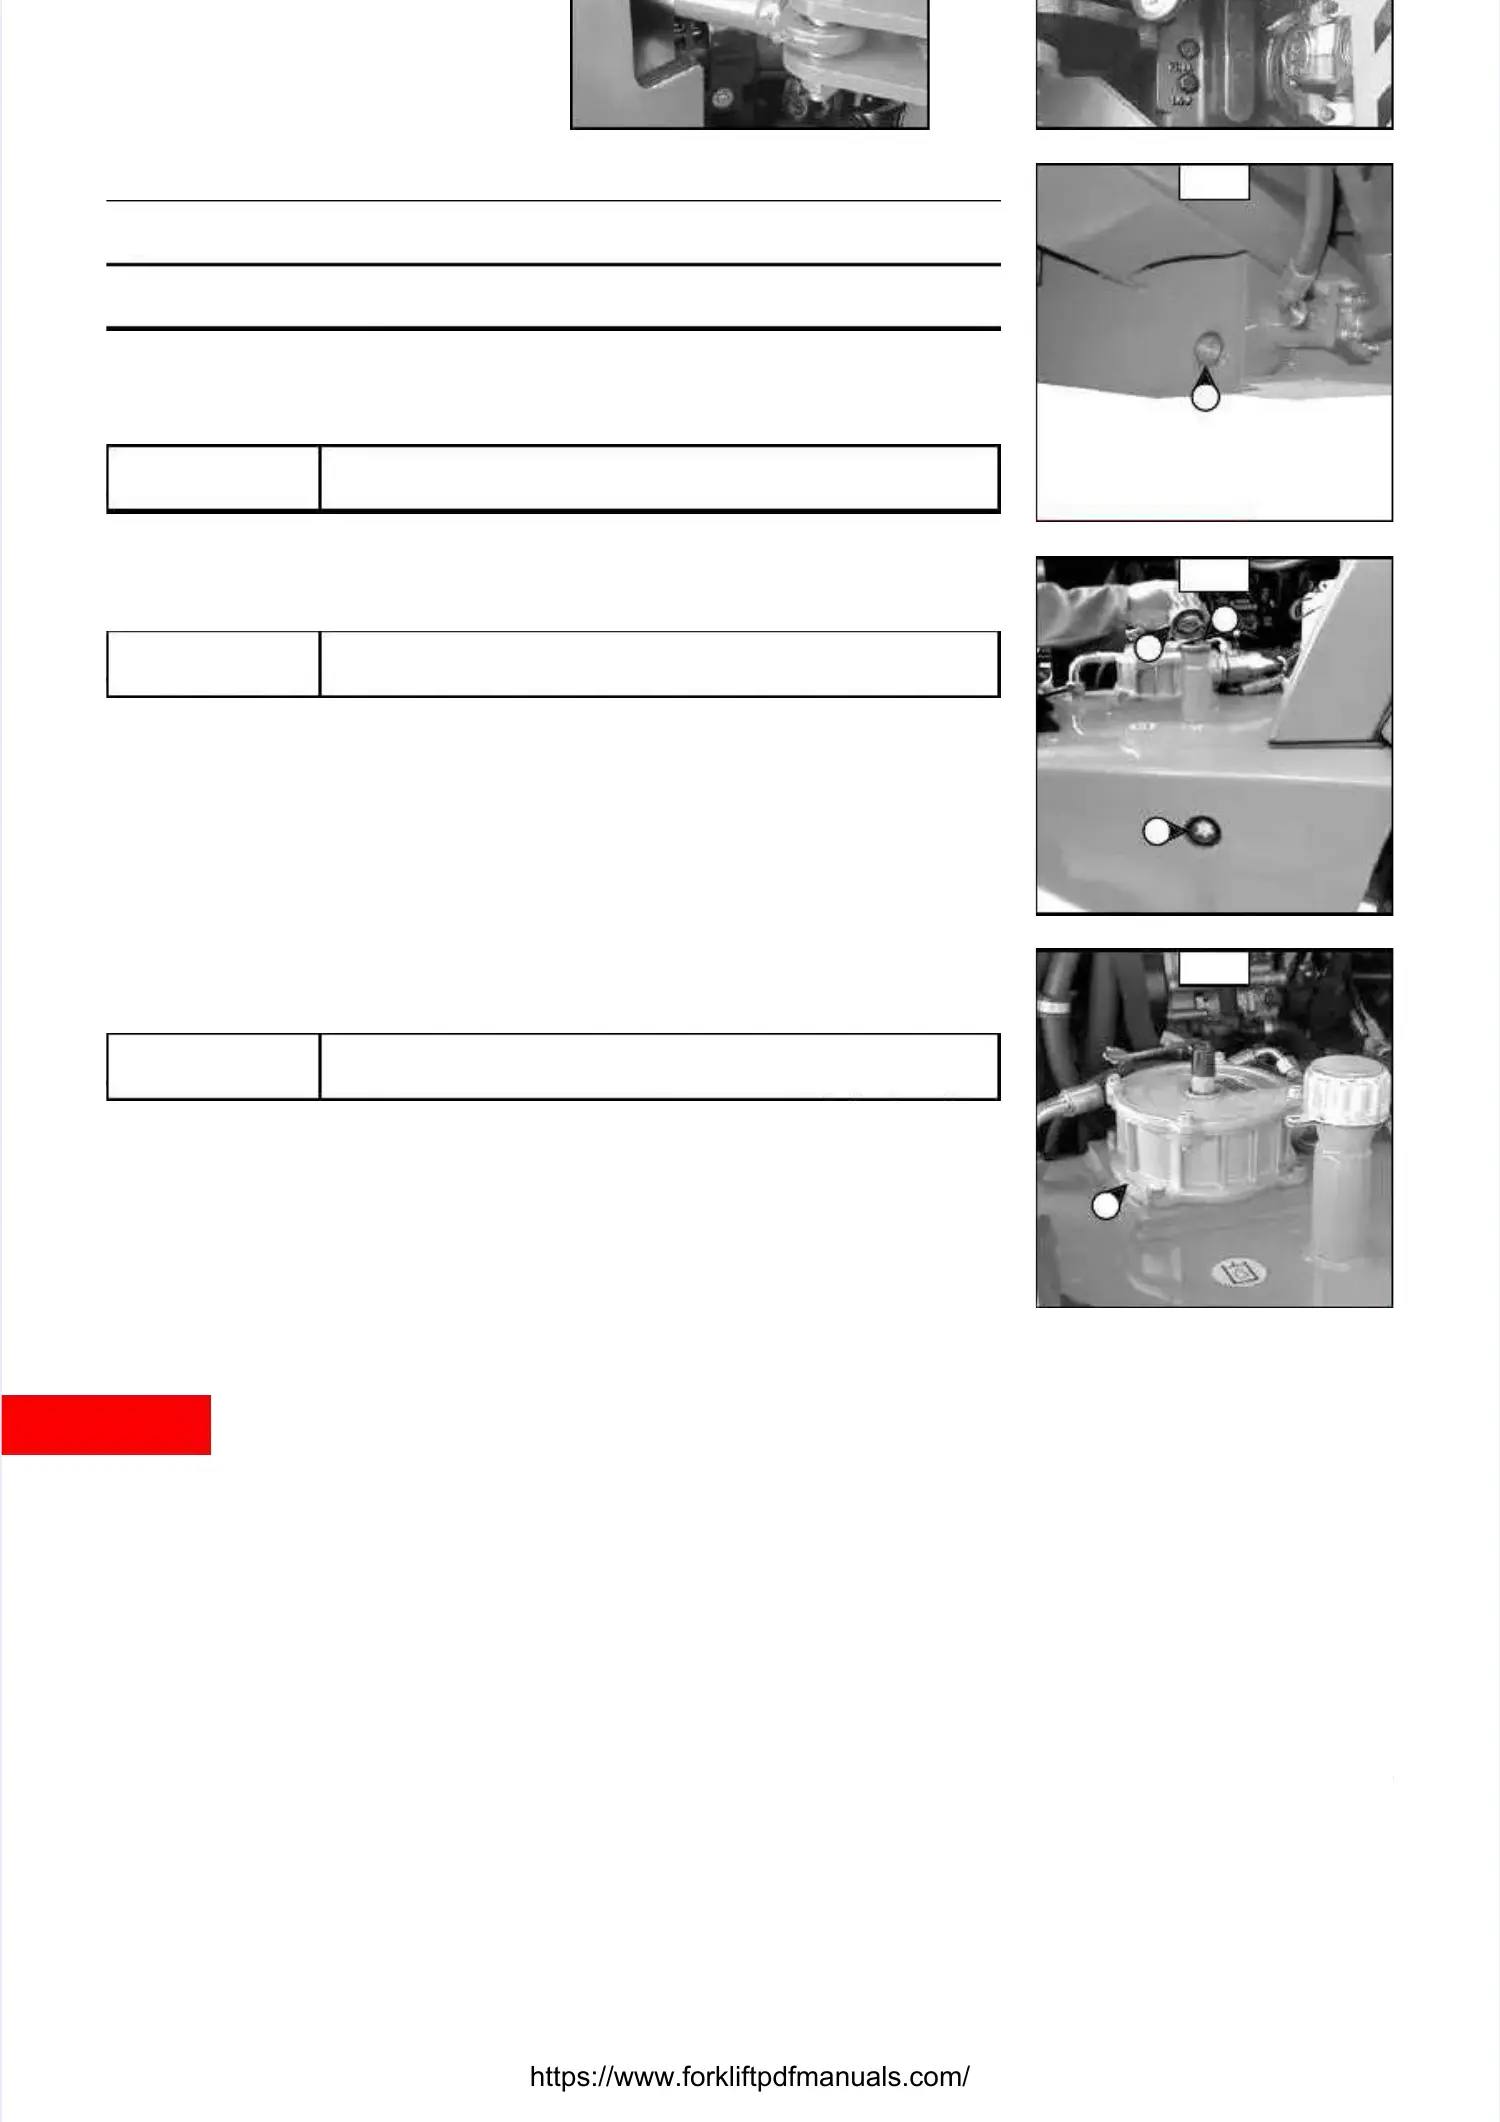
- Place a container under drain plugs 1 (fig. E4/1) and unscrew the plug.- Place a container under drain plugs 1 (fig. E4/1) and unscrew the plug.
- Remove filler cap 2 (fig. E4/2) in order to ensure that the oil is drained properly.- Remove filler cap 2 (fig. E4/2) in order to ensure that the oil is drained properly.
Dispose the drain oil in an ecological manner.
Dispose the drain oil in an ecological manner.
CLEANING THE STRAINERCLEANING THE STRAINER
- Remove suction cover 3 (fig. E4/3).- Remove suction cover 3 (fig. E4/3).
- - Remove and clean the Remove and clean the strainer using a compressstrainer using a compressed air jet,ed air jet, check its condition andcheck its condition and
replace if necessary (see : 3 - MAINTENANCE : FILTERS CARTRIDGES AND BELTS).replace if necessary (see : 3 - MAINTENANCE : FILTERS CARTRIDGES AND BELTS).
- Install the strainer and tighten the suction cover 3 (fig- Install the strainer and tighten the suction cover 3 (fig. E4/3) (Tightening torque 60 ft/lb). E4/3) (Tightening torque 60 ft/lb)
making sure the seal is in the correct position.making sure the seal is in the correct position.
FILLING UP THE OILFILLING UP THE OIL
- Clean and install drain plug 1 (fig. E4/1) (tightening torque 26 ft/lb).- Clean and install drain plug 1 (fig. E4/1) (tightening torque 26 ft/lb).
- - Fill up with oil (see : Fill up with oil (see : 3 - MAINTENANCE3 - MAINTENANCE : LUBRICANTS : LUBRICANTS AND FUEL) by AND FUEL) by filler port 4 (fig.filler port 4 (fig.
E4/2).E4/2).
Use a clean container and funnel and clean the underside of the oil drum before filling.
Use a clean container and funnel and clean the underside of the oil drum before filling.
- Observe the oil level on dipstick 5 (fig. E4/4)- Observe the oil level on dipstick 5 (fig. E4/4) ; the oil level should be at the level of ; the oil level should be at the level of thethe
red point.red point.
- Check for any possible leaks at the drain plug.- Check for any possible leaks at the drain plug.
- Replace filler plug 2 (fig. E4/2) with a new filler plug (see : 3 - MAINTENANCE : FILTERS- Replace filler plug 2 (fig. E4/2) with a new filler plug (see : 3 - MAINTENANCE : FILTERS
CARTRIDGES AND CARTRIDGES AND BELTS)BELTS)..
E4/1E4/1
E4/2E4/2
E4/3E4/3
11
44
22
55
33
Dispose of the drain oil in an ecological manner.Dispose of the drain oil in an ecological manner.
IMPORTANTIMPORTANT
Before any intervention, thoroughly clean the area surrounding the drainBefore any intervention, thoroughly clean the area surrounding the drain
plugs and the suction cover on the hydraulic tank.plugs and the suction cover on the hydraulic tank.
IMPORTANTIMPORTANT
Use a clean container and funnel, and clean the underside of the oil nozzleUse a clean container and funnel, and clean the underside of the oil nozzle
before filling.before filling.
IMPORTANTIMPORTANT
POLLUTION ABATEMENT OF THE HYDRAULIC CIRCUITPOLLUTION ABATEMENT OF THE HYDRAULIC CIRCUIT
MLA 628 -120 LSU POWERSHIFT Series 3-E2MLA 628 -120 LSU POWERSHIFT Series 3-E2
This should be carried out by your dealer after each oil change.This should be carried out by your dealer after each oil change.
The hydraulic oil used in the circuit must be at least equal in quality to class 8 (according to NAS 1638). Your dealer will be ableThe hydraulic oil used in the circuit must be at least equal in quality to class 8 (according to NAS 1638). Your dealer will be able
to clean the hydraulic circuit using an external unit and check the quality of the oil ito clean the hydraulic circuit using an external unit and check the quality of the oil in order to ensure the long life of hydraulic com-n order to ensure the long life of hydraulic com-
ponents and particularly of the main pump.ponents and particularly of the main pump.
E7 - SE7 - SEEAATT BEBELTLT
CHECKCHECK
SEAT BELSEAT BELT WITH T WITH TWO ANCHORING POINTSTWO ANCHORING POINTS
- Check the following points :- Check the following points :
• Fixing of the anchoring points on the seat.• Fixing of the anchoring points on the seat.
• Cleanness of the strap and the locking mechanism.• Cleanness of the strap and the locking mechanism.
• Triggering of the locking mechanism.• Triggering of the locking mechanism.
• Condition of • Condition of the strap (cutthe strap (cuts,s, curled edges).curled edges).
REELED SEAT BELT WITH TWO ANCHORING POINTSREELED SEAT BELT WITH TWO ANCHORING POINTS
- Check the points listed above together with the following points :- Check the points listed above together with the following points :
• The correct winding of the belt.• The correct winding of the belt.
• Condition of the reel guards• Condition of the reel guards
CONTENTSCONTENTS

 Loading...