20
R7 EXPERT / PRO SERVICE GUIDE
4
5
6a
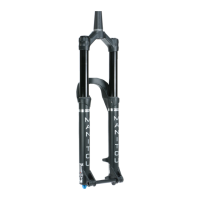
Rotate the adjuster hex on the
compression damper counter-
clockwise to the unlocked/open
position. Install the damper into the
fork.
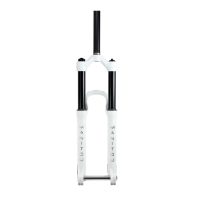
Rotating clockwise, use a torque
wrench and a standard cassette
lockring tool, such as Park Tool’s
FR-5.2, with the appropriate socket
to torque the compression damper
assembly to 60-80 in-lbs [6.8-9.0
Nm].
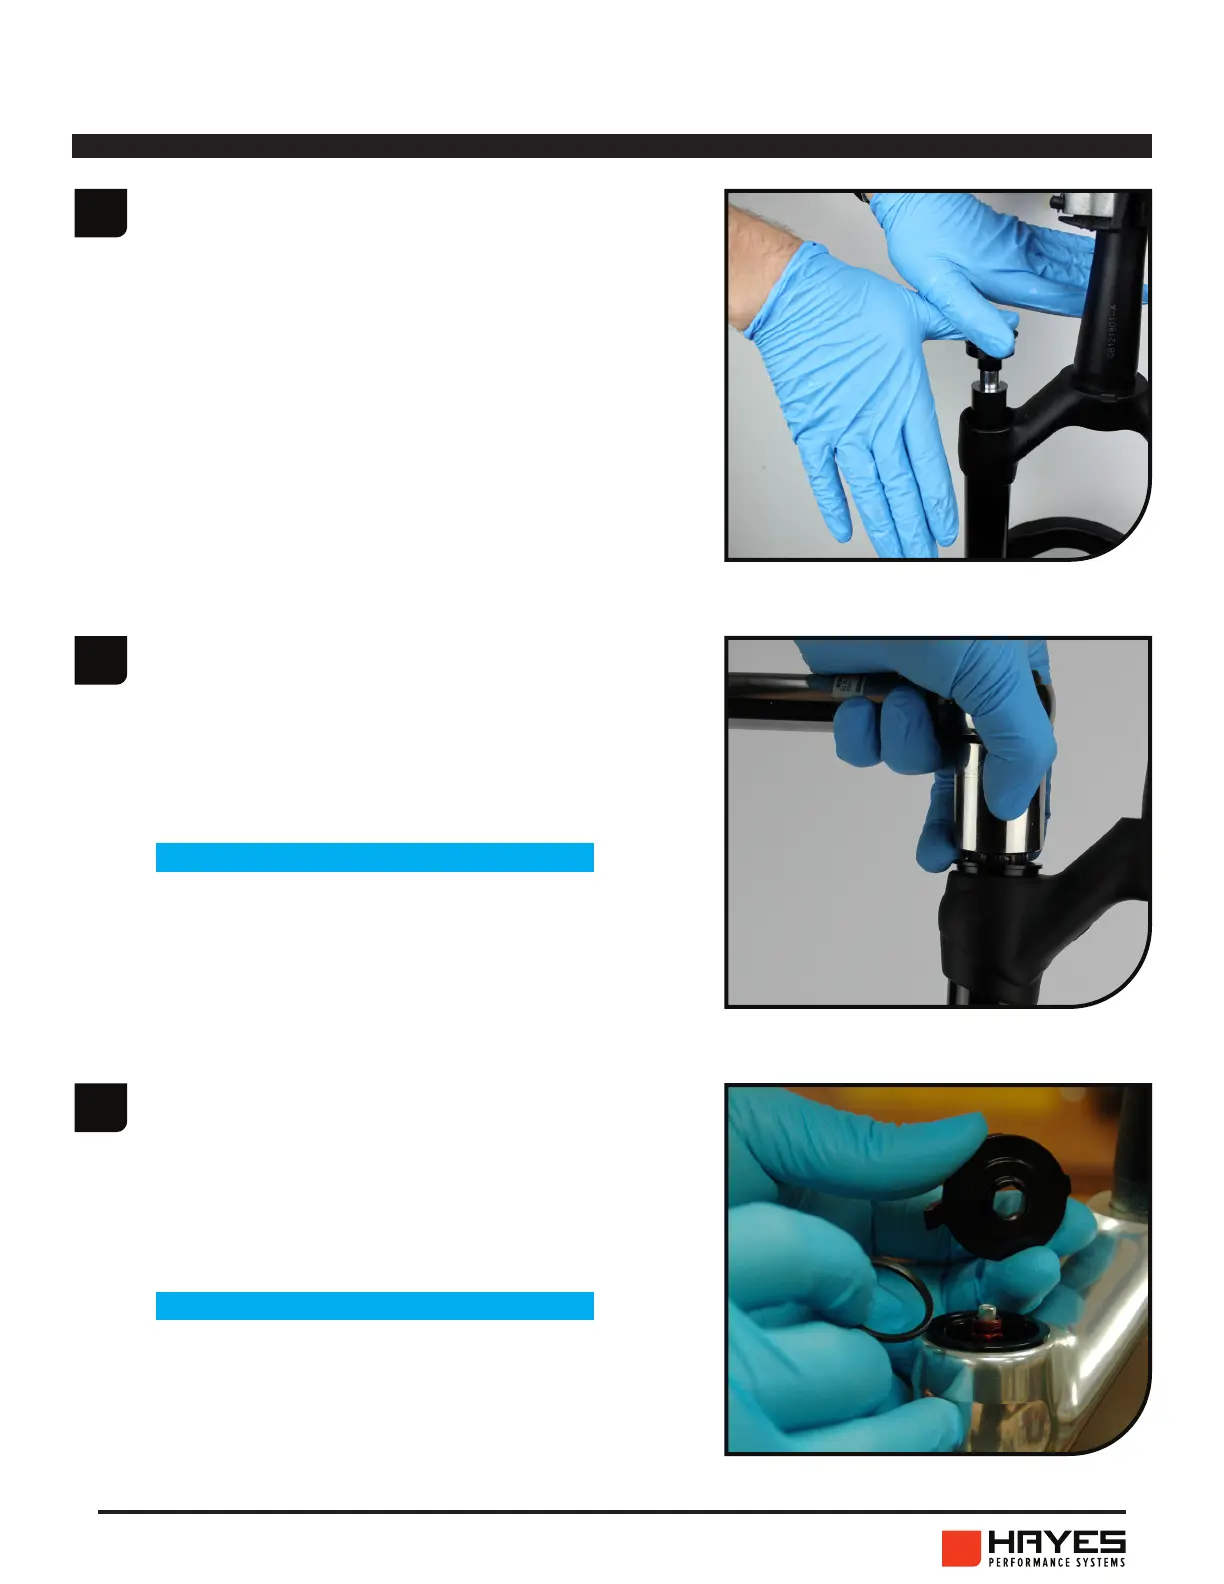
*PRO MODEL* Install the knob seal
and adjuster knob. Holding the
knob steady, use an 11mm socket
and torque wrench to assemble the
knob lock nut (rotating clockwise)
and tighten to 0.5-0.7 in lbs [4-6 N
m].
COMPRESSION DAMPER INSTALL
NOTICE
NOTICE
Non-standard spanners may
damage the damper’s splined
interface. Only use a standard
cassette lockring tool and apply a
top-down force while loosening to
prevent slipping.
For Expert, skip to step 7