Do you have a question about the Manitou Circus Expert and is the answer not in the manual?
Remove rebound knob with a 2mm hex wrench.
Disengage rebound damper rod by turning clockwise with an 8mm hex wrench.
Remove compression rod bolt using a 12mm wrench.
Drain oil from the lower casting before proceeding with removal.
Pry dust seals out of the casting using a tire lever or similar tool.
Replace foam wiper rings, applying semi-bath fluid to new ones.
Press in dust seals using a seal press tool and reinstall springs.
Release all air from the fork via the Schrader valve.
Remove the air cap using a 20mm socket.
Remove the compression spring.
Unthread compression rod assembly from stanchion using a 22mm box end wrench.
Remove, clean, and re-grease the compression rod assembly.
Adjust fork travel by repositioning the spacer on the compression rod assembly.
Grease the piston seal and outer surface with Slickoleum grease.
Install air spring assembly and torque end cap to 80-100 in-lbs using a 22mm crow's foot.
Grease the compression spring outer surface with Slickoleum grease.
Install compression spring and air cap, tightening to 60-80 in-lbs.
Remove ABS+ knob using a 2mm hex wrench, noting detent ball bearings.
Unthread ABS+ compression damper assembly from stanchion with a 24mm socket.
Remove the ABS+ compression damper assembly.
Pour used damper oil into a catch pan.
Unthread the rebound damper assembly from the fork stanchion using a 22mm box end wrench.
Remove, clean, and inspect stanchion and rebound damper for damage.
Install rebound damper and torque end cap to 80-100 in-lbs using a 22mm crow's foot.
Apply grease to oil seal/dust seal area of casting before installation.
Spread grease evenly along the entire inner diameter of the seal.
Add 30-50 PSI air to the air chamber to aid casting installation.
Slide casting halfway onto stanchion, ensuring seals are not folded.
Add 15ml semi-bath oil to each leg and slide casting fully onto stanchion.
Tighten rebound damper rod/air spring assembly to 35-40 in-lbs counter-clockwise.
Install rebound knob with 2mm hex wrench and Loctite to prevent loosening.
Install compression rod bolt to 45-55 in-lbs, with 30-50 PSI in air chamber.
Pour 5wt Maxima fork oil into the damper leg, filling it 1/4 of the way.
Cover damper leg opening with a towel and compress fork 10-15 times.
Add more 5wt fork oil to achieve the correct oil height.
Insert ABS+ compression damper into damper leg in unlocked position.
Install ABS+ damper, tightening to 60-80 in-lbs with a 24mm socket.
Install springs and ball bearings into ABS+ top cap, using grease to hold bearings.
Install ABS+ or Kwik Toggle knob using a 2mm hex wrench.
Set fork pressure using a shock pump, referencing the provided chart.
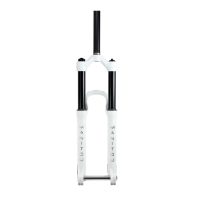
| Wheel Size | 26" |
|---|---|
| Steerer | 1-1/8" straight |
| Brake Compatibility | Disc |
| Adjustments | rebound |
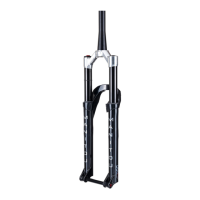
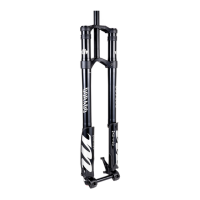
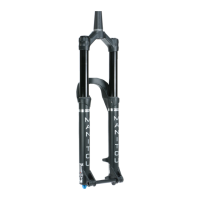
| Crown | Forged Alloy |
| Stanchions | 32mm |