6-7
Section 6 Service
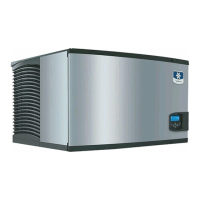
EVAPORATOR REMOVAL
P-530
1. Disconnect power to the ice machine at the
service disconnect or breaker.
2. Remove front, back, side and top panels.
3. Disconnect wiring to the harvest heaters and
suction solenoid coil.
4. Remove bin switch from evaporator extrusion.
5. Frontseat (close) the isolation valves on the
liquid and suction line sets (see page 6-7).
6. Recover refrigerant from ice machine by
accessing schraeder valves on the aeroquip
fittings or line set isolation valves.
7. Disconnect line sets by unscrewing aeroquip
fittings. Follow procedure on page 2-9 when
reassembling.
8. Disconnect tubing and ice thickness probe
from water distribution tube.
9. Disconnect and remove the water distribution
tube.
10. Remove top angle bracket.
11. Remove the refrigeration cover plate
(located in the left-hand side of the evaporator
compartment) by removing two screws and
sliding forward..
12. Remove the two screws securing the Aeroquip
fitting assembly to the rear bulkhead.
13. Support the evaporator and remove the screws
securing the evaporator to the bulkhead.
14. Lift the evaporator assembly out through the
front of the ice machine
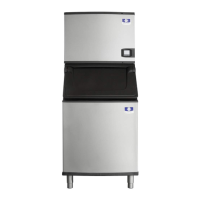
P-520
1. Disconnect power to the ice machine at the
service disconnect or breaker.
2. Remove front, back, side and top panels.
3. Disconnect wiring to the harvest heaters and
suction solenoid coil.
4. Remove bin switch from evaporator extrusion.
5. Frontseat (close) the isolation valves on the
liquid and suction line sets (see page 6-7).
6. Recover refrigerant from ice machine by
accessing schraeder valves on the aeroquip
fittings or line set isolation valves.
7. Disconnect line sets by unscrewing aeroquip
fittings. Follow procedure on page 2-9 when
reassembling.
8. Disconnect ice thickness probe from water
distribution tube.
9. Remove water pump and water distribution
tube assembly.
10. Remove water level probe.
11. Remove water trough.
12. Remove cover plate located in the upper left-
hand side of the evaporator compartment by
removing the screw.
13. Remove the four screws securing the line
drier/TXV assembly plate.
14. Remove screws attaching water inlet/dump
valve control box (complete removal is not
necessary).
15. Support the evaporator and remove the screws
securing the evaporator to the bulkhead.
16. Lift the evaporator assembly out through the
front of the ice machine
 Loading...