EasyManuals Logo

Mantis 7234 Owner's Manual

Mantis 7234
26 pages
To Next Page IconTo Next Page
To Previous Page IconTo Previous Page
Page #10 background imageLoading...
Page #10 background image
10
ASSEMBLY (continued)
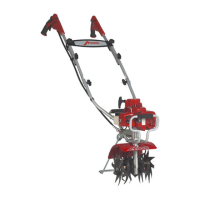
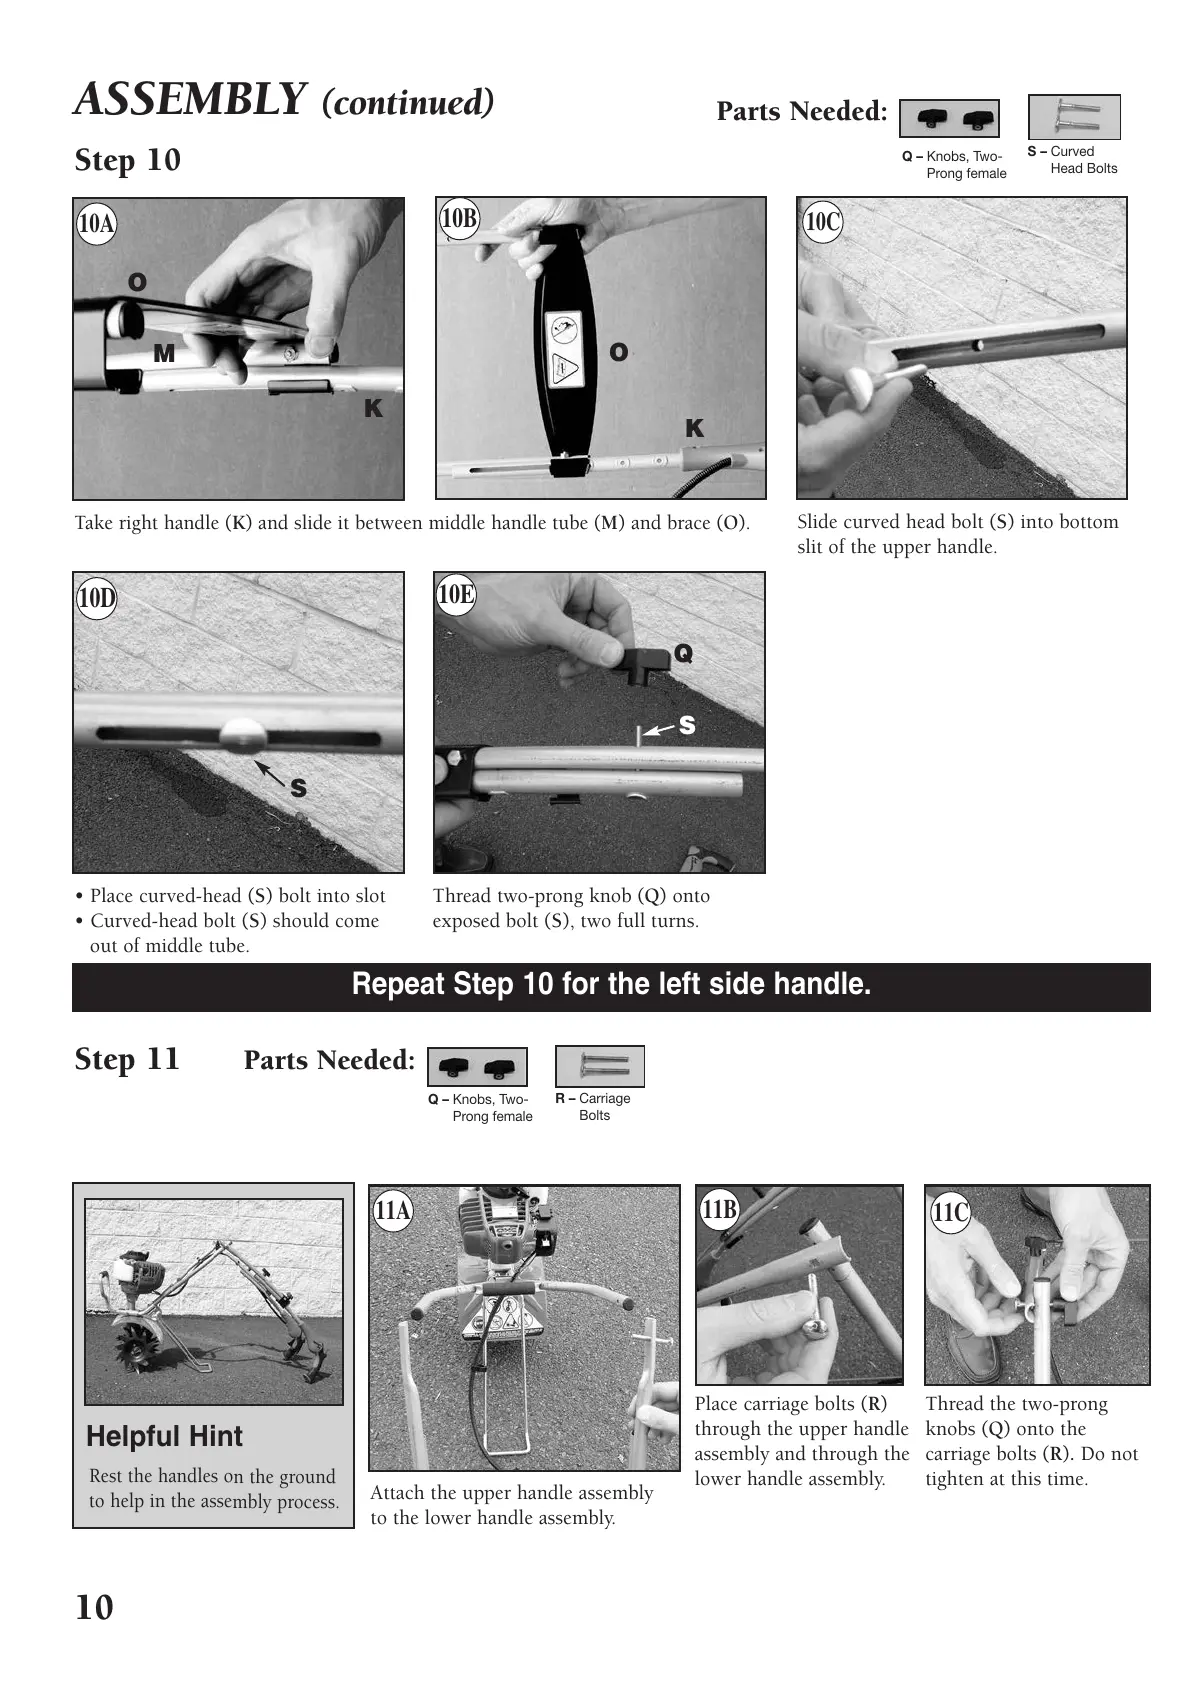
Step 10
Take right handle (K) and slide it between middle handle tube (M) and brace (O).
Step 11
Attach the upper handle assembly
to the lower handle assembly.
Place carriage bolts (R)
through the upper handle
assembly and through the
lower handle assembly.
Thread the two-prong
knobs (Q) onto the
carriage bolts (R). Do not
tighten at this time.
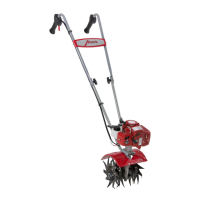
Thread two-prong knob (Q) onto
exposed bolt (S), two full turns.
Place curved-head (S) bolt into slot
Curved-head bolt (S) should come
out of middle tube.
Slide curved head bolt (S) into bottom
slit of the upper handle.
Repeat Step 10 for the left side handle.
Rest the handles on the ground
to help in the assembly process.
Helpful Hint
K
S
S
Q
K
M
O
O
S – Curved
Head Bolts
L
Q – Knobs, Two-
Prong female
O
Parts Needed:
R – Carriage
Bolts
K
Q – Knobs, Two-
Prong female
O
Parts Needed:
10A
11A
11B
11C
10B
10C
10D
10E
401775 Deluxe 2C Tiller-Cult Manual_Tiller Manual 8/8/11 8:07 AM Page 10
All manuals and user guides at all-guides.com

Other manuals for Mantis 7234

Questions and Answers:

Question and Answer IconNeed help?

Do you have a question about the Mantis 7234 and is the answer not in the manual?

Mantis 7234 Specifications

General IconGeneral
BrandMantis
Model7234
CategoryTiller
LanguageEnglish

Related product manuals