91
Maptek Scanner Operator Manual - XR3
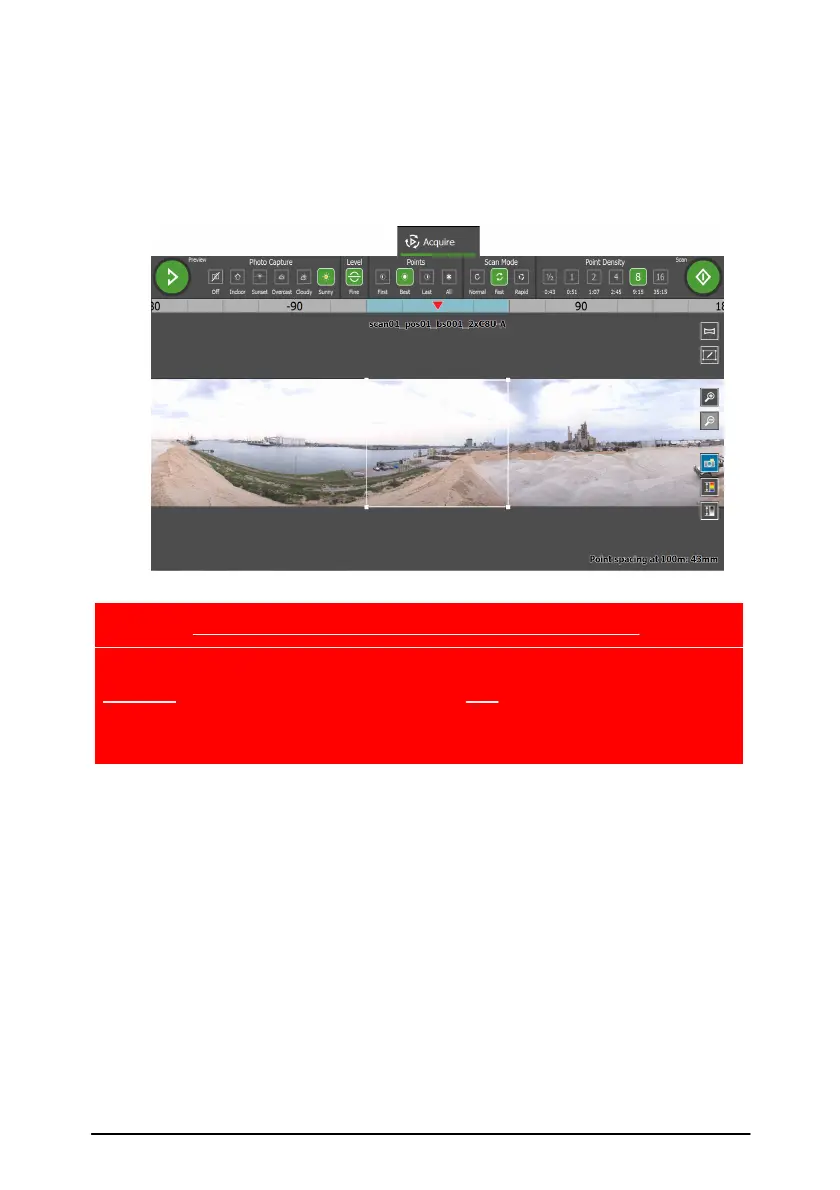
Acquire - Selecting an area to scan
1. Select an area to be scanned by using the digitiser pen to draw a
rectangle of interest on the screen. Alternatively, the whole screen
can be selected using the scan full extents button, or de-selected
using the manual selection button.
Selecting an area to scan
CAUTION: SURVEY PRISMS can damage scanner
DO NOT scan Survey Prisms that are closer than 100 metres. This
includes Survey Prisms in the target area and Survey Prisms in the
areas vertically above and below your target area, as the scanner beam
continues through these regions.
The area of interest is highlighted and the add scan button will turn
green. The point density, points capture and scan mode can be
selected and the display will give an indication of the elapsed time of
that scan.
2. Select the red cross button to the right of the progress indicator to
cancel the selection.
3. [Multiple Back Sight scans only]. The scan back sights button
(contains 3 squares) appears on the Acquire page when using the
Multiple Back Sight setup. Pressing this button scans a small
extent over each of the back sights using resolution 8. These scans
can be used to improve the registration in software such as
PointStudio.



 To Next Page