1.4 DISMOUNTING INSTRUCTION
1. DISMOUNTING CDR LODER
1-7
1) Remove 8 screws (002D & 003D) from the top cover.
2) Remove the top cover (001D).
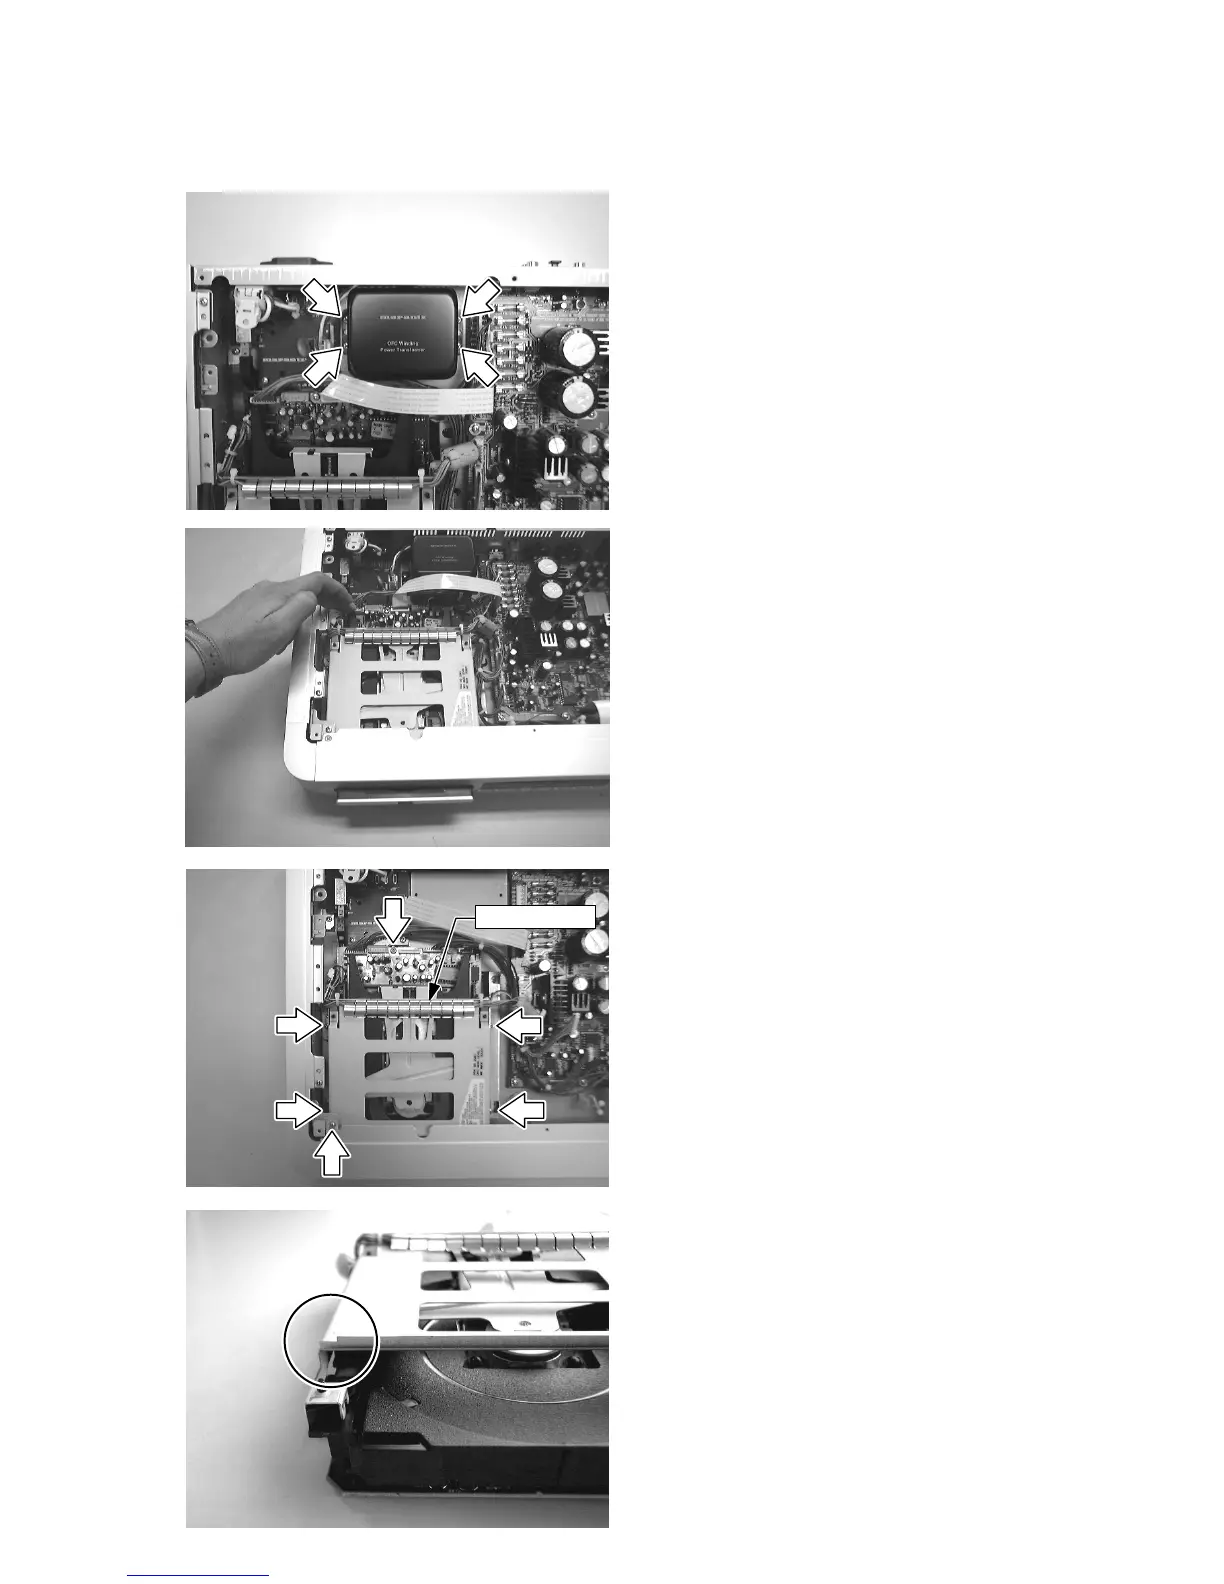
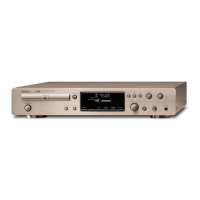
3) Disconnect connector cables from J801 and JH04.
4) Remove 4 screws (1-4), and remove the mains trans-
former (L001).
5) Come out (Open) the CD tray by manually.
6) Remove the CD tray lid (050B+052B+062B).
7) Remove screw (5) from the bracket (004B).
8) Remove 4 screws (6-10).
9) Disconnect all cables from connectors (JF02, 1330,
1410, 1400, 1430 and 1440).
10) Disconnect cables from connectors (J891 and J892),
and remove PCB P816.
11) Connect the cables from “TRAY MOTOR” to the con-
nector 1104.
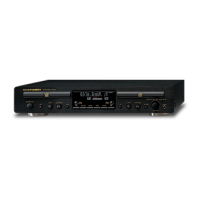
12) Remove the cable shield (003X) from the top frame
REMARK: When replace the CDR loader module
CDRL3610’ to the new one. It is necessary to cut left
side of the top frame by the hand nibbler.
(Height 2mm x Width 6mm)
5
6
7
8
9
10
Cable Shield
4
3
2
1