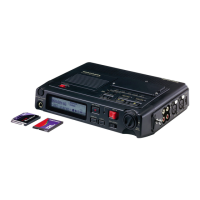
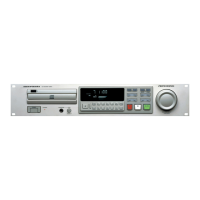
23
ENGLISH
1. Date/Time (How to set or change the Date and Time)
The date and time are written on each audio track(file) when
the track is started. When an audio track is viewed on a
computer, this date and time appears as when the file was
'created'.
1. From stop, push the MENU/STORE/EDIT button.
2. Turn the Jog wheel to select Preset 1, 2 or 3.
3. Push the Jog wheel to accept the selected Preset.
4. Turn the Jog wheel so Date/Time is displayed.
5. Push the Jog wheel while Date/Time is displayed. The
Date and time information will be displayed with the
month flashing. (Europe : the day flashing)
6. Turn the Jog wheel until the current month is
displayed.
7. Push the Jog wheel to confirm the month.
The day will be flashing. (Europe : the month flashing)
8. Turn the Jog wheel until the current day is displayed.
9. Push the Jog wheel to confirm the day.
The year will be flashing.
10. Turn the Jog wheel until the current year is displayed.
11. Push the Jog wheel to confirm the year.
The hour will be flashing.
12. Turn the Jog wheel until the current hour is displayed.
13. Push the Jog wheel to confirm the hour.
The minute will be flashing.
14. Turn the Jog wheel until the current minute is displayed.
15. Push the Jog wheel to confirm the minute.
16. Date/Time will be displayed.
17. If you are finished making Menu changes to the Preset,
push the MENU/STORE/EDIT button to save your
changes.
(or push the STOP/CANCEL button to cancel all changes)
18. Display returns to stop mode.
Note:
The Date/Time setting will remain for about 5 years if the
PMD560 is not plugged in.
Date/Time setting applies to all three presets.
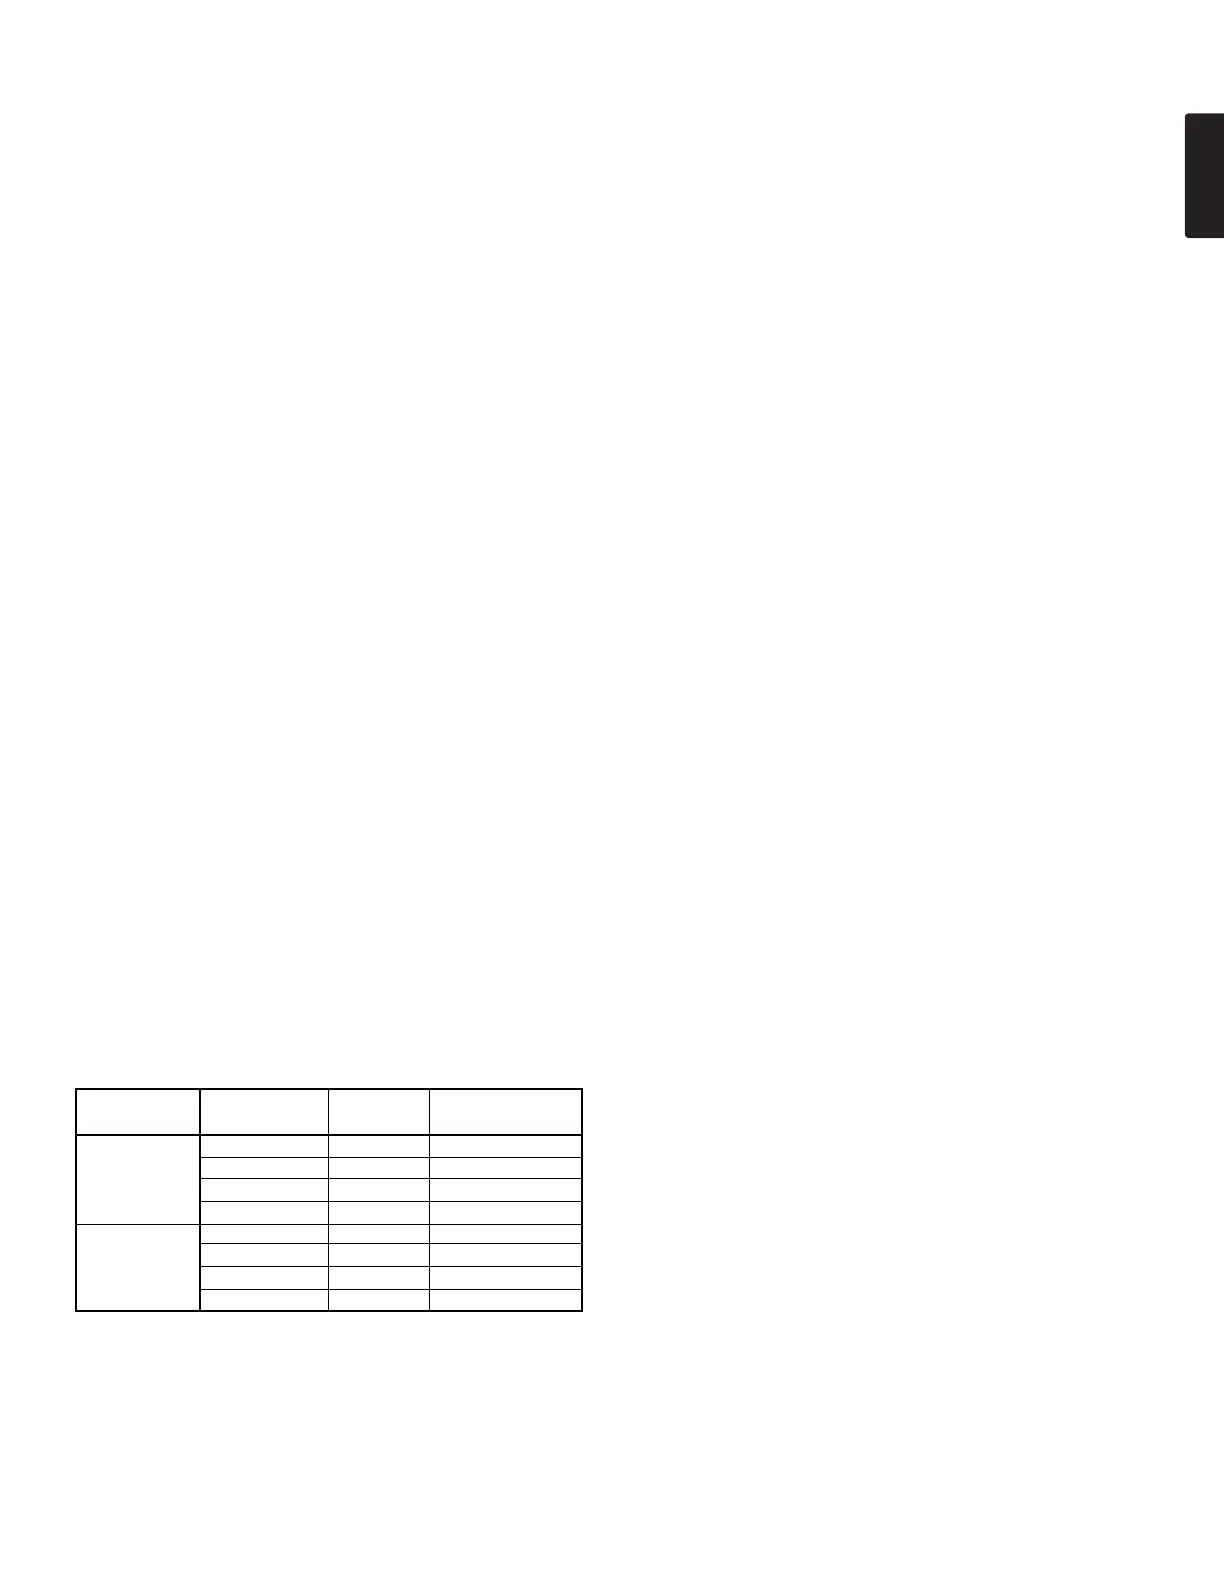
2. Rec Format
(How to set or change the Rec Format parameters)
The PMD560 can record in several compression algorithms.
RecChannel Rec Format bit rate file extensions
in menu in menu
Stereo PCM-44.1K 1412k .wav
PCM-48K 1536k .wav
MP3-44.1K 128k .mp3
MP3-48K 128k .mp3
Mono PCM-44.1K 705.6k .wav
PCM-48K 768k .wav
MP3-44.1K 64k .mp3
MP3-48K 64k .mp3
1. From stop, push the MENU/STORE/EDIT button.
2. Turn the Jog wheel to select Preset 1, 2 or 3.
3. Push the Jog wheel to accept the selected Preset.
4. Turn the Jog wheel so Rec Format is displayed.
5. Push the Jog wheel while Rec Format is displayed.
The Rec Format choice( PCM-44.1K, PCM-48K, MP3-
44.1K or MP3-48K) is flashing.
6. Turn the Jog wheel to tab through the Rec Format
choices.
7. When correct, Push the Jog wheel.
Display returns to Rec Format.
8. Turn the Jog wheel to select other Menu choices for
editing. When editing the Preset is complete, push the
MENU/STORE/EDIT button to store the changes, or
push the STOP/CANCEL button to exit Menu mode
without making any changes.
9. Display returns to stop mode.
3. BWF
When BWF is On, the record file of PCM is BWF( Broadcast
Wav Format).When BWF is Off, the record file of PCM is
standard wav format. BWF applies to PCM only.
1. From stop, push the MENU/STORE/EDIT button.
2. Turn the Jog wheel to select Preset 1, 2 or 3.
3. Push the Jog wheel to accept the selected Preset.
4. Turn the Jog wheel so BWF is displayed.
5. Push the Jog wheel while BWF is displayed.
The BWF choice (On or Off) is flashing.
6. Turn the Jog wheel to tab through the BWF choices.
7. When correct, Push the Jog wheel. Display returns to
BWF.
8. Turn the Jog wheel to select other Menu choices for
editing. When editing the Preset is complete, push the
MENU/STORE/EDIT button to store the changes, or
push the STOP/CANCEL button to exit Menu mode
without making any changes.
9. Display returns to stop mode.
4. RecChannel
(How to set or change the RecChannel parameters)
1. From stop, push the MENU/STORE/EDIT button.
2. Turn the Jog wheel to select Preset 1, 2 or 3.
3. Push the Jog wheel to accept the selected Preset.
4. Turn the Jog wheel so RecChannel is displayed.
5. Push the Jog wheel while RecChannel is displayed. The
RecChannel choice (Stereo or Mono) is flashing.
6. Turn the Jog wheel to tab through the RecChannel
choices.
7. When correct, push the Jog wheel.
Display returns to RecChannel.
8. Turn the Jog wheel to select other Menu choices for
editing. When editing the Preset is complete, push the
MENU/STORE/EDIT button to store the changes, or
push the STOP/CANCEL button to exit Menu mode
without making any changes.
9. Display returns to stop mode.