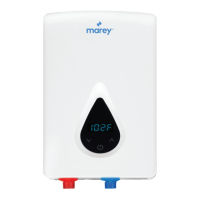
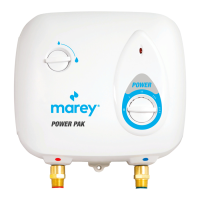
ECO180
ECO270
Unit is activated by the ow of water through the inlet. A desired temperature set
point is selected by using the "up" or "down" buttons, if unit does not respond push
the center "power" button and try again. Test water to prevent scalding.
4) Operation
1)
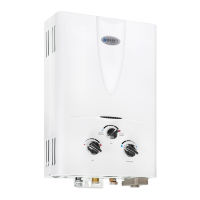
Mounting
Mount vertically on a flat surface (i.e. board or wall) larger than the unit itself. Make
sure bracket is secure by utilizing a stud or the provided wall anchors. Keep away
from any potential splashing or leaking water and strong magnetic fields.
2) Water Connections
When installing your water connections make sure to use ¾" NPT fittings. Please use
the provided gaskets to prevent leaks. When tightening fittings use a back-up
wrench on inlet and outlet fittings (flat sides of fittings are located behind front
cover). It is recommended to install a high pressure discharge valve and a shut off
valve on the incoming water line, in that order. Open a faucet and run water through
the unit for a few minutes to purge out air, turn off at faucet to build up pressure in
the line to check for leaks.
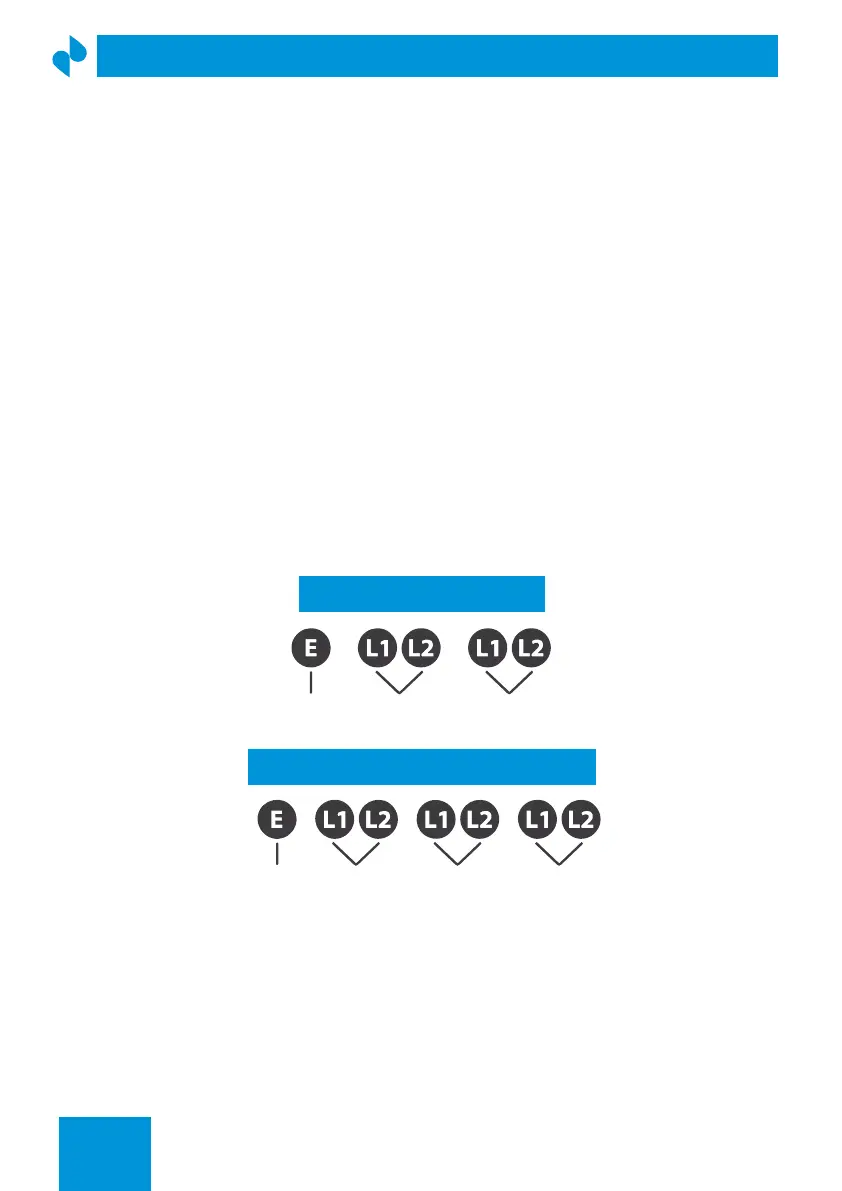
3) Electrical Connections
Wiring for electrical connection will differ depending on model please double check
the model type on the right side of the unit.
ECO180 | 270
QUICK START GUIDE
04
GROUN BREAKER 1
ECO180 -
BREAKER 2
Two 240V Double Pole 50 amp breakers
GROUN
D BREAKER 1 BREAKER 2 BREAKER 3
ECO270 - Three 240V Double Pole 50 amp breakers
 Loading...