0504
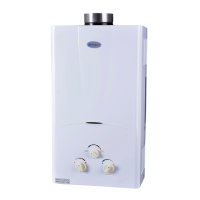
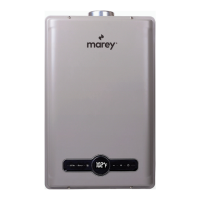
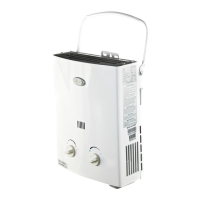
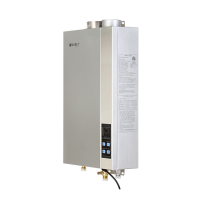
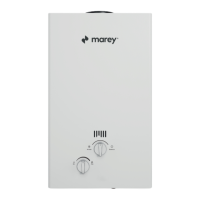
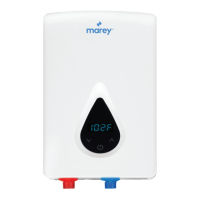
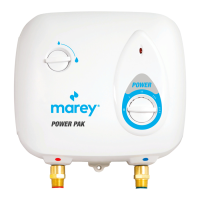
1. Water heater-Qty 1
2. Operating Instructions-Qty 1
3. Mounting Screws-4 Sets
- You MUST install this water heater according to all directions and specifications
contained in this manual. Failure to properly install the heater can result in property
damage or severe injury or death by burning, explosion, or asphyxiation due to
carbon monoxide.
- You MUST check the exhaust flue for obstructions at the initial installation and at
least annually thereafter.
- You MUST check all connections for gas leaks with soapy water before firing the
unit. This must be done at the initial install and after every propane bottle change if
using an LP model. If you detect a gas leak of any kind, DO NOT fire up your unit.
- You MUST check for gas leaks by smell. Understand that LP is heavier than air
and may sink to ground level. If you detect a gas leak of any kind, DO NOT fire up
your unit.
- You MUST observe the unit in operation for several cycles before leaving it
unattended.
- Unit MUST be hung vertically, with the water and gas connections at the bottom
and the exhaust at the top.
- You MUST use a carbon monoxide detector in conjunction with this, or any, gas
burning appliance.
- Do NOT expose the water heater to strong wind (including that from fans) or rain.
- Do NOT install the water heater near flammable or volatile substances. Do not
handle or store these substances near the heater (gasoline, acetone, motor oil,
paint thinners or any other flammable or volatile substance).
- Do NOT use tubing or piping that is aging or cracked in any way.
- Do NOT use this appliance with any type of gas other than that indicated on the
data plate located on the side of the unit. Death or severe injury may result.
- Do NOT attempt to modify the internal components of this appliance.
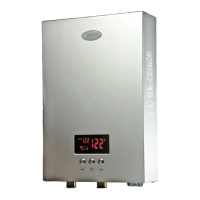
POWER GAS MODELS
**WARNING: working with gas can be dangerous. If you are not familiar with local
building codes and basic gas plumbing practices please employ a professional to
install your water heater**
1- Securely mount your water heater to the wall in an appropriate location using the
supplied hardware.
2- Install the venting (4” for 5L or 10L units, 5” for 16L units) per local building codes
and the instructions supplied.
3- Connect the gas lines (all connections are ½”). Use yellow Teflon tape at
threaded connections. Check carefully for gas leaks using soapy water and
correct as necessary before proceeding further.
4- Connect the water lines (all connections are ½”). Use ½” or ¾” pipe or tubing for
the water supply and return. If water pressure or flow rates are questionable use
¾” lines to ensure maximum flow. You MUST use copper, CPVC or appliance
tubing intended for use in hot water applications for all hot water lines.
5- Check for and correct water leaks as necessary.
6- Install the batteries in the battery compartment. Be sure the polarity of the
batteries is correct.
7- Turn on the faucet and adjust the water and gas settings on the water heater as
needed for your specific environment and comfort. **USE CAUTION NOT TO GET
SCALDED WHILE ADJUSTING YOUR SETTINGS** Remember that more water
flow will usually result in less heating, and vice versa. Higher gas settings result in
more heating, and vice versa.
8- Begin enjoying instant, energy efficient hot water for years to come!
Disclaimer: This document is intended as a quick reference only and does not
contain all of the important safety warnings and other information necessary to
safely operate your heater. For a complete list of safety warnings and instructions
please reference the instruction manual before operating your water heater.