15
SLIM AND WIDE FASCIA ASSEMBLY & INSTALLATION FOR
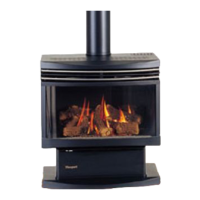
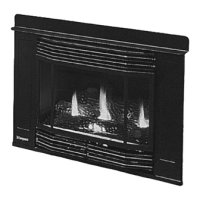
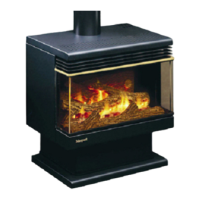
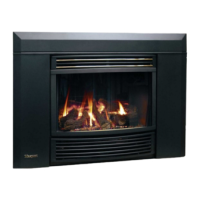
LE4000 PROVINCIAL INSERTS
If the fascia is not assembled use steps 1-4 to put together fascia components. Use steps 5 & 6 to
attach fascia to firebox cabinet / casing.
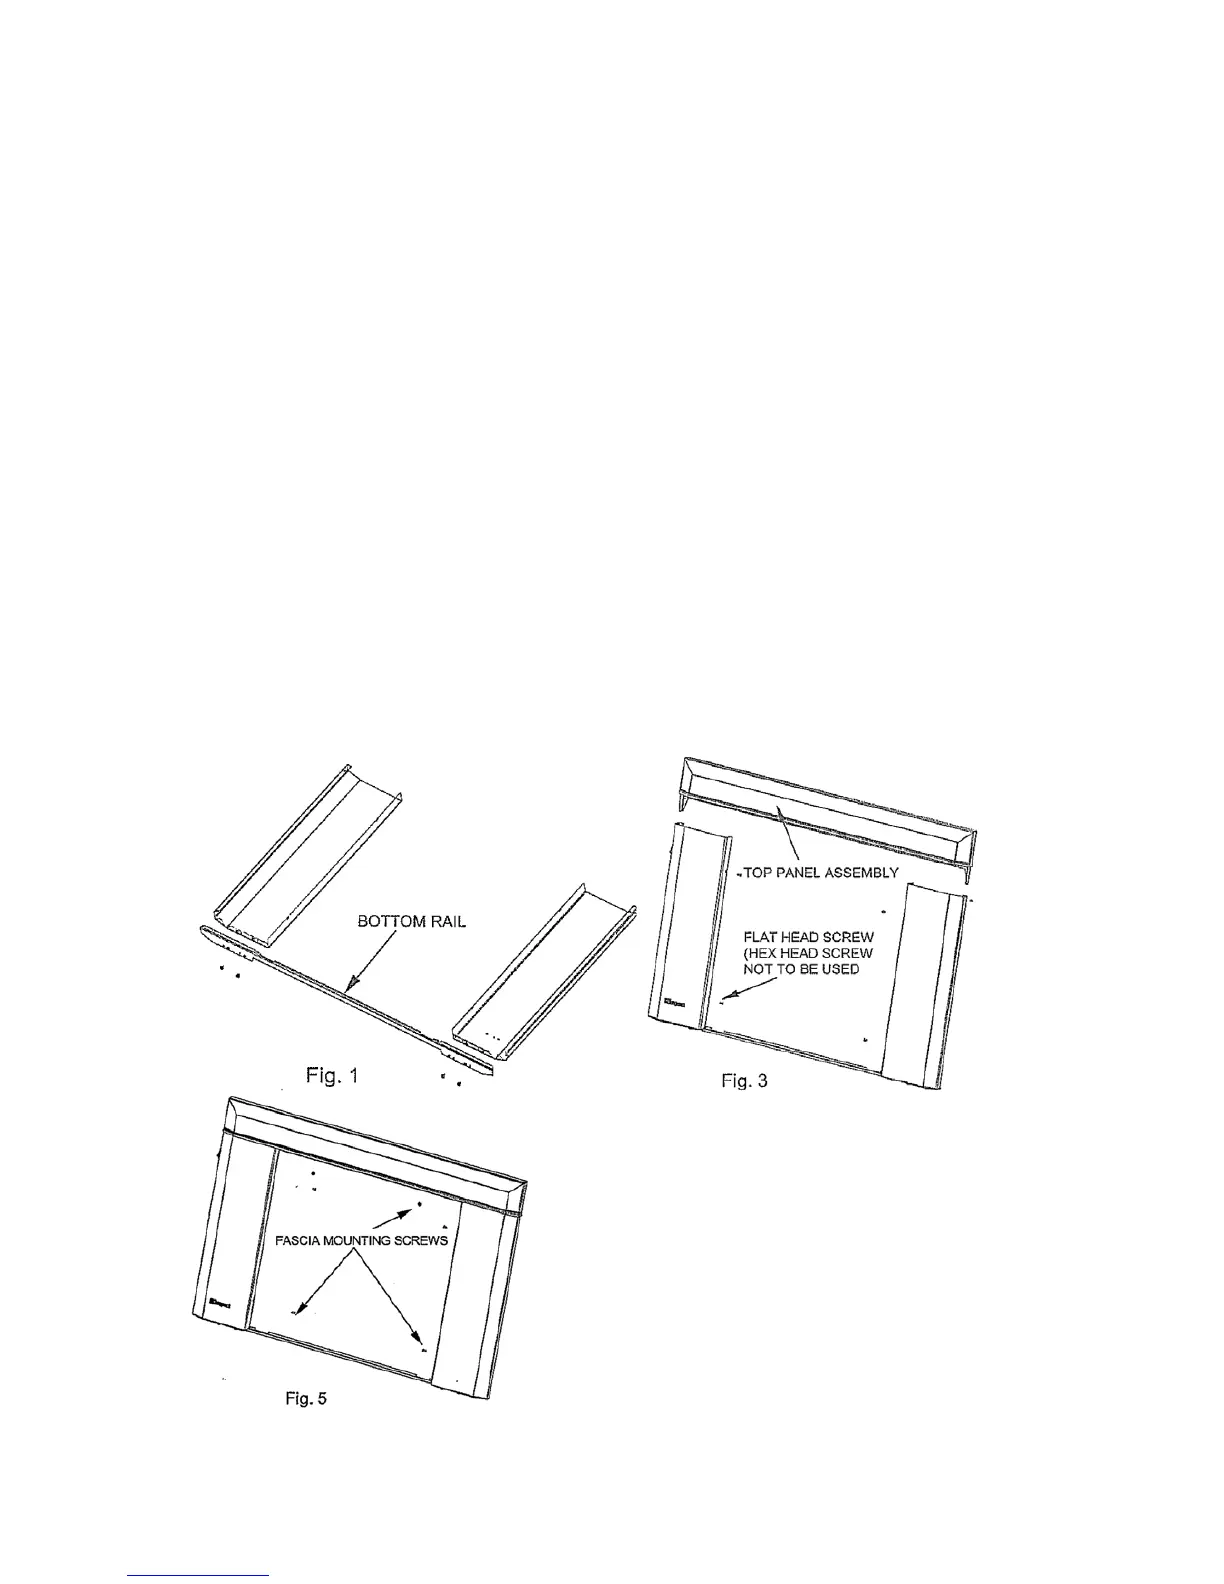
1. Lay the fascia panels flat, face down on something soft so they won’t scratch.
2. Align the bottom flange of each side panel with the corresponding end of the bottom rail.
Using the self-tapping screws provided, attaché the bottom rail to the bottom flanges of the
side panels. Tighten the screws only loosely at this stage. (see Fig.1)
3. Lower the top panel assembly into place with the locating prongs pointing down so that they
fit inside the top edges of each side panel. Fasten the top panel to the case through the two
holes in the lower flange of the top panel assembly. (see Fig.2)
4. Offer the fascia assembly up to the case to obtain the correct width for the side panel spacing
keeping the inside flanges of each panel on the inner side of the mounting flange of the
fireplace. Carefully remove the assembly and tighten the screws fastening the bottom rail to
the side panels.
5. Ensure that the wires are away from the side of the fireplace. The power cord should be run
behind the fascia panel and out through the slot in the side of the fascia. The rubber
grommet on the power cord should be inserted into the slot to protect the power leads
against possible damage.
6. Offer the fascia assembly up to the case once more and secure through the two holes on the
inner edges of each fascia side panel and two holes of top panel assembly using the screws
provided. (see fig.3)
 Loading...