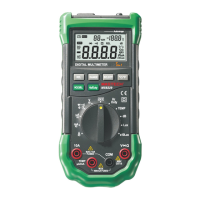
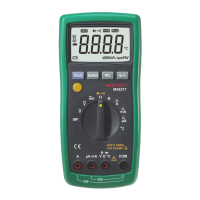
The ranges for DC current of this meter are 200.0mA and
10.00A; The ranges for AC current of this meter are
200.0mA and 10.00A.
Measuring current:
1. Disconnect the circuit to be tested from the power supply,
and discharge all high-voltage capacitors in the circuit to
be tested.
2. Set the rotary switch at a proper position.
3. Connect the black test tip to the COM input socket. If the
current to be measured is less than 200mA, connect
the red test tip to the mA input socket; if the current to
be tested is between 200mA and 10A, connect the red
test tip to the 10A input socket.
4. Open the circuit to be tested, and connect the black test
tip to one end (with lower potential) of the open circuit,
and then connect the red test tip to the other end (with
higher potential) of the open circuit. (A reversed
connection of the test tips will result in readings of
negative values, however, this will not damage the
meter.)
5. Connect the circuit to the power supply, and read the
displayed value. If the display only outputs “1”, which
means that the input exceeds the selected range, the
rotary switch should be set at a higher range.
6. Turn off the power supply for the circuit to be tested, and
discharge all high-voltage capacitors, and then disconnect
the test tip of the meter and restore the circuit to its
original state.
14
4 Technical Parameters
4.1 General parameters
Surrounding conditions for operation:
600V CAT.
Ⅲ and
1000V CAT.
Ⅱ
Contamination level: 2
Elevation < 2000 m.
Temperature (humidity) at the operation site: 0~40
℃
(RH <80%, not considered when <10
℃
).
Temperature (humidity) at the storage site: -10~60
℃
(RH<70%, battery off).
Temp. coefficient: 0.1
×
Accuracy/
℃
(<18
℃
or >28
℃
).
Max. voltage allowed between the measuring end and
earth: DC 1000V or AC 750V (effective voltage)
Fuse protection: position of mA: self-recovery fuse
F500mA/250V
Sampling rate: about 3 times/second.
Display: 3 1/2 bit LCD. Unit will be automatically displayed
according to the selected measuring function.
out of range indication: LCD will output “1”.
Low voltage indication for the battery: when the battery
voltage is lower than the normal operation
voltage, “ ” will be displayed on LCD.
Input polarity indication: ”−” sign will be automatically